
Subscribe to Our Youtube Channel
Related Manuals for Dahua DH-IPC-PFW8601N-H-A180


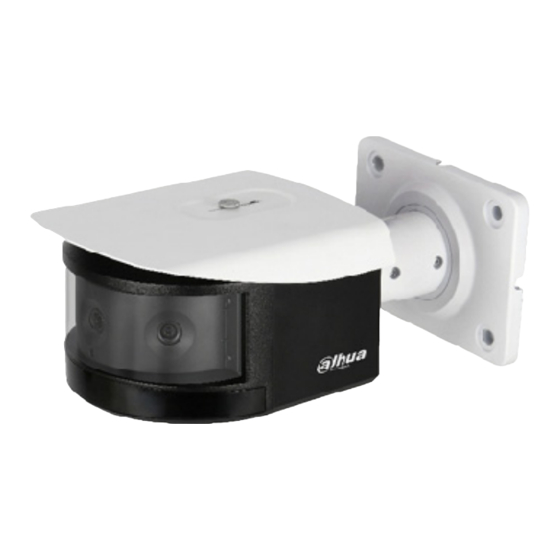
Summary of Contents for Dahua DH-IPC-PFW8601N-H-A180
- Page 1 Multi-Sensor Panoramic IR Bullet Camera Quick Start Guide Version 1.0.2 Dahua Technology USA Inc.
-
Page 2: Table Of Contents
Table of Contents Welcome .......................... 1 Important Safeguards and Warnings ..............1 Electrical safety ....................1 Environmental Precautions ................. 2 Operation and Daily Maintenance ..............3 Warnings ......................3 FCC Information ....................4 ... -
Page 3: Welcome
This manual offers reference material and general information about the basic operation, maintenance, and troubleshooting of the Dahua Multi-Sensor Panoramic Camera. Read, follow, and retain the following safety instructions. Heed all warning on the unit and in the operating instructions before operating the unit. -
Page 4: Environmental Precautions
Ensure a service technician uses replacement parts specified by the manufacturer, or that have the same characteristics as the original parts. Unauthorized parts may cause fire, electrical shock, or other hazards. Dahua is not liable for any damage or harm caused by unauthorized modifications or repairs. -
Page 5: Operation And Daily Maintenance
Dahua recommends the use of a thunder-proof device in concert with the unit. Do not touch the CCD or the CMOS optic sensor. Use a blower to clean dust or dirt on the lens surface. -
Page 6: Fcc Information
1.3 Legal Notices Copyright This user guide is ©2016, Dahua Technology Company, LTD. This user guide is the intellectual property of Dahua Technology Company, LTD and is protected by copyright. All rights reserved. Trademarks All hardware and software product names used in this document are likely to be registered trademarks and must be treated accordingly. -
Page 7: Unpacking
2 Unpacking This equipment should be unpacked and handled with care. If an item appears to have sustained damage during shipping, notify the shipper immediately. Verify that all the parts listed below are included. If an item is missing, contact customer support or your local representative. -
Page 8: Installation And Configuration
3 Installation and Configuration 3.1 External Cable The following figure depicts the type and location of each cable coming from the device. This image is intended as a reference only. Figure 3-1 Cable Connections Port Name Function Connector Note Audio output Audio out from the device to an external AUDIO OUT port... -
Page 9: Alarm I/O Port Configuration
Alarm I/O Port Configuration Port Name Name Note ALARM_OUT Alarm output port. Use to output the alarm signal to the alarm device. ALARM_OUT_GND Alarm input port 1. Use to receive the On/Off signal from ALARM_IN1 I/O Port an external alarm source. Alarm input port 2. -
Page 10: Alarm Setup
3.3 Alarm Setup Certain devices support alarm inputs and outputs, check your specific device for alarm capability. Alarm Input Refer to Figure 3-3 for alarm input configuration. The device collects that status of the alarm input port when the input signal is idle or grounded. If the input signal is connected to the 3.3V or it is idle then the device receives the alarm input signal. -
Page 11: Device Installation
4 Device Installation This section details installing the Multi-Sensor camera to a wall or ceiling. Note that the wall or ceiling must be capable of supporting a minimum of three times the weight of the camera and a bracket (if used). - Page 12 4. Connect an analog TV monitor to the Analog Video Output port. This optional step assists with positioning and configuring the camera to produce the desired video scene. 5. Note: Do not remove the bottom cover from the camera. Removing this cover may allow moisture to enter the camera and would void any warranty.
- Page 13 16. Adjust the monitoring direction of the camera. Use the Multi-purpose Tool to loosen the three set screws along the shaft of the camera, then position the camera by tilting, twisting, and rotating the camera as shown in Figure 4-4, below. Note: Do not rotate the camera more than three (3) times in any one direction.
-
Page 14: Network Configuration
Port – A port is an endpoint to a logical connection in an IP network. Dahua supplies the ConfigTool to access and to modify the network settings of a device. Refer to the Operation Manual, available on the CD included with the camera or on Dahuasecurity.com, for complete information. -
Page 15: Accessing The Web Interface
6. Click the Net icon at the top of the ConfigTool. 7. Modify the IP Address and any other applicable network parameter. 8. Click Save to finish modification and store the modified network parameters. Figure 5-2 5.3 Accessing the Web Interface Each camera can be accessed directly from the Internet Explorer Web browser. -
Page 16: Configuring Alarms
5.4 Configuring Alarms The device’s Web Interface offers a Relay Activation page where alarms can be configured and alarm responses can be set. Figure 5-4 1. Access the Web Interface for the device and click the Setup tab. Expand the Event menu, then choose the Alarm page. - Page 17 Dahua Technology USA Inc. 23 Hubble, Irvine, CA 92618 Tel: (949) 679-7777 Fax: (949) 679-5760 Email: sales.usa@global.dahuatech.com...
Need help?
Do you have a question about the DH-IPC-PFW8601N-H-A180 and is the answer not in the manual?
Questions and answers