Sony SNC-HMX70 Installation Manual
Hide thumbs
Also See for SNC-HMX70:
- User manual (38 pages) ,
- Application manual (30 pages) ,
- User manual (275 pages)

Related Manuals for Sony SNC-HMX70


Summary of Contents for Sony SNC-HMX70
- Page 1 4-744-488-11 (2) Network Camera Installation Manual Before operating the unit, please read this manual thoroughly and retain it for future reference. SNC-HMX70 © 2018 Sony Corporation...
-
Page 2: Table Of Contents
Table of Contents About the Manuals ............ 3 System overview ............3 Application variants ..........3 Using the camera ........... 4 Planning ..............4 Unpacking .............. 4 Contents ..............4 System requirements ..........4 Installation ..............5 Local storage ............5 Ceiling mount ............ -
Page 3: About The Manuals
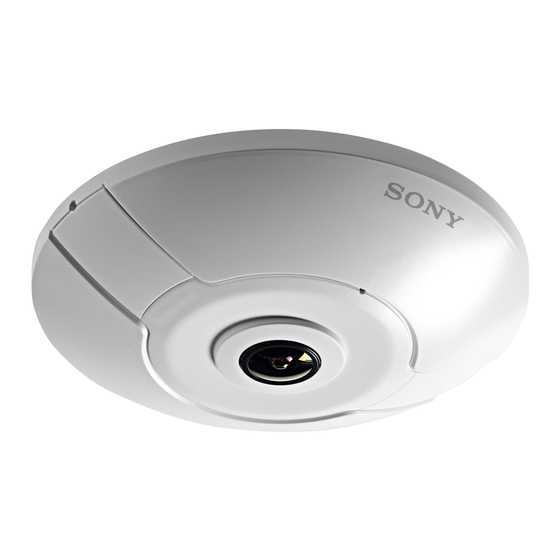
About the Manuals System overview Safety Regulations (supplied) SNC-HMX70 is a discreet, aesthetic, low-profile camera for indoor use. The 12MP sensor operating at 30 fps The Safety Regulations describes the secure usage of provides full panoramic surveillance with complete area camera. -
Page 4: Using The Camera
The original packaging is the safest container in which to transport the unit and can be used if returning the unit for service. Contents The packaging contains: – SNC-HMX70 Panoramic Camera – Safety Regulations – Identification labels – Mounting ring – 2 Allen keys (T10 and 1.5) –... -
Page 5: Installation
Ceiling mount Installation Mount flush to ceiling To flush mount the camera in a ceiling: Local storage Use the mounting ring to mark out the recess hole and Caution to mark the four mounting holes. The mounting holes PCD is 133 mm (5 1/4 in). Local storage on SD cards should only be used for alarm recording. -
Page 6: Wall Mount
Attach the camera body Attach the camera body to the mounting ring as described above. Insert the Ethernet cable into the RJ45 connector on the back of the camera. 9.5 mm (3/8) Mount the slots on the back of the camera onto the studs of the mounting ring. -
Page 7: Removing The Camera
– When attaching the camera body, ensure that the Sony Using the T10 Allen key, turn each mounting screw logo is at the top. four full turns counterclockwise to loosen them. Push Push 0° 270° 90° 180° 4 4 Top = N... -
Page 8: Network Connection
Reset the mounting screws Network connection It is important to reset the mounting screws to ensure correct remounting of the camera. Using the T10 Allen key, turn each mounting screw Network (and PoE power) four full turns clockwise to tighten them (this resets the mounting clips). -
Page 9: Configuration
Configuration Troubleshooting Browser connection LED status overview A computer with Microsoft Internet Explorer is used to The camera has four LEDs that are visible when the side receive live images, control the unit, and replay stored flap is opened: sequences. The unit is configured over the network using –... -
Page 10: Resolving Problems
Resolving problems The following table is intended to help identify the causes of malfunctions and correct them where possible. Malfunction Possible causes Solution Unit does not operate. Power failure. Check power supply. Faulty cable connections. Check all cables, plugs, contacts and connections. -
Page 11: Testing The Network Connection
Testing the network connection Maintenance The ping command can be used to check the connection between two IP addresses. This allows testing whether a device is active in the network. Cleaning Open the DOS command prompt. It is generally sufficient to use a dry cloth for cleaning, but a moist lint-free cloth or leather shammy may also be used. -
Page 12: Specifications
Specifications Power Power Supply Power-over-Ethernet 48 VDC nominal Power Consumption 9.6 W IEEE 802.3af (802.3at Type 1) Sensor Type 1/2.3.inch CMOS Total sensor pixels 12MP Used pixels (360° version) 2640 × 2640 (7MP) Video performance – Sensitivity – 360° lens (3100K, reflectivity 89%, F2.8, 30IRE) Color 0.55 lx... - Page 13 Video functions Day/Night Color, Monochrome, Auto (adjustable switchover points) Adjustable picture settings Contrast, Saturation, Brightness White Balance 2500 to 10000K, 4 automatic modes (Basic, Standard, Sodium vapor, Dominant color), Manual mode and Hold mode Shutter Automatic Electronic Shutter (AES) Fixed (1/30 [1/25] to 1/15000) selectable Default shutter Sharpness Sharpness enhancement level selectable...
- Page 14 Network Protocols IPv4, IPv6, UDP, TCP, HTTP, HTTPS, RTP/RTCP, IGMP V2/V3, ICMP, ICMPv6, RTSP, FTP, Telnet, ARP, DHCP, APIPA (Auto-IP, link local address), NTP (SNTP), SNMP (V1, MIB-II), 802.1x, DNS, DNSv6, DDNS (DynDNS.org, selfHOST.de, no-ip.com), SMTP, iSCSI, UPnP (SSDP), DiffServ (QoS), LLDP, SOAP, Dropbox, CHAP, digest authentication Encryption TLS 1.2, SSL, DES, 3DES Ethernet...
-
Page 15: Dimensions
Dimensions ∅105 (4 1/4) ∅158 (6 1/4) mm (inches) ∅150 (6) NPT 3/4" PG16 ∅158 (6 1/4) mm (inches) - Page 16 Sony Corporation...
Need help?
Do you have a question about the SNC-HMX70 and is the answer not in the manual?
Questions and answers