Sign In
Upload
Download
Table of Contents
Contents
Add to my manuals
Delete from my manuals
Share
URL of this page:
HTML Link:
Bookmark this page
Add
Manual will be automatically added to "My Manuals"
Print this page
×
Bookmark added
×
Added to my manuals
Manuals
Brands
JUKI Manuals
Sewing Machine
MO-114DN
Instruction manual
JUKI MO-114DN Instruction Manual
2-needle, 2/3/4-thread overlock sewing machine
Hide thumbs
1
2
3
4
Table Of Contents
5
6
7
8
9
10
11
12
13
14
15
16
17
18
19
20
21
22
23
24
25
26
27
28
29
30
31
32
page
of
32
Go
/
32
Contents
Table of Contents
Troubleshooting
Bookmarks
Table of Contents
Safety Instructions
Table of Contents
Contents
Details of the Machine
Accessories
Preparing the Machine
Foot Control
Thread Stand
Thread, Cones, Spools
Using the Machine
Main Switch
Presser Foot Lifter
Changing the Presser Foot
Looper Cover
Cloth Plate
Handwheel
Raising the Upper Knife
Inserting the Needles
Needles and Machine
Preparation
Upper and Lower Looper
Right and Left Needles
Trial Sewing
Sewing Test
Thread Tension
Adjusting Tensions
Adjustments and Settings
Stitch Length
Cutting Width
Differential Feed
Gathering
Upper Looper Converter
Roll Hemming
Presser Foot Pressure
Thread Breakage
Unpicking Seams
Stitch Chart
Maintenance
Replacing the Knives
Cleaning and Lubricating
Trouble Shooting Guide
Technical Data
Optional Accessories
Advertisement
Quick Links
Download this manual
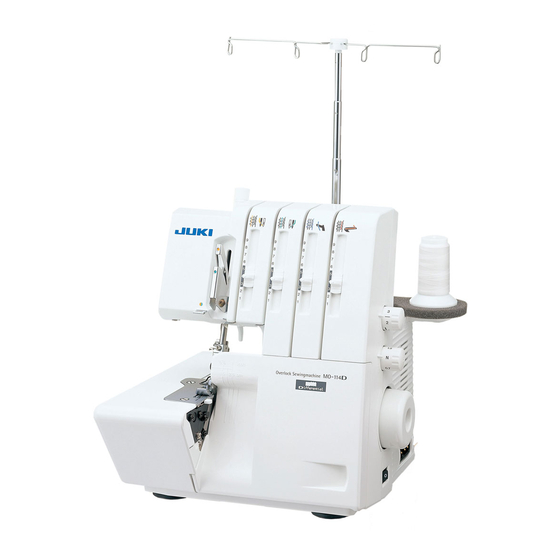
2-Needle, 2/3/4-Thread Overlock Sewing Machine
MO-114DN/104DN
INSTRUCTION MANUAL
MO-104DN
IMPORTANT:
Read all safety regulations carefully and under-
stand them before using your sewing machine.
Retain this instruction manual for future reference.
MO-114DN
EN
Table of
Contents
Previous
Page
Next
Page
1
2
3
4
5
Advertisement
Table of Contents
Need help?
Do you have a question about the MO-114DN and is the answer not in the manual?
Ask a question
Questions and answers
Related Manuals for JUKI MO-114DN
Sewing Machine JUKI MO-114D Instruction Manual
2-needle, 2/3/4-thread overlock sewing machine (32 pages)
Sewing Machine JUKI MO-104D Service Manual
2-needle, 4-thread overlock sewing machine (24 pages)
Sewing Machine Juki MO-103 Instruction Book
1-needle, 3-thread over-lock sewing machine (16 pages)
Sewing Machine JUKI MO-103 Instruction Book
1 needle, 3 thread overlock sewing machine (16 pages)
Sewing Machine Juki MO-104 Instruction Book
Safety stitch sewing machine (9 pages)
Sewing Machine JUKI Mo-104 Engineer's Manual
(24 pages)
Sewing Machine JUKI MO-102 Instruction Book
Lock sewing machine (20 pages)
Sewing Machine JUKI MO-134 Instruction Manual
2 needle, 4 or 3 thread (33 pages)
Sewing Machine JUKI MO-134 Instruction Book
2-needle 4-3-thread (28 pages)
Sewing Machine JUKI MO-103N Instruction Book
1-needle, 3 thread (17 pages)
Sewing Machine JUKI MO-1000 Instruction Manual
2-needle, 2/3/4-thread overlock sewing machine (68 pages)
Sewing Machine JUKI MO-1000 Instruction Manual
(68 pages)
Sewing Machine JUKI MO-1000 Instruction Manual
(56 pages)
Sewing Machine JUKI MO-1000 Series Service Manual
2-needle, 2/3/4-thread overlock sewing machine (80 pages)
Sewing Machine JUKI MO-1200QVP Instruction Manual
2-needle, 2/3/4-thread overlock sewing machine (88 pages)
Sewing Machine JUKI MO-104DN Instruction Manual
2-needle, 2/3/4-thread overlock sewing machine (32 pages)
This manual is also suitable for:
Mo-104dn
Table of Contents
Print
Rename the bookmark
Delete bookmark?
Delete from my manuals?
Login
Sign In
OR
Sign in with Facebook
Sign in with Google
Upload manual
Upload from disk
Upload from URL


Need help?
Do you have a question about the MO-114DN and is the answer not in the manual?
Questions and answers