
Related Manuals for KickAss KACHG128


Summary of Contents for KickAss KACHG128
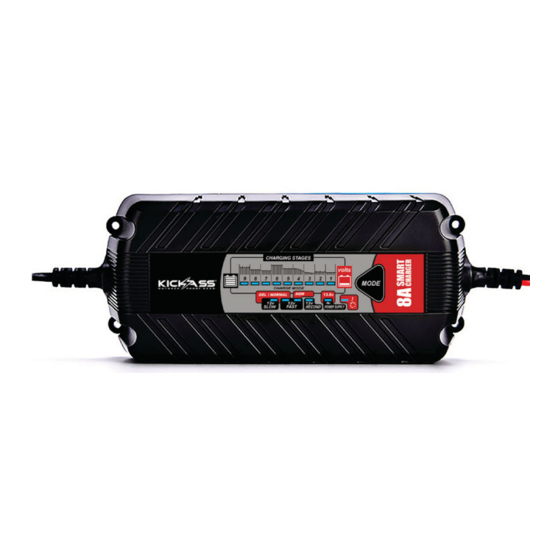
- Page 1 SMART BATTERY CHARGER 12V 8A USER MANUAL KACHG128 Suitable for 12V Normal Lead Acid, Sealed, AGM or Gel Batteries between 10-150Ah IP65...
-
Page 2: Important Safety Instructions
INTRODUCTION Thank you for purchasing the KA Smart Charger (KACHG128). This automatic stage charger will charge and maintain your battery to its optimum. The 9-Stage charging process is very comprehensive and will result in better charges and potentially increase the life of your battery when used correctly. - Page 3 Type of batteries This charger is only suitable for normal lead acid, sealed, AGM or gel batteries and should not be used to recharge NICAD or any other type of battery. Points of note When not in use, store the charger in a dry area to avoid moisture damaging the appliance. Ÿ...
- Page 4 FEATURES Automatic and Intelligent 9-Stage Charging Curve The KA Smart Charger is controlled by a microprocessor with 9-stage charging characteristic for charging batteries automobiles, motorcycles, snow mobiles, tractors, personal watercraft, boats etc. The microprocessor senses the condition of the battery and controls the regulator to provide the right current and voltage to the battery (charging characteristic).
- Page 5 LED display The unit is built-in with LED display for showing charger status: Green LED ON: Green LED ON: Green LED ON: Charging completed Charging completed Charging completed Red LED ON: Error Green LED ON: Nor/GEL battery in Dark Green LED slow charging mode ON: Power Supply Green LED ON:...
-
Page 6: Operation
Short-circuit protection Should you accidentally touch the alligator clips together whilst the mains power is on, the unit will not perform charging. Unplug from mains, disconnect and start the process again being careful not to touch the clips together. Charge memory If power is off... - Page 7 2.2 – Connecting to a Battery in a vehicle. Before connecting, determine if the vehicle is Negative (-) or Positive (+) Earthed. Negative earthed vehicles are most common and use the chassis as an Earth by connecting the Battery Negative Terminal to a conductive chassis point.
-
Page 8: Maintenance And Care
Battery Fault A few seconds after switching on to the operating mode, the LED indicator will illuminate if the following occurs: A. Battery voltage > 15 V B. Softstart charging voltage between 5-8V after 1 minute and 8-10V after 9 hours charging (to detect improper battery type, such as 6V or 24V, the charger is applicable for 12V battery ONLY) C. -
Page 9: Technical Specifications
Care Sometimes the battery may appear flat, but this could simply be dirty or loose connections on your battery terminals. It is important to maintain the leads on a regular basis. Do this by removing the leads from the battery, clean the inside of each connector and terminal posts on the battery, refit in there correct positions and tighten firmly. -
Page 10: Questions And Comments
12 MONTHS WARRANTY This Australian Direct product comes with a full 12 months warranty for your peace of mind. In the unlikely event this product fails when used according to our user guide, we will either repair or replace it. For full warranty terms and conditions on this product, please see the user guide at: userguides.australiandirect.com.au Customer Support...
Need help?
Do you have a question about the KACHG128 and is the answer not in the manual?
Questions and answers