Alarm.Com Pro Series Installation Manual
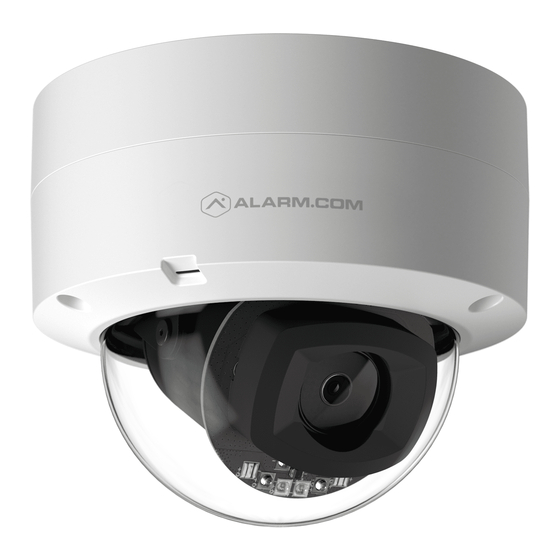
Varifocal turret camera
Hide thumbs
Also See for Pro Series:
- Installation manual (7 pages) ,
- Installation manual (16 pages) ,
- Installation manual (45 pages)
Advertisement
Quick Links
Advertisement

Related Manuals for Alarm.Com Pro Series


Summary of Contents for Alarm.Com Pro Series
- Page 1 Varifocal Turret Camera Installation Guide ADC-VC838PF...
-
Page 2: Pre-Installation Checklist
Router with broadband Internet connection (Cable, DSL, or Fiber Optic) and an open Ethernet port • A computer or mobile device with Internet access • An Ethernet / Cat5e cable • Username and password for the Alarm.com account to which you will add the camera... - Page 3 Overview ❶ ❷ ❶ LED indicator ❸ ❹ ❷ Varifocal lens ❸ Reset button ❹ MicroSD card slot ❺ RJ45 ethernet interface ❻ 12 VDC power connector ❼ Grounding terminal ❽ Camera label with MAC Address ❻ ❼ ❺ ❽...
-
Page 4: Led Reference
LED reference Not illuminated - Power off Solid green - Connected to Alarm.com Blinking green - Local network connection Blinking green and red - Reverting to factory default settings Blinking red - Power on, camera booting Solid red - No local or Internet connection... -
Page 5: Installation
❹ Add the device to the account by either selecting the account in MobileTech or by using a web browser and entering the following URL: www.alarm.com/addcamera (you will need the customer username and password). ❺... - Page 6 Weather resistant RJ45 cap assembly...
- Page 7 Camera mounting overview ❶ ❷ ❸...
- Page 8 Camera mounting instructions ❶ The camera has a cover that must be removed during the installation process. Place the camera on a flat surface with the lens pointed upwards. Hold the camera body with one hand and twist the cover counterclockwise with your other hand until the cover unlatches, then lift the cover away.
-
Page 9: Troubleshooting
LED is flashing Green and Red (about 15 seconds), then release the button. The camera will reboot with factory defaults. If the camera was previously installed to an Alarm.com account, it will need to be deleted before it can be installed again. - Page 10 UL. • The camera is only to be connected to PoE networks without routing to outside plants. • For non-PoE installations: only use 12V 1A VDC power supplies certified by Alarm.com for this camera model. Contact Alarm.com for more information.
- Page 12 8281 Greensboro Drive Suite 100 210302© 2021 Alarm.com. Tysons, VA 22102 All rights reserved.
Need help?
Do you have a question about the Pro Series and is the answer not in the manual?
Questions and answers