
Related Manuals for Genie PWIP2BV


Summary of Contents for Genie PWIP2BV
- Page 1 2MP H.265 IP IR Bullet Camera with 2.8-12mm Varifocal Lens PWIP2BV Quick Start Guide Please read these instructions carefully before operating the unit and keep for further reference.
- Page 2 Intro Section Please read this instruction carefully before operating the product and keep it for further reference. All examples and pictures used here are for reference only. The contents of this manual are subject to change without notice. CAUTION: • If the product does not work properly, please contact your dealer or the nearest service centre.
-
Page 3: Table Of Contents
Contents 1.0 Introduction ......................4 1.1 Product Features ...................4 1.2 Product Dimensions ..................4 1.3 Contents ......................4 1.4 Specification ....................5 2.0 Overview ......................6 3.0 Installation ......................7 4.0 Network Connection ...................8... -
Page 4: Introduction
1.0 Introduction The Genie PWIP2BV is a 2MP IP IR bullet camera with a 2.8- 12mm varifocal lens. The camera also features up to 50m IR night view distance as well as being IP67. 1.1 Product Features • 2MP (1920 x 1080) H.265 coding •... -
Page 5: Specification
Quick Start Guide 2MP H.265 IP IR Bullet Camera with 2.8-12mm Varifocal Lens 1.4 Specification Image Sensor 1 / 2.9 “CMOS Image Size 1920 x 1080 Electronic Shutter 1 / 25 s ~ 1 / 100000 s Iris Type Fixed Iris 0.0035 Lux @ F1.2, AGC ON, 0 Lux with IR Minimum Illumination 0.013 Lux @ F2.31, AGC ON, 0 Lux with IR... -
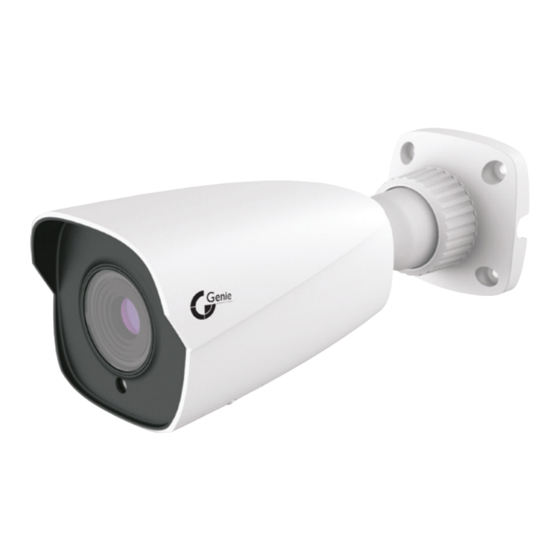
Page 6: Overview
2.0 Overview Fixed Ring 5. Power Connector (If the PoE switch 2. Mounting Base is used to power the camera, DC12V 3. Network Connector (It is recommended power supply is not required). to install the security cap for outdoor 6. Micro SD Card Slot installation) Reset 4. -
Page 7: Installation
3.0 Installation Please make sure that the wall or ceiling is strong enough to withstand 3 times the weight of the camera. Please install the camera in and under a dry environment. Drill the screw holes and the cable hole on the wall according to the drill template. 2. -
Page 8: Network Connection
4.0 Network Connection Access the Camera through the IP Tool Make sure that the camera and the PC are well connected via LAN. 2. Find the IP-Tool from the CD and then install it in the computer. After that, run the IP Tool as shown below. - Page 9 Sales +44(0)1707 330541 Enquiries sales@genieproducts.co.uk Website www.genieproducts.co.uk...
Need help?
Do you have a question about the PWIP2BV and is the answer not in the manual?
Questions and answers