
Subscribe to Our Youtube Channel
Related Manuals for Amart Furniture Signature LASALLE 64102


Summary of Contents for Amart Furniture Signature LASALLE 64102
- Page 1 ASSEMBLY INSTRUCTION LASALLE SOFA TABLE ITEM CODE 64102 Imported by Amart Furniture Pty Ltd, Qld, Brisbane Australia. For any assistance with assembly or for missing parts please phone Amart Furniture, Customer Service Free call 1800 351 084 64102...
- Page 2 IMPORTANT: CARE GUIDE FOR YOUR TIMBER FURNITURE • Congratulations! You have just purchased a quality product from Amart Furniture. Please read on for important information regarding your purchase. • A multi-step finish is applied to all our furniture, but all wood comes from nature.
-
Page 3: Pre-Assembly Preparation
PRE-ASSEMBLY PREPARATION Before you start: Choose a clean, level, spacious assembly area. Avoid hard surfaces that may damage the product Take care when lifting. Product should be assembled as near as possible to the point of use Ensure that you have all required contents for complete assembly Always read the assembly instructions carefully before beginning assembly. -
Page 4: Parts List
PARTS LIST Part DESCRIPTION In box Part DESCRIPTION In box TABLE TOP CROSS BAR RAILS LEGS PEDESTALS A M6 X 30 BOLT B M6 X 80 BOLT C M8 X 50 BOLT D CURVED PCES PCES PCES PCES WASHER E M6.5 X 19 FLAT F M6.5 X 9 G ALLEN KEY 1 PCE... - Page 5 Step 1 You should have started by opening box 1, upside down. Keep the table top inside the box until later advised. Open the legs box as the hardware is in there. Step 2 Next you will need to assemble the M6 x 30 bolts (item A) with the M6.5 x 9 spring washers (item F) and the M6.5 x 19 flat washers (item E) YOU WILL NEED...
- Page 6 Step 3 With the assembled bolts from step 2, attach a rail (part 2) to a pedestal (part 3) as per diagram below. Make sure the pedestal is standing upright at all times as shown, we recommend 2 people for this, with one holding the pedestal at all times.
- Page 7 Step 5 Next you will need to assemble the M6 x 80 bolts (item B) with the M6.5 x 9 spring washers (item F) and the M6.5 x 19 flat washers (item E) YOU WILL NEED B M6 X 80 BOLT E M6.5 X 19 FLAT F M6.5 X 9 G ALLEN KEY...
- Page 8 Step 7 Repeat Step 6 with the other leg and pedestal. Step 8 Next we’ll be attaching the leg structures to the table top. We recommend 2 people for this with one person holding the leg structure up right at all times. take the 8 remaining assembled bolt sets from step 2.
- Page 9 Step 9 Next we’ll be attaching the cross bar. You will require 2 people for this step. One to fasten one end whilst the other holds the other end in place. Due to the space constraint of the slotted hole, please be patient whilst fastening the bolt. Start by placing the curved washer (item D), into place as shown below, then insert the bolt (item C) and fasten.
- Page 10 Step 10 Finally flip the Sofa table over. This is a 2 person task do not do this alone. Once the right way up, remove the packaging from the table top. 64102...
- Page 11 Attaching the anti-tipping kit. As wall types vary, we do not supply the screws that you will need, to fasten onto your wall. Please seek advice from you trusted local specialist. Step 1 Attach one of the anchors to the underside of sofa table top. Step 1 Mark the spot on the wall that will best line up with the anchors already fixed on the unit.
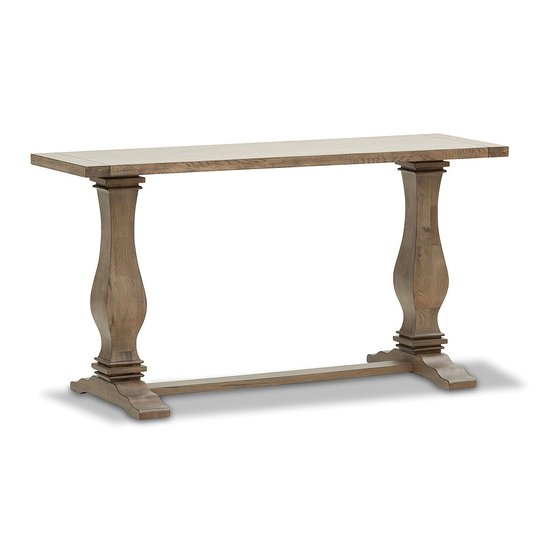
- Page 12 Assembly is complete. 64102...
Need help?
Do you have a question about the Signature LASALLE 64102 and is the answer not in the manual?
Questions and answers