
Related Manuals for Koplus HOP DESK


Summary of Contents for Koplus HOP DESK
- Page 1 DESK Sit-stand Desk Assembly Instructions. sit-stand collection - hop sit-stand desk koplus b.v. | koplus.eu info@koplusbrand.com version 200220...
- Page 3 Any warranty or liability claims for damages or injuries caused by improper use of the desk will NOT be accepted. For sit-stand desks, Koplus warrants to the original purchaser a 5 year warranty on the structure and a 2 year warranty on the motor, controller, switch, electronics and all other mechanical parts.
-
Page 5: Required Tools
Required Tools Drill Phillips Screw Driver 4mm Allen Key Page 03 Koplus B.V. | Hop Sit-stand Desk | Assembly Instruction... -
Page 6: Part List
Nº1 Nº2 Nº3-A Sit-stand Legs Bases Outer Frame - A Nº3-B Nº4 Nº5 Outer Frame - B Inner Frames Side Frames Nº6 Nº7 Nº8 Control Box Handset Leveling Glides Page 04 Koplus B.V. | Hop Sit-stand Desk | Assembly Instruction... - Page 7 Tool Kit: Screw Pack List Power Outlet Motor Extension Cord Cable Mount M6 x 10 M6 x 14 M8 x 35 ST5 x 16 ST5 x 20 Page 05 Koplus B.V. | Hop Sit-stand Desk | Assembly Instruction...
- Page 8 Installer Tip for Desk Assembly: If you’re using a drill to assemble, make sure to check that all screws and/or bolts are tightly swith a hand held allen key and/or screw driver. Page 06 Koplus B.V. | Hop Sit-stand Desk | Assembly Instruction...
- Page 9 Step 2. M6 x 14 Nº5 Side Frame Nº3-B Outer Frame - B Page 07 Koplus B.V. | Hop Sit-stand Desk | Assembly Instruction...
- Page 10 Step 3. Nº1 Sit-stand Leg M6 x 10 Nº3-B Outer Frame - B Page 08 Koplus B.V. | Hop Sit-stand Desk | Assembly Instruction...
- Page 11 Step 4. Nº1 Sit-stand Leg M6 x 10 Nº3-A Outer Frame - A Page 09 Koplus B.V. | Hop Sit-stand Desk | Assembly Instruction...
- Page 12 Step 5. Nº1 Leveling Glides Nº2 M8 x 35 Base Nº3-B Outer Frame - B Page 10 Koplus B.V. | Hop Sit-stand Desk | Assembly Instruction...
- Page 13 Step 6. Nº1 Leveling Glides Nº2 M8 x 35 Base Nº3-B Outer Frame - B Page 11 Koplus B.V. | Hop Sit-stand Desk | Assembly Instruction...
- Page 14 Step 7. Nº4 Inner Frames Page 12 Koplus B.V. | Hop Sit-stand Desk | Assembly Instruction...
- Page 15 Adjust the inner frames to desired width then fix in place with screws. The desk frame can be adjusted to fit 1200 - 1800 mm table top. M6 x 10 Page 13 Koplus B.V. | Hop Sit-stand Desk | Assembly Instruction...
- Page 16 Step 9. Motor Power Outlet Motor Extension Cord Power Outlet Nº6 Control Box Nº7 Handset Handset Motor Page 14 Koplus B.V. | Hop Sit-stand Desk | Assembly Instruction...
- Page 17 Step 10. Installer Tip for Control Box: Make sure to either secure the control box to the desk frame or screw it on to the bottom of the table top. Page 15 Koplus B.V. | Hop Sit-stand Desk | Assembly Instruction...
- Page 18 Step 11. Installer Tip for Table Top & Wire Management: Please use part C to mange wires and part H to attach table top. M5 x 16 Page 16 Koplus B.V. | Hop Sit-stand Desk | Assembly Instruction...
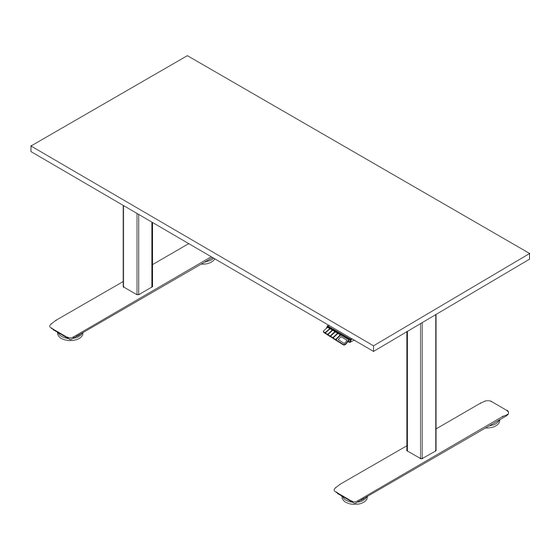
- Page 19 Hop Sit-stand Desk Complete! Plug in and start using Hop! Please read through the controller intorduction to learn about Hop’s functions and operations before you begin. Page 17 Koplus B.V. | Hop Sit-stand Desk | Assembly Instruction...
-
Page 20: Functions And Operations
3. Press on the button to select. 4. To exit the menu, remain inactive for 5 seconds or select “Return”. Timer Max/Min Height Handset Lock Vibration LED Light Return Page 18 Koplus B.V. | Hop Sit-stand Desk | Assembly Instruction... -
Page 21: Memory Settings
2. To set the desk’s maximum or minimum height, select the “Max/Min Height” menu. 3. With the desk set at the preffered maximum or minimum height, select the “Max Height” or “Min Height” menu. Page 19 Koplus B.V. | Hop Sit-stand Desk | Assembly Instruction... -
Page 22: Handset Lock
10 seconds of inactivity. 3. To unlock, press on any button to prompt the unlock instructions. Press on buttons in the order indicated on the LED display. Page 20 Koplus B.V. | Hop Sit-stand Desk | Assembly Instruction...
Need help?
Do you have a question about the HOP DESK and is the answer not in the manual?
Questions and answers