Table of Contents
Advertisement
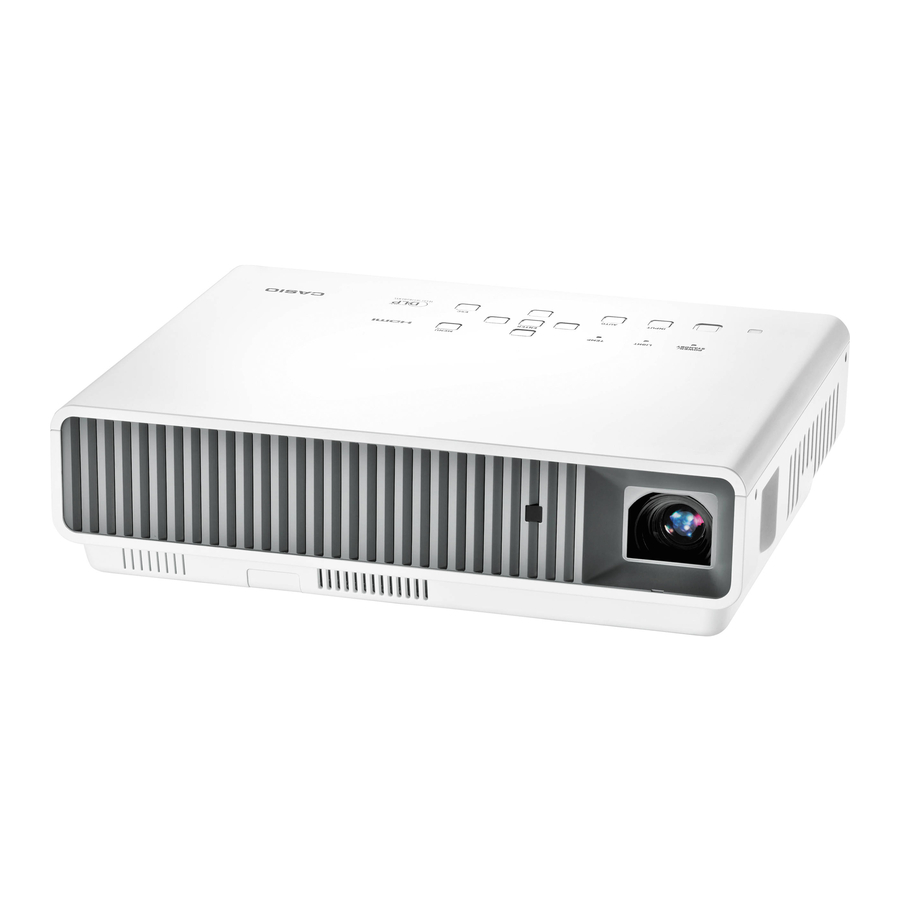
DATA PROJECTOR
DATA PROJECTOR
XJ-M140 / XJ-M145
XJ-M140 / XJ-M145
XJ-M150 / XJ-M155
XJ-M150 / XJ-M155
XJ-M240 / XJ-M245
XJ-M240 / XJ-M245
XJ-M250 / XJ-M255
XJ-M250 / XJ-M255
• Some models covered by this User's Guide may not be available
in certain geographic areas.
• Certains modèles couverts par ce mode d'emploi peuvent ne
pas être commercialisés dans certaines zones géographiques.
• Algunos modelos cubiertos por esta Guía del usuario pueden no
estar disponibles en determinadas áreas geográficas.
* USB port models
* Modèles à port USB
* Modelos con puerto USB
English
Setup Guide
*
*
Be sure to keep all user documentation
handy for future reference.
*
*
Français
*
*
Guide d'installation
*
*
Conservez la documentation à portée de
main pour toute référence future.
Español
Guía de configuración
Asegúrese de tener a mano toda la
documentación del usuario para
futuras consultas.
EFS
Advertisement
Table of Contents
Troubleshooting

Related Manuals for Casio XJ-M140/XJ-M145*


Summary of Contents for Casio XJ-M140/XJ-M145*
- Page 1 DATA PROJECTOR DATA PROJECTOR XJ-M140 / XJ-M145 XJ-M140 / XJ-M145 XJ-M150 / XJ-M155 XJ-M150 / XJ-M155 XJ-M240 / XJ-M245 XJ-M240 / XJ-M245 XJ-M250 / XJ-M255 XJ-M250 / XJ-M255 * USB port models * Modèles à port USB * Modelos con puerto USB •...
-
Page 2: Table Of Contents
CASIO COMPUTER CO., LTD. shall not be held liable for any loss or lost profits due to loss of data caused by malfunction or maintenance of this product, or any other reason. -
Page 3: Safety Precautions
Thank you for selecting this CASIO product. Be sure to read these “Safety Precautions” before trying to use it. After reading this User’s Guide, keep it in a safe place for future reference. About safety symbols Various symbols are used in this User’s Guide and on the product itself to ensure safe use, and to protect you and others against the risk of injury and against material damage. - Page 4 CASIO. Be sure to leave all internal inspection, adjustment, and repair up to your original dealer or authorized CASIO service center.
-
Page 5: Projector Cabinet
• Allow at least 30cm (11.8 inches) between the projector and walls. • Do not insert the projector into any space where air circulation is poor. • Never cover the projector with a blanket or any similar item. -
Page 6: Remote Controller
• Never use detergent to clean the power cord, especially the power plug and jack. • Before moving the projector, be sure to turn it off and unplug it from the power outlet first. ● Backup of important data Be sure to keep separate written records of all data stored in projector memory. - Page 7 Allowing dust to build up inside the projector for long periods without cleaning creates the risk of fire and breakdown. Contact your original dealer or authorized CASIO service center once a year about having the interior of the projector cleaned. Note that you will be charged for cleaning.
- Page 8 Safety Precautions 3D Glasses Warning 3D images should not be viewed by the types of individuals described below. Doing so creates the risk of loss of health. • Individuals with heart disease • Individuals with a history of photodermatosis • Individuals with epileptic tendencies Caution Do not view 3D images if you are experiencing any of the symptoms...
-
Page 9: Operating Precautions
The failure of the light source unit to light or a noticeable drop in light source unit brightness indicates the end of the light source unit’s life. Contact your original dealer or authorized CASIO service center for replacement. Note that problems caused by unauthorized projector disassembly or modification are not covered by the warranty and are not eligible for repair by CASIO. -
Page 10: Other Precautions
If the projected image is the wrong color, re-select the current input source. If this does not return the projected image to its proper color, use the procedure under “To turn off the projector” on page E-15 to turn projector power off and then back on again. -
Page 11: Precaution When Handling The Projector After Use
Even if your projector is still within the warranty period, you will be charged for repair if a problem is due to running the projector non-stop for very long periods (like 24 hours) or if the projector was set up and used without following the “Setup Precautions”... -
Page 12: Unpacking
As you unpack the projector, check to make sure that all of the items listed below are present. DATA PROJECTOR • Test Batteries (AAA-size × 2) • AC Power Cord • Carrying Bag • CD-ROM • Setup Guide • “Read this first” Sheet •... -
Page 13: Getting Ready
Setting Up the Projector Locate the projector on a desk, table, or stand that is firm and level. Make sure to allow sufficient space around the sides and back of the projector for proper ventilation. The following illustrations show how the projector should be oriented for optimum projection relative to the screen. -
Page 14: Setup Precautions
Airflow from air conditioning equipment can blow the heat being exhausted from the area around the projector’s lens in a way that causes heat ripples to appear in the projected image. If this happens, adjust the airflow of the air conditioning equipment or move the projector. -
Page 15: Connecting A Computer To The Projector
Never try to forcibly change the front foot position without pressing the release button. Connecting a Computer to the Projector Connect the projector’s COMPUTER IN terminal to the RGB terminal of a computer as shown in the illustration below. <Projector>... -
Page 16: Starting And Stopping Projection
“Computer” and then press the [ENTER] key. Adjust the size and the focus of the projected image. Use the zoom ring of the projector’s lens to adjust the size of the projected image, and the focus ring to adjust the focus. -
Page 17: To Turn Off The Projector
To turn off the projector Press the [P] (Power) key. This causes the confirmation message to appear. If you do not turn off the projector the confirmation message will disappear automatically after about 10 seconds. The confirmation message will also disappear if you press the [ESC] key. -
Page 18: To View The Contents Of A User's Guide (Pdf)
The CD-ROM contains software for each projector model and PDF files with User’s Guides. In order to read the User’s Guide, you need to have Adobe To view the contents of a User’s Guide (PDF) Place the CD-ROM that comes with the projector into your computer’s CD-ROM drive. -
Page 19: Indicators
When a warning message appears on the projection screen, or when the POWER, TEMP, and LIGHT indicators are lit or flashing in a pattern other than those shown above, it means that a projector error has occurred. For details about indicators and warning messages, see the User’s Guide on the CD-ROM that comes with the projector. -
Page 20: Troubleshooting
[VOLUME] key and then use [ ] and [ ] to adjust the volume level. See the User’s Guide (UsersGuide_English.pdf). The volume level setting of the device connected to the projector is too low or the other device is not outputting audio. Adjust the volume level of the connected device. -
Page 21: Troubleshooting
1. Unplug the AC power cord and wait for at least 10 minutes. 2. Plug the power cord back in and turn the projector back on again. If normal operation does not resume after you perform the above steps, take the projector to your retailer or authorized CASIO service center. -
Page 22: Main Specifications
Main Specifications XJ-M140/XJ-M145/ XJ-M150/XJ-M155/ Model Name XJ-M240/XJ-M245 XJ-M250/XJ-M255 Brightness 2500 3000 (ANSI Lumens) Operating Temperature: 5 to 35°C (41 to 95°F) Environment Operating Humidity: 20 to 80% (non-condensation) Operating Altitude: 0 to 3,000 meters (0 to 10,000 feet) above sea level Power Requirements 100-240V AC, 50/60Hz, 2.3A-1.0A 311 (W) ×... -
Page 23: Fcc Warning
Proper connectors must be used for connection to host computer and/or peripherals in order to meet FCC emission limits. Connector cable...XJ-M140/XJ-M145/XJ-M150/XJ-M155/XJ-M240/XJ-M245/XJ-M250/XJ-M255 unit to Model Number: XJ-M140/XJ-M145/XJ-M150/XJ-M155/XJ-M240/XJ-M245/XJ-M250/XJ-M255 Trade Name: CASIO COMPUTER CO., LTD. Responsible party: CASIO AMERICA, INC. Address: 570 MT. PLEASANT AVENUE, DOVER, NEW JERSEY 07801 Telephone number: 973-361-5400... -
Page 24: Fcc Information
FCC Information This device, IEEE 802.11g Wireless LAN USB Adapter, complies with Part 15 of the FCC Rules. Operation is subject to the following two conditions: (1) this device may not cause harmful interference, and (2) this device must accept any interference received; including interference that may cause undesired operation. Federal Communications Commission (FCC) Statement This Equipment has been tested and found to comply with the limits for a Class B digital device, pursuant to Part 15 of the FCC rules. - Page 26 Printed in China Imprimé en Chine RJA524095-002 MA1106-B...
Need help?
Do you have a question about the XJ-M140/XJ-M145* and is the answer not in the manual?
Questions and answers