Table of Contents
Advertisement
Quick Links
Advertisement
Table of Contents

Related Manuals for ASUSTOR AS-T10G2


Summary of Contents for ASUSTOR AS-T10G2
- Page 1 Network Card Installation Guide For ASUSTOR AS6704T/AS6706T NAS Ver. 4.0.0116...
-
Page 2: Table Of Contents
Installation Guide ......................4 Removing the Cover ....................4 2.1. Installing a Network Card ................... 5 2.2. Replacing the Cover ....................8 2.3. Appendix ........................ 10 Troubleshooting ....................10 3.1. Contact ASUSTOR Technical Support ............... 10 3.2. Page 2 of 10... -
Page 3: Introduction
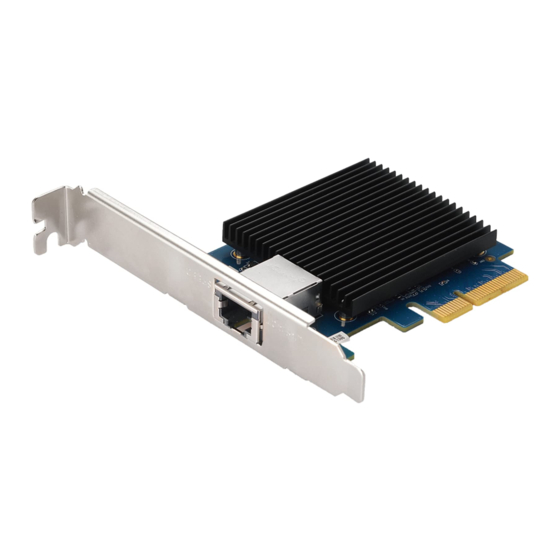
ASUSTOR NAS Memory Installation Guide 1.1. Notes and Precautions 1. Your AS6704T and AS6706T supports the AS-T10G2 10-Gigabit Ethernet network card. Installation of the AS-T10G2 requires use of the included bracket designed for the Lockerstor Gen2 series of NAS devices. -
Page 4: Installation Guide
ASUSTOR NAS Memory Installation Guide 2.1. Removing the Cover l Shutdown the NAS by selecting [Shut down] from the ADM User Menu. l Disconnect all cables and devices connected to the NAS including the power cord. AS6704T AS6706T l Use a screwdriver to loosen the three screws found on the rear of the NAS as shown in the illustration. -
Page 5: Installing A Network Card
ASUSTOR NAS Memory Installation Guide l Grip the cover from both sides with two hands and then gently push it back to remove it from the chassis. 2.2. Installing a Network Card To remove the M.2 card, undo the screws as shown below. - Page 6 ASUSTOR NAS Memory Installation Guide Undo the two screws that hold the bracket for the M.2 card in place. AS6704T AS6706T Lift the bracket out of the NAS. AS6704T AS6706T Remove both screws in the rear of the NAS and placeholder bracket.
- Page 7 ASUSTOR NAS Memory Installation Guide Unscrew and remove full-height bracket from AS-T10G2 NIC. Attach NAS-specific bracket to the AS-T10G2 and fasten screws. Gently insert the network card into the PCIe slot of your NAS. AS6704T AS6706T Page 7 of 10...
-
Page 8: Replacing The Cover
ASUSTOR NAS Memory Installation Guide Fasten the network card to the NAS with screws. AS6704T AS6706T 10. Follow these instructions in reverse order to reinstall the M.2 card. 2.3. Replacing the Cover l Replace the cover and tighten the three screws that were removed previously. - Page 9 ASUSTOR NAS Memory Installation Guide l Reconnect all cables including the power cord and then start up the NAS. AS6704T AS6706T Page 9 of 10...
-
Page 10: Appendix
If your NAS still does not operate normally, please remove the newly installed network card, and then restart the NAS to see if it is able to operate normally. If the previous steps have not solved your problem, please contact your local dealer or ASUSTOR customer service.
Need help?
Do you have a question about the AS-T10G2 and is the answer not in the manual?
Questions and answers