
Related Manuals for QPIX CBS1400


Summary of Contents for QPIX CBS1400
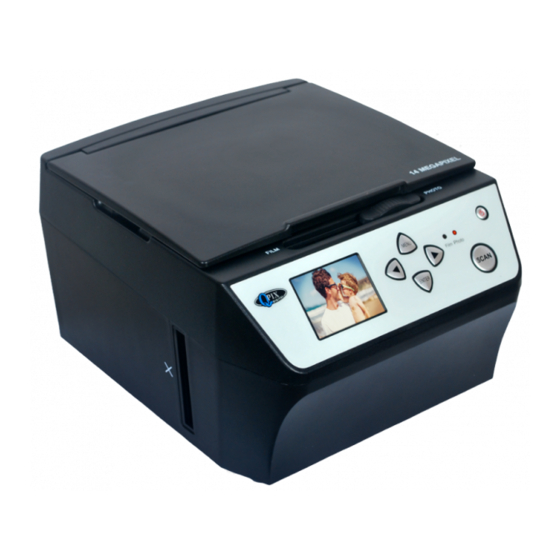
- Page 1 CBS1400 MULTI-FUNCTION COMBO SCANNER CONVERTS FILMS / SLIDES / PHOTOS & NAMECARDS INTO DIGITAL IMAGES User's manual...
-
Page 2: Table Of Contents
1: Safety precautions User Manual Important: Do not expose this product to rain or moisture to preserve the life of your product. Caution: Do not disassemble this unit. To prevent any electric For correct usage please read these instructions carefully and keeps in shock, do not remove the cover. -
Page 3: 2: Package Contents
small black line on the edge of the frame that can be 3: Description of parts removed using a photo editing software. ISO– International Organization for Standardization 135 Positive slide holder 135 Negative film holder Film & photo scanner 110 Film Holder 2: Package contents •... -
Page 4: 4: Loading Slides
4: Loading Slides 5: Loading Negatives/110 Film Hold up the slide toward the light. Face the Negative film properties: The light, shade trademark side of the slide away from you. and color of the Negative is exactly inverted Look through the slide and it should appear from the original image. -
Page 5: 6: Loading Photos And Name Cards
6: Loading photos and name cards 7: General operations Note: Please cover the lid when you are capturing, otherwise the picture you captured are not so good if you keep the cover opening. ♦ Quick Start • Please insert the memory card into the device, and do not take out the memory card when the device is operating, otherwise the device will be powered off automatically. - Page 6 ♦ Operation Guide Home/MODE: No memory card Home/MODE: Main menu When the Film scanner mode is selected, the following main menu will When no memory card is inserted appeared: into the machine, a warning icon will be shown on screen. No memory card indicator 1: Capture ①...
- Page 7 1.2 Capture: Mirror/Flip (Hard Key) 1.3 Capture mode Images can be mirrored or flipped before capture, press the LEFT/ In the capture mode, there will be an Live view indicator RIGHT button for the Mirror/Flip function, The live preview will be indicator on the left top corner to indicate that adjusted accordingly(This function corrects the capture when the film is it is in live preview mode.
- Page 8 1.6 Capture: Save 1.10 Memory full When the internal memory or memory card Pressing the SCAN button in live preview, is full, a memory full icon will be shown. preview (live view) image will be selected This only appears after the SCAN button and shown on the screen.
- Page 9 3: Playback 3.3 Playback: Slide show→Single picture→Edit mode Pause the slide show mode to single picture playback by pressing the ENTER button. Browse through each picture by pressing the LEFT/ RIGHT button. Press the ENTER button to bring out the edit functions to modify the selected image.
- Page 10 3.5 Playback: Delete 4: Film Type In film scanner mode, change film type by entering Film Type menu. Press the LEFT/RIGHT button for Film press the ENTER button to confirm. Press the MODE button to return to the main menu. Enter Press the LEFT/RIGHT button to delete the current image by selecting the delete icon and press the ENTER button.
- Page 11 5: Effect 7: Business Card Reader In Photo scanner mode, change color effect by entering Effect menu. 1. Insert the CD in the CD-ROM Press the LEFT/RIGHT button for Effect press the ENTER button to 2. A pop-up installation interface after you put the CD in the CD-ROM confirm.
- Page 12 7.1 Name Card Recognition When the scanning is completed, you can close the capture window or Select “File” → “open image”, you can choose language, and then it will click on the main window on the back to bring up the preview window as recognize the namecard automatically as below.
- Page 13 7.3 Manually Editing 7.4 Add business card User can manually change any content listed on the left side of the User can also create a new business card by clicking on the "New" window. Or, right click on any of the selected box on the card image and button on the left side of the main window.
- Page 14 Software Features 8: Resolution Change resolution by entering the resolution menu. Press the LEFT/ 1. Multi-language OS support RIGHT button for Resolution and press the ENTER button to confirm. Nimocard uses unicode encoding standard and can be installed on various operating systems of different languages. 2.
-
Page 15: Maintenance
When the device is connected with a USB cable to a PC, Press the 8: Maintenance LEFT/RIGHT button for USB MSDC and press the ENTER button to confirm. The film scanner will become a mass storage device and to Use the cleaning cloth to wipe down the scanning surface frequently, to preview or edit images on PC. -
Page 16: Trouble Shooting
Gently push the brush into the scanner. 9: Trouble shooting 10: Technical Specifications Question: There is unwanted stripe appearance at the edge of the Lens : 3G2P F/NO=3.98 f=5.22 Film Range:51.5mm image. F/NO=3.4 f=5.12 Photo Range: 170mm Answer: If it is slight stripe, move the slide holder gently to and fro in Sensor : 14 mega pixels CMOS sensor the device until the stripe is no longer visible in the preview...
Need help?
Do you have a question about the CBS1400 and is the answer not in the manual?
Questions and answers