Fanvil X4U Introduction Manual
Hide thumbs
Also See for X4U:
- Installation manual ,
- Quick installation manual (20 pages) ,
- Manual (7 pages)

Related Manuals for Fanvil X4U


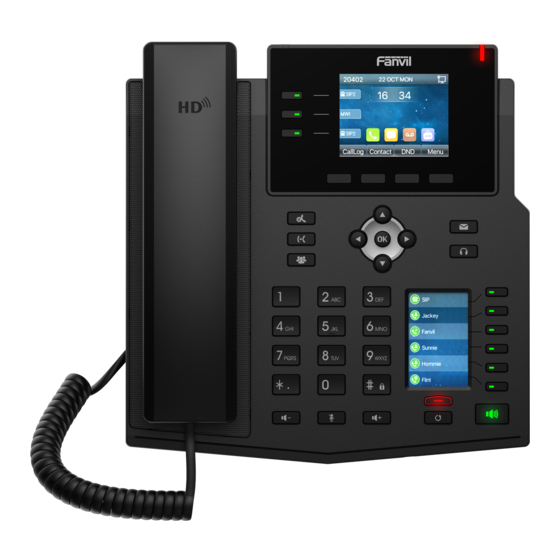
Summary of Contents for Fanvil X4U
-
Page 1: Table Of Contents
Home PBXware SERVERware TELCOware SIPmon SIPProt Desktop & Mobile UADs Appliances From Bicom Systems Wiki Contents 1 Introduction 2 Video Tutorial 3 Requirements 3.1 Identifying Phone Model 3.2 Phone Firmware 3.3 DHCP Server 3.4 PBXware Version 4 Installation 4.1 Power Adapter 4.2 Power over Ethernet (PoE) 4.3 Find the Phone's IP Address 4.4 Reset to factory settings... -
Page 2: Video Tutorial
Phone Firmware Make sure that the phone is loaded with an appropriate firmware version, 2.4.3. To find out the firmware version of the Fanvil phone model, open a new browser window and... -
Page 3: Dhcp Server
enter the phone's IP address in order to access the phone's web administration interface login screen. Example: http://192.168.1.22. Log in to the phone's web administration interface with a username and password. Please note that factory default login details are as follows: username is admin and password is admin. DHCP Server Fully configured and operational DHCP server. -
Page 4: Find The Phone's Ip Address
compliant router or switch. Connect the Ethernet cable between the Internet port on the phone and an available port on the in-line power router or switch. NOTE: If you are using Power over Ethernet (PoE), you don't need to connect the AC adapter. Make sure that the Ethernet cable and router or switch is Power over Ethernet (PoE) compliant. - Page 5 UAD Settings Navigate to Settings:UAD. Make sure Fanvil UAD is enabled. To check the UAD status, click the Edit icon corresponding to the Fanvil phone. Make sure Status is set to Active, Auto provisioning is set to No, and DHCP is set to Yes.
- Page 6 Department to which Extension belongs to. Example: Sales. Click Save. Registering a Phone This section describes how to register a Fanvil phone using Hostname or IP Address. Hostname or IP Address Log in to the phone's web administration interface Open a new browser window and enter the phone's IP address in order to access the phone's web administration interface login screen.
-
Page 7: Auto Provisioning
Extension. Activate Make sure the Activate check box is selected. SIP Proxy Server Address Enter the Hostname or IP Address of PBXware. - Example of a Hostname: voip.bicomsystems.com - Example of an IP Address: 192.168.1.10 Click Apply. If everything is done as described above, you should have successfully registered your phone to PBXware. - Page 8 Make sure Fanvil UAD is enabled. To check the UAD status, click the Edit icon corresponding to the Fanvil phone. Make sure Status is set to Active, Auto provisioning is set to Yes, and DHCP is set to Yes. Click Save.
- Page 9 Click Save. Registering Phone This section describes how to register a Fanvil phone using TFTP & HTTP. TFTP & HTTP Open a new browser window and enter the phone's IP address, e.g. http://192.168.1.22.
-
Page 10: Configure Blf
Configure BLF Extension Settings This section describes how to configure BLF (Busy Lamp Field) for Fanvil X4U. Log in to the PBXware's web administration interface. Open a new browser window and enter the IP address in order to access the PBXware's web administration login page. -
Page 11: Phone Settings
Click Save. Click Enhanced Services. Click the Directory / BLF List check box and click the Save button in order to enable this feature. Click Directory / BLF List Edit. Enter the user's Extension number and click the BLF check box. Click Save.
Need help?
Do you have a question about the X4U and is the answer not in the manual?
Questions and answers