Advertisement
Quick Links
Advertisement

Related Manuals for Outsunny 84C-247


Summary of Contents for Outsunny 84C-247
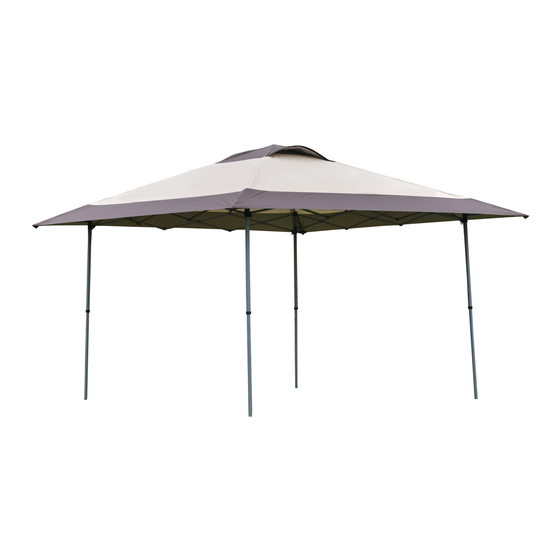
- Page 1 INbnc008_UK 84C-247 READ AND SAVE THIS INSTRUCTIONS FOR FUTURE USE ASSEMBLY & INSTRUCTION MANUAL...
- Page 2 Warning: . 1. A 3 person assembly is required for this tent. 2. Please take appropriate actions as heavy rain, wind and snow can damage the tent. If necessary please dis-assemble and store for later use. 3. In snowy conditions please do not alow the thickness of the snow to be more than 5cm on the roof, this should be cleared as soon as possible for your safety.
- Page 3 PART ① ② ④ ③ 1. Place the frame in the center of the desired location. Stand opposite a partner and lift frame off the ground walking backwards away from partner.
- Page 4 2. Place canopy top over partially opened frame. Align eve extension corners of the top and the frame then attach the elastic loops to each corner of the frame. 3. Open frame completely and engage the slider at each corner by placing one hand on the truss, one hand on the top of the leg and pushing up until the pin “clicks”...
- Page 5 4. Attach the hook and loop straps to each corner and overhead truss bars. 5. Extend each inner leg to raise canopy to the desired height by stepping on the lower footpad and allowing the snap button to lock in place. Adjust to desired height with the 3 height levels.
- Page 6 6. Attach corner to top truss bars. 7. Secure the gazebo by driving a stake down through one of the holes in each foot base.
- Page 7 After Each Use Disassembling the Gazebo Store all parts (like the stakes) in the corresponding bag tofabric. 1. Put up all stakes from ground.
- Page 8 2. Detach hook and loop straps from the top. 3. Raise a leg off the ground and depress the snap button to disengage the lower leg. Repeat until all four legs have been lowered.
- Page 9 4. Pull the pin on the slider at each corner bracket to disengage the frame and allow it to close. 5. Remove elastic loops on the top from each eve extension corner. Stand opposite a partner and grasp the lower truss bar. Lift the frame off the ground and slowly walk toward partner being careful not to pinch fingers.
- Page 10 6. Remove canopy top and completely close frame. Recommends storing canopies without the top to avoid mildew and pinch tears. 7. Store frame and top in roller bag.
Need help?
Do you have a question about the 84C-247 and is the answer not in the manual?
Questions and answers