Table of Contents
Advertisement
Advertisement
Table of Contents

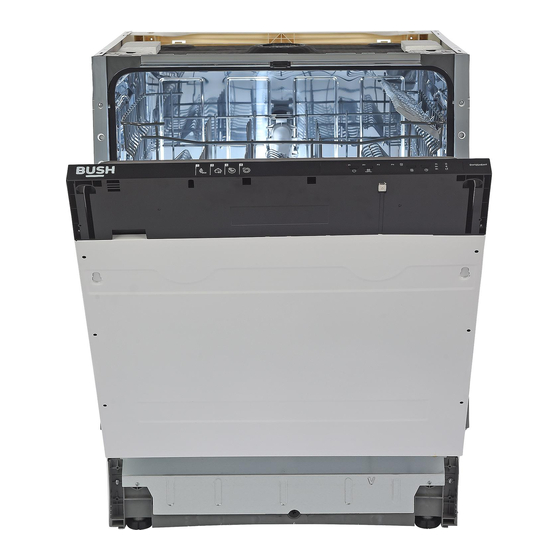
Summary of Contents for Bush DW12SAE
-
Page 2: Table Of Contents
Customer service manual BUSH DW12SAE Series Dishwasher Contents Precautions Page 2 Top Plate Page 4 Plastic Kick Plate Page 5 Internal Feeding Tubes and Spray Arms Page 6 Components inside the tub Page 7 Draining Hose Page 8 Baskets Page 9... -
Page 4: Top Plate
Applicable models REPLACEMENT PROCEDURE General Part name Top Plate 1. Necessary Tools Pliers Flat head thin screwdriver Cordless screwdriver or classic screwdriver with torx bits (T20) Disconnection. Remove electric plug from the socet 3. . Remove two screws that fix the top plate at the back 4. -
Page 5: Plastic Kick Plate
Applicable models REPLACEMENT PROCEDURE General Part name Plastic Kick Plate Remove two screws fixing plastic kick plate Remive the plastic kuck plate as it is shown in the picture... -
Page 6: Internal Feeding Tubes And Spray Arms
Applicable models REPLACEMENT PROCEDURE General Part name Internal Feeding Tubes and Spray Arms Unscrew the feed chanel tabs with the help of a scredriver To assemble, manually narrow the feed channel replacement and insert it into the tabs Pull out the top spray channel by turning it clockwise Turn it counterclockwise to reinstall it To remove the lower spray arm, gently puul it up... -
Page 7: Components Inside The Tub
Applicable models REPLACEMENT PROCEDURE General Part name Components inside the tub: course, micro and metal filters 1. Open the door. 2. Remove lower basket 3. To remove microfilter group rotate them in the direction of counter clockwise and pull them up as it is shown in the picture 4.To remove mictofilter goup (course filter and micro filter) pull them as itis shown in teh picture 5.To remove the metal filter pull it up as it shown in the picture... -
Page 8: Draining Hose
Applicable models REPLACEMENT PROCEDURE General Part name Draining Hose 1. Remove the hose connection plastic. 2. Remove lower cover 3. Remove the clamp that fixes draining hose to the sump 4. Remove draining hose... -
Page 9: Baskets
Applicable models REPLACEMENT PROCEDURE General Part name Baskets Lower Basket Upper Basket 1. Open upper basket rail lock front Open machine’s door 2. Pull the basket to yourself and remove it Pull the basket to yourself... -
Page 10: Water Inlet Valve
Applicable models REPLACEMENT PROCEDURE General Part name Water Inlet valve... -
Page 11: Sump Group, Floater, Water Softener, Parasite Filet
Applicable models REPLACEMENT PROCEDURE General Part name Sump Group... - Page 12 Applicable models REPLACEMENT PROCEDURE General Part name Floater...
- Page 13 Applicable models REPLACEMENT PROCEDURE General Part name Water Softener...
- Page 14 Applicable models REPLACEMENT PROCEDURE General Part name Parasite Filter...
-
Page 15: Hose, Door, Dispenser, Air Break
Applicable models REPLACEMENT PROCEDURE General Part name Hose connection plastic... - Page 16 Applicable models REPLACEMENT PROCEDURE General Part name Air - break...
- Page 17 Applicable models REPLACEMENT PROCEDURE General Part name Door Inside...
- Page 18 Applicable models REPLACEMENT PROCEDURE General Part name Dispeser Removal...
- Page 19 Applicable models REPLACEMENT PROCEDURE General Part name Door Lock...
-
Page 20: Additional Support
Applicable models ADDITIONAL SUPPORT General The following parts are available for the customer to undertake repairs at their own risk. Please carefully follow the guidance given in this manual including all safety measures. • Door Hinge & Seals • Other Seals •...


Need help?
Do you have a question about the DW12SAE and is the answer not in the manual?
Questions and answers