Advertisement
Quick Links
Imported by Amart Furniture Pty Ltd, Qld, Brisbane Australia.
For any assistance with assembly or for missing parts please phone
Amart Furniture, Customer Service Free call 1800 351 084
ASSEMBLY INSTRUCTION
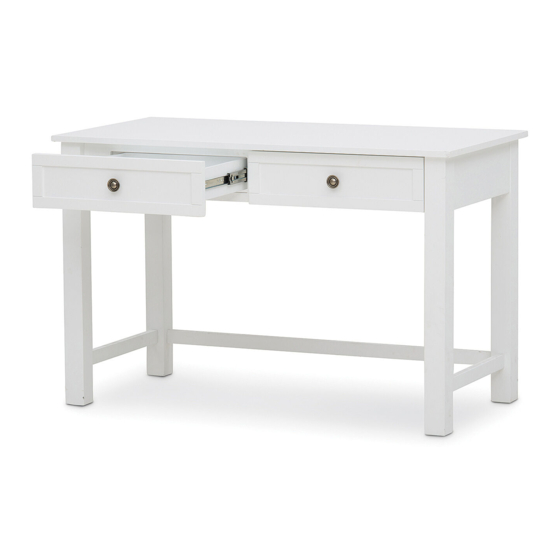
RICA R DO DESK
ITEM CODE : 62499
Imported by Amart Furniture Pty Ltd, Qld, Brisbane Australia. For
assistance with assembl y or for missing parts p lease phone
Amart Furniture , Customer Service Free call 1800 351 084
1
62499
Advertisement

Subscribe to Our Youtube Channel
Related Manuals for Amart Furniture RICARDO 62499


Summary of Contents for Amart Furniture RICARDO 62499
- Page 1 ASSEMBLY INSTRUCTION RICA R DO DESK ITEM CODE : 62499 Imported by Amart Furniture Pty Ltd, Qld, Brisbane Australia. For assistance with assembl y or for missing parts p lease phone Amart Furniture , Customer Service Free call 1800 351 084 Imported by Amart Furniture Pty Ltd, Qld, Brisbane Australia.
-
Page 2: Pre-Assembly Preparation
PRE-ASSEMBLY PREPARATION Before you start: Choose a clean, level, spacious assembly area. Avoid hard surfaces that may damage the product Take care when lifting. Product should be assembled as near as possible to the point of use Ensure that you have all required contents for complete assembly Always read the assembly instructions carefully before beginning assembly. -
Page 3: Part List
PART LIST 1200x600x167mm TOP FRAME (X1) 753x60x60mm BACK LEFT LEG (X1) 753x60x60mm BACK RIGHT LEG (X1) 753x60x60mm FRONT LEFT LEG (X1) FRONT RIGHT LEG 753x60x60mm (X1) 460x40x20mm SIDE CROSS BAR (X2) BACK CROSS BAR 1040x40x20mm (X1) HARDWARE LIST A. JCBC BOLT (M8x50MM) B. - Page 4 STEP 1 Attach 6 onto 3, 5 by using Screw (D), tighten it up by using an Screwdriver (not include) (X2) STEP 2 Attach 6 onto 2, 4 by using Screw (D), tighten it up by using an Screwdriver (not include) (X2) STEP 3 Attach Dowels (E) into 7.
- Page 5 STEP 4 Attach 2, 3, 4, 5 onto 1 by using Bolt (A) and flat washer (C), tighten it up by using an Allen Key (F). Attach adhesive felt pad (G) onto the legs (X4) (X8) (X8) Fixing the strap to the wall - As the wall material vary, screws for fixing to the wall are not included.
- Page 6 ASSEMBLY IS COMPLETE 62499...
- Page 7 suitable and sudden...
Need help?
Do you have a question about the RICARDO 62499 and is the answer not in the manual?
Questions and answers