Advertisement
VersaPlanetary
Quick Start Guide
VersaPlanetary with BAG, RS-775, RS-550
or AM-9015
Motor Plate
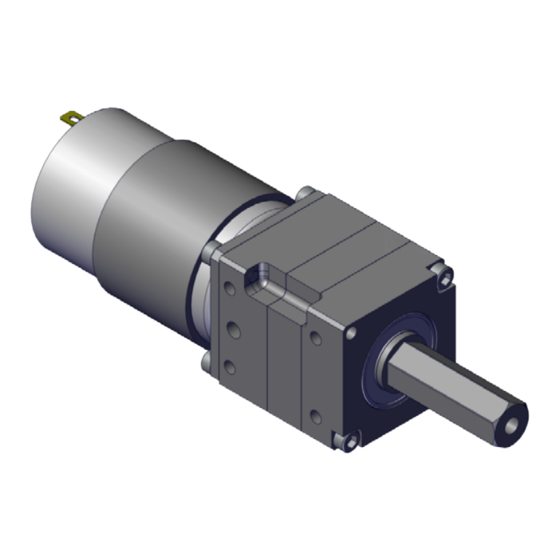
Step 1:
Note: If Using an AM-9015 motor with a VersaPlanetary 10:1 as the first stage, proceed to
"VersaPlanetary Assembly with AM-9015 Motor and 10:1 First Stage" on page 3.
Use (2X) Screws to mount the Motor to the Motor Plate as shown.
Motor
BAG Motor
RS-550
RS-775
AM-9015
0113
BAG Motor, RS-775,
RS-550 or AM-9015
Screws
M4 x 10mm
M3 x 8mm
M4 x 10mm
M3 x 8mm
Screws (2X)
1
Advertisement
Table of Contents

Subscribe to Our Youtube Channel
Related Manuals for Vex Robotics PRO VersaPlanetary


Summary of Contents for Vex Robotics PRO VersaPlanetary
- Page 1 VersaPlanetary Quick Start Guide VersaPlanetary with BAG, RS-775, RS-550 or AM-9015 BAG Motor, RS-775, RS-550 or AM-9015 Motor Plate Screws (2X) Step 1: Note: If Using an AM-9015 motor with a VersaPlanetary 10:1 as the first stage, proceed to “VersaPlanetary Assembly with AM-9015 Motor and 10:1 First Stage” on page 3. Use (2X) Screws to mount the Motor to the Motor Plate as shown.
- Page 2 Split and Notch Alignment Input Collar Coupler Clearance Hole BAG Collar Set Screw RS-550 Collar RS-775 Collar AM-9015 Collar Step 2: Insert the appropriate Collar into the Input Coupler as shown. Take note of the orientation of the Collar (highlighted Red) and the Set Screw (highlighted green). The “split” in the Collar should align with the notch in the Input Coupler as shown.
- Page 3 VersaPlanetary Assembly with AM-9015 Motor and 10:1 First Stage Step 1: Use (2X) M3 x 8mm screws to mount an AM-9015 Motor to the Motor Plate as shown. Split and Notch Alignment Input Collar Coupler Set Screw AM-9015 Collar Step 2: Insert the AM-9015 Collar into the Input Coupler as shown.
- Page 4 1/4” Spacer (Used only if 1st stage is 10:1) Step 2 Step 1 8-32 x 3/4” screws (4X) Step 3: To ensure Motor concentricity it is critical that the following processes are done in order. 1. Insert the Motor Output Shaft into the Collar. Take care not to rotate the Collar or the Input Coupler. 2.
Need help?
Do you have a question about the PRO VersaPlanetary and is the answer not in the manual?
Questions and answers