Table of Contents
Advertisement
Advertisement
Table of Contents

Related Manuals for ECO-WORTHY 100W


Summary of Contents for ECO-WORTHY 100W
-
Page 2: Table Of Contents
Installation Introduction ............1 1.General Safety ............1 2.Introduction ...........2 3.Solar Panel Installation .................2 3.1 Location ......3 3.1.1 Using Z-Brackets on an rv roof: “Flat Mount” ...........5 3.1.2 Well-nuts and blind holes ...............5 3.2 Solar panel connection ........6 3.2.1 connect solar panels to controller ............7 4.Maintenance ............7... -
Page 3: General Safety
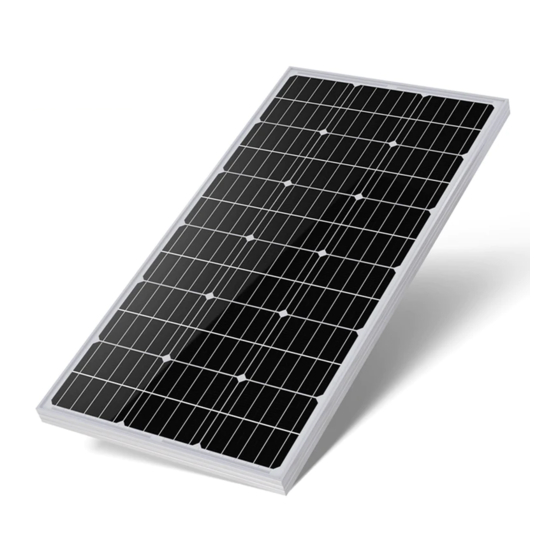
Congratulations on purchasing a high quality renewable energy product where building your own off-grid solar system. ECO-WORTHY 100W Solar Panel is perfect for customers to get a start in solar energy, providing quiet power production and grid indepen- dence.This manual contains information regarding the installation for solar module. -
Page 4: Solar Panel Installation
3.Solar Panel Installation 3.1 Location Determine a location for the solar panel that is in direct sunlight and clear of any shading by adjacent obstacles such as trees, roof over- hangs, etc. Ideally, the panels will be positioned to minimize the wiring distance between the solar panel and the charge controller. -
Page 5: Using Z-Brackets On An Rv Roof: "Flat Mount
5.1.1 Use Z-Brackets on a rv roof: “Flat Mount”(not include) When mounting a panel using Z-Brackets, a well-nut (also known as “expansion nut”) is often used on a pre-drilled hole. This procedure safely secures the panel on thin cabin roofs or RV roofs. Using a well-nut is recommended, as the rubber expansion prevents water leak- age.( The Z-Bracket set does not include well nuts) Step1:Attaching the Z-Bracket to a solar panel... - Page 6 Step 3: Attaching the panel to the roof Picture below illustrates the correct way to use the well-nut. The rubber flange has to be flushed on the roofline. The Z-Bracket,along with the flat washer and lock washer, hold the well-nut in place when the screw is fastened.
-
Page 7: Well-Nuts And Blind Holes
3.2 Solar panel connection Each ECO-WORTHY Solar Panel will have a pair of MC4 at the back of panel that consists of male and female connectors. This type of connec- tor system is easy to install and uses a “snap-in” type of safety locking clips to lock the two mating connectors. -
Page 8: Connect Solar Panels To Controller
3..2.1 Connect solar panels to controller (not include) Wire the panels’ positive and negative posts comes from the Y branch- es separately to the P&N posts of the controller with 1 pair of MC4- copper cable... -
Page 9: Maintenance
THY Ltd. We will refound or a part of refound or replace any products with defects at our discretion. If you are experiencing technical problems and cannot find a solution in this manual, please contact ECO-WROTHY for further assistance. • Call: (417) 459-7063 • Email:customer.service@eco-worthy.com...
Need help?
Do you have a question about the 100W and is the answer not in the manual?
Questions and answers