Advertisement
Quick Links
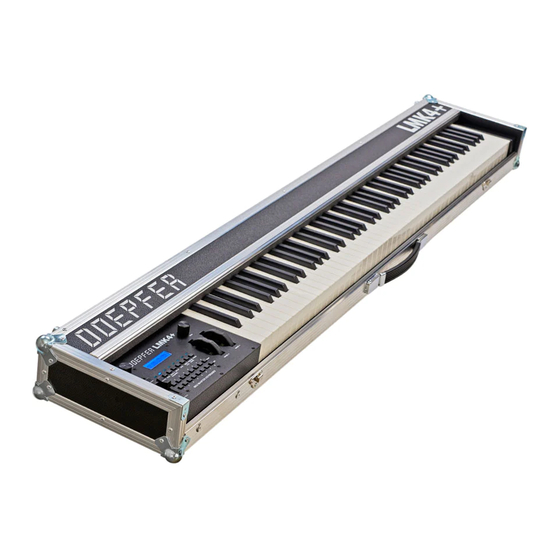
Masterkeyboard LMK4+ ohne Gehäuse
Master Keyboard LMK4+ without Case
Zu allererst / First of all
Überprüfen Sie sofort nach Erhalt alle Komponenten, inbesondere die Tastatur, auf
mechanische Transportschäden und reklamieren Sie diese umgehend bei Ihrem
Händler.
Immediately upon receipt, check all components, in particular the keybed, for
mechanical transport damage and immediately file a complaint with your dealer.
Vor dem Einbau / Before installation
Wir empfehlen dringend, alle Komponenten vor dem Einbau in ein Gehäuse oder
einen Spieltisch zuerst auf einwandfreie Funktion zu überprüfen. Legen Sie die
Tastatur auf eine eben Fläche (z.B. Tischplatte) und schließen Sie Midi-Elektronik und
das Netzteil an. Achten Sie darauf, dass die Midi-Elektronik nicht den Metallrahmen
der Tastatur berührt und dadurch ein Kurzschluss entsteht. Verbinden Sie den
Ausgang der Midi-Elektronik mit einem geeigneten Klangerzeuger und überprüfen Sie
alle Tasten der Tastatur.
We strongly recommend that you first check all components for proper operation
before installing them in a case or console. Place the keybed on a flat surface (e.g.
tabletop) and connect the midi electronics and the power supply. Make sure that the
midi electronics does not touch the metal frame of the keybed, which could cause a
short circuit. Connect the output of the midi electronics to a suitable sound generator
and check all keys of the keybed.
Im Falle einer Reklamation / In case of a complaint
Wenden Sie sich im Falle einer Reklamation unmittelbar an den Händler, von dem Sie
das Gerät erworben haben. Er wird Ihnen dann die weitere Vorgehensweise
mitteilen.
In case of a complaint, contact the dealer from whom you purchased the device
immediately. He will then inform you of further procedures.
Advertisement

Subscribe to Our Youtube Channel
Related Manuals for DOEPFER LMK4+


Summary of Contents for DOEPFER LMK4+
- Page 1 Masterkeyboard LMK4+ ohne Gehäuse Master Keyboard LMK4+ without Case Zu allererst / First of all Überprüfen Sie sofort nach Erhalt alle Komponenten, inbesondere die Tastatur, auf mechanische Transportschäden und reklamieren Sie diese umgehend bei Ihrem Händler. Immediately upon receipt, check all components, in particular the keybed, for mechanical transport damage and immediately file a complaint with your dealer.
- Page 2 1. Anschlüsse des Mainboards / Connectors on Main Board...
- Page 3 2. Montage der Tastatur / Assembly of the keybed Die Tastatur muss auf einer stabilen Platte montiert werden, um ein Durchbiegen des Tastaturrahmens zu verhindern. Verwenden Sie zur Befestigung 11x Schrauben M5 mit metrischem Gewinde (M5x20 liegen bei). Wichtig: Beachten Sie unbedingt die Montagehinweise auf der letzten Seite. The keybed must be assembled to a solid plate to avoid the keybed frame from bending.
- Page 4 4. Aftertouch Die beiden Anschlüsse mit den blauen Steckverbindern mit Hilfe von Klebeband auf der Montageplatte fixieren, um ein Verdrehen zu verhindern. Fix the two ribbon cables with blue connectors to the mounting plate by using adhesive tape to avoid warping. Das 2+2 adrige Adapterkabel (rot/orange + braun/schwarz) mit den blauen Steckverbindern verbinden.
- Page 5 Screwing the keybed in this position will warp the metal frame and cause distortions of the hammer action or even damageshttps://docs.doepfer.eu/. This is not covered by our warranty!
- Page 6 6. Anschluss der Bedieneinheit / Connection of the Control Panel Verbinden Sie das graue Flachbandkabel sowie die Anschlusskabel der Controller mit den gekennzeichneten Anschlüssen auf dem Mainboard (siehe erste Seite) . Connect the grey ribbon cable and the connection cables of Wheel 1 and Wheel 2 to the connectors on the main board (see first page) .
-
Page 7: Hinweise Zur Inbetriebnahme
7. Stecker-Netzteil / Power Adaptor Verwenden Sie nur das mitgelieferte XLR-Steckernetzteil 100-240VAC / 9VDC-500mA. Only use the 100-240VAC / 9VDC-500mA power adaptor provided 7. Hinweise zur Inbetriebnahme Nach dem Anschließen des XLR-Stecker-Netzteils an den XLR-Stromversorgungsanschluss an der Anschlussplatte des Mainboards startet das Gerät immer mit Preset 1. Im Aulieferungszustand ist der Presetname mit "INITPRES"... - Page 8 Diese, sowie auch alle anderen Einstellungen am LMK4+ sind grundsätzlich temporär und gehen nach dem Ausschalten oder bei Presetwechsel verloren. Um Einstellungen dauerhaft zu behalten, müssen diese in einem der 128 Presets abgespeichert werden. Speichern Sie ein Preset wie folgt: [PRESET] Taster drücken [PRESET] + [PANIC] Taster gleichzeitig drücken ->...
- Page 9 Save a preset as follows: Press [PRESET] button Press [PRESET] + [PANIC] buttons simultaneously -> all LEDs light up. first press a [BANK] button (1..8) and then a [NR.] button (1..8) (e.g. BANK1 and NR.1 for preset "1") All LEDs except the [PRESET] LED go out.
Need help?
Do you have a question about the LMK4+ and is the answer not in the manual?
Questions and answers