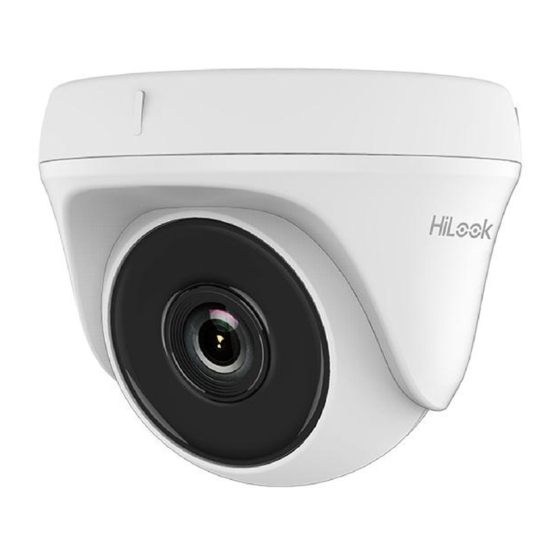
HiLook THC-T150-P User Manual

HiLook THC-T150-P User Manual

Mp turret and bullet camera

Advertisement

HiLook Series
5 MP Turret and Bullet
Camera
User Manual
User Manual
Thank you for purchasing our product. If there are any
questions, or requests, do not hesitate to contact the
dealer.
This manual applies to the models below:
Type
Model
Type I Camera
THC-T150-P
Type II Camera
THC-T150-M
Type III Camera
THC-B150-M/ THC-B150-P
This manual may contain several technical incorrect
places or printing errors, and the content is subject to
change without notice. The updates will be added to
the new version of this manual. We will readily improve
or update the products or procedures described in the
manual.
01000020210707

Advertisement

Table of Contents
loading
Need help?

Need help?

Do you have a question about the THC-T150-P and is the answer not in the manual?

Questions and answers

Subscribe to Our Youtube Channel

Summary of Contents for HiLook THC-T150-P

  • Page 1 HiLook Series 5 MP Turret and Bullet Camera User Manual User Manual Thank you for purchasing our product. If there are any questions, or requests, do not hesitate to contact the dealer. This manual applies to the models below: Type...
  • Page 2 Legal Information ©2021 Hangzhou Hikvision Digital Technology Co., Ltd. About this Manual Pictures, charts, images and all other information hereinafter are for description and explanation only. The information contained in the Manual is subject to change, without notice, due to firmware updates or other reasons.
  • Page 3: Regulatory Information

    UNSAFE NUCLEAR FUEL-CYCLE, OR IN SUPPORT OF HUMAN RIGHTS ABUSES. IN THE EVENT OF ANY CONFLICTS BETWEEN THIS MANUAL AND THE APPLICABLE LAW, THE LATER PREVAILS. Regulatory Information FCC Information Please take attention that changes or modification not expressly approved by the party responsible for compliance could void the user’s authority to operate the equipment.
  • Page 4 Warnings: Serious injury or death may occur if any of the warnings are neglected. Cautions: Injury or equipment damage may occur if any of the cautions are neglected. Warnings Follow Cautions Follow these these safeguards to precautions to prevent prevent serious injury potential injury or or death.
  • Page 5: Product Features

    1 Introduction Product Features The main features are as follows: High performance CMOS sensor  IR cut filter with auto switch  OSD menu with configurable parameters  Auto white balance  SMART IR mode  3-axis adjustment  Overview 1.2.1 Overview of Type I Camera Switch Button Mounting Base...
  • Page 6: Installation

    2 Installation Before you start: Make sure that the device in the package is in good  condition and all the assembly parts are included. Make sure that all the related equipment is power-off  during the installation. Check the specification of the products for the ...
  • Page 7 Figure 2-3 Attach the Mounting Base to the Ceiling Notes: The supplied screw package contains  self-tapping screws, and expansion bolts. For cement ceiling, expansion bolts are required  to fix the camera. For wooden ceiling, self-tapping screws are required. 5.
  • Page 8 1). Use the screw driver to loosen the screw on the mounting base. 2). Align the notch to the clip plate to separate the mounting base from the camera body. Figure 2-6 Disassemble the Camera 2. Paste the drill template (supplied) to the place where you want to install the camera.
  • Page 9 Figure 2-9 Secure the Camera with Mounting Base 7. Connect the cables, such as power cord, and video cable. 8. Check whether the image on the monitor is gotten from the optimum angle. If not, adjust the camera according to the figure below to get an optimum angle.
  • Page 10: Menu Description

    3. Attach the bracket to the ceiling and secure the camera with supplied screws. Figure 2-12 Fix the Camera to the Ceiling Notes: The supplied screw package contains  self-tapping screws, and expansion bolts. For cement ceiling, expansion bolts are ...
  • Page 11 VIDEO FORMAT EXPOSURE MODE SHUTTER BACK EXPOSURE EXIT SAVE & EXIT MODE BACK DAY/NIGHT EXIT SAVE & EXIT IMAGE MODE WHITE BALANCE MAIN MENU BRIGHTNESS CONTRAST SHARPNESS VIDEO SETTINGS SATURATION MIRROR BACK EXIT SAVE & EXIT FACTORY DEFAULT EXIT SAVE & EXIT Figure 3-2 Main Menu Overview 5.
  • Page 12 EXPOSURE MODE You can set the EXPOSURE MODE to GLOBAL, BLC, HLC, or DWDR. GLOBAL  GLOBAL refers to the normal exposure mode which performs exposure according to the whole image brightness. BLC (Backlight Compensation)  BLC (Backlight Compensation) compensates light for the front object to make it clear, but this may cause the over-exposure of the background, where the light is strong.
  • Page 13: Video Settings

    The Smart IR function is used to adjust the light to its most suitable intensity, and prevent the image from over exposure. The SMART IR value can be adjusted from 1 to 3. The higher the value, the more obvious effects.
  • Page 14: Image Mode

    IMAGE MODE IMAGE MODE is used to adjust the image saturation. You can set it to STD (Standard), or HIGH-SAT (High Saturation). WHITE BALANCE White balance, the white rendition function of the camera, is to adjust the color temperature according to the environment.
  • Page 15: Save And Exit

    3.6 EXIT Move the cursor to EXIT and click Iris+ to exit the menu without saving. 3.7 SAVE & EXIT Move the cursor to SAVE & EXIT and click Iris+ to save the settings, and exit the menu. UD24628B...

This manual is also suitable for:

Thc-t150-mThc-b150-mThc-b150-p

Table of Contents