Advertisement
Quick Links
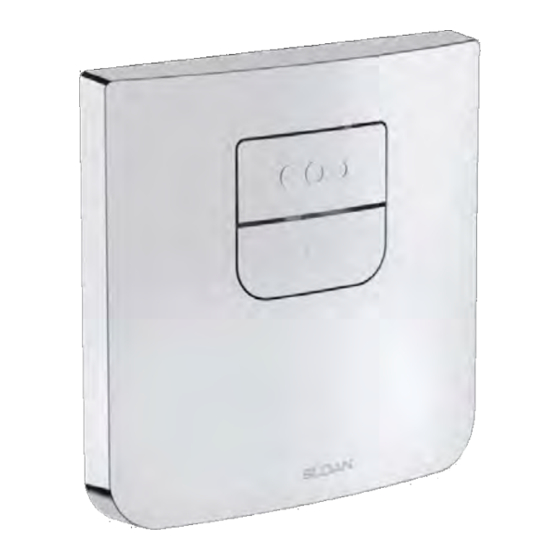
TRUFLUSH ELECTRONIC DUAL FLUSH WALL PLATE
PRIOR TO INSTALLATION
his valve is designed for new construction or where there is easily
T
accessed plumbing for the fixture and the valve.
This valve is designed for minimum six inch (152 mm) wall space
depth. Distance from center of the valve (inlet or outlet pipe) to the
finished surface of the wall can vary from 2"-3" (51-76 mm).
TOOLS REQUIRED FOR INSTALLATION
• Phillips screwdriver
ITEMS INCLUDED WITH THE PRODUCT
WALL PLATE BOX
1. Wall Bracket
2. Wall Plate
3. Sensor Assembly
4. Battery Pack
5. (4) Batteries
6.(4) #8-32 x 2 Screws
7.Allen Key
8.Installation instructions
INSTALLATION INSTRUCTIONS FOR
TruFlush Model:
TRF 8900-CP
ITEM #1: WALL BOX AND
ELECTRONIC VALVE
ASSEMBLY
• Adjusting tool (supplied)
1. Wall Bracket
ITEM #1: WALL BOX
ITEM #1: WALL BOX
ITEM #2: WALL PLATE
4. Battery Pack
Unless otherwise noted, Sloan India Pvt. Ltd warrants this product,
manufactured and sold for commercial or industrial uses, to be free
from defects in material and workmanship for a period of five (5)
years and 1 Year- All Electronic & battery not covered in warranty
from date of first purchase. During this period, Sloan India Pvt. Ltd
will, at its option, repair, replace, or refund the purchase price of any
product which fails to conform with this warranty under normal use
and service. This shall be the sole and exclusive remedy under this
warranty. Products must be returned to Sloan India Pvt. Ltd, at
customer's cost. No claims will be allowed for labor, transportation or
other costs. This warranty extends only
to persons or organizations who purchase Sloan India Pvt. Ltd
products directly from Sloan India Pvt. Ltd for purpose of resale. This
warranty does not cover the life of the batteries.
THERE ARE NO WARRANTIES WHICH EXTEND
BEYOND THE DESCRIPTION ON THE FACE
HEREOF. IN NO EVENT IS SLOAN INDIA PVT. LTD
RESPONSIBLE FOR ANY CONSEQUENTIAL
DAMAGES OF ANY MEASURE WHATSOEVER.
Wall plate opening must be of 5.6" x 5.6" (142 x 142 mm). Mud plate
is provided and must accompany valve for proper installation. Mud
plate is removed after wall is finished.
ITEM #1: WALL BOX AND
ELECTRONIC VALVE
ASSEMBLY
SENSOR VALVE BOX
ITEM #2: MUD GUARD
• Flathead screwdriver .118"
(3 mm or below)
2. Wall Plate
ITEM #2: WALL PLATE
ITEM #3: SENSOR ASSEMBLY
WALL PLATE BOX
ITEM #3: SENSOR ASSEMBLY
ITEM #4: ACTIVATION BUTTON
5. (4) Batteries
LIMITED WARRANTY
SENSOR VALVE BOX
ITEM #3: ACTIVATION
ITEM #4: #8-32 X 2" TRUSS
ITEM #2: MUD GUARD
ASSEMBLY TOOL
ITEM #3: ACTIVATION
ITEM #4: #8-32 X 2" TRUSS
ITEM #5: 1/4-20 X 2"
ASSEMBLY TOOL
HEAD SCREWS
SCREWS
• Wire stripper tool
WALL PLATE BOX
3.PCB Assembly
ITEM #4: ACTIVATION BUTTON
ITEM #5: BATTERY PACK
ITEM #6: 4X BATTERIES
7. Allen
6. (4) #8-32 x 2 Screws
Code No. 08160044
Rev. 1 (11/21)
ITEM #5: 1/4-20 X 2"
HEAD SCREWS
SCREWS
ITEM #5: BATTERY PACK
ITEM #6: 4X BATTERIES
ITEM #7: 4X #8-32 X 2"
ITEM #
TRUSS HEAD SCREWS
ITEM #7: 4X #8-32 X 2"
ITEM #7: 5/64" HEX KEY
TRUSS HEAD SCREWS
8. Instructions
Key
Advertisement

Subscribe to Our Youtube Channel
Related Manuals for Sloan TRUFLUSH TRF 8900-CP


Summary of Contents for Sloan TRUFLUSH TRF 8900-CP
- Page 1 TRF 8900-CP years and 1 Year- All Electronic & battery not covered in warranty from date of first purchase. During this period, Sloan India Pvt. Ltd will, at its option, repair, replace, or refund the purchase price of any product which fails to conform with this warranty under normal use and service.
- Page 2 1. CONNECT FLUSHOMETER Refer Valve Assembly Installation Manual (08160054). 2. INSTALL WALL PLATE ASSEMBLY Remove the mudguard by unscrewing the two screws and Open the battery package (supplied) by unscrewing the lid screw, insert the discard the mudguard batteries (4Nos, Supplied) into the battery package as shown and close the lid by Mount the Wall Bracket to valve and secure it using the tightening the screw.
- Page 3 Align the 4 slots on the PCB Assembly with the mounting pegs on the Wall Bracket and slide the PCB assembly all the way down. Snap clip Make sure the retaining screw is fully tightened, slide the PCB assembly all the way Disconnect the Solenoid Connector and lift the button as shown, up and align the wall plate cutout with PCB assembly as shown.
- Page 4 Rev. 1 (11/21) SLOAN INDIA PRIVATE LIMITED Manufactured by Sloan India Pvt. Ltd, patents pending. 344, PHASE-II UDYOG VIHAR, GURGAON 122015 Phone: (+91) 124-6013300/33 © 2021 SLOAN Toll Free: 1800.123.3080 | customercare@sloan.in | sloan.in | copyright 2021 Sloan All rights reserved ©...
Need help?
Do you have a question about the TRUFLUSH TRF 8900-CP and is the answer not in the manual?
Questions and answers