Advertisement
Quick Links
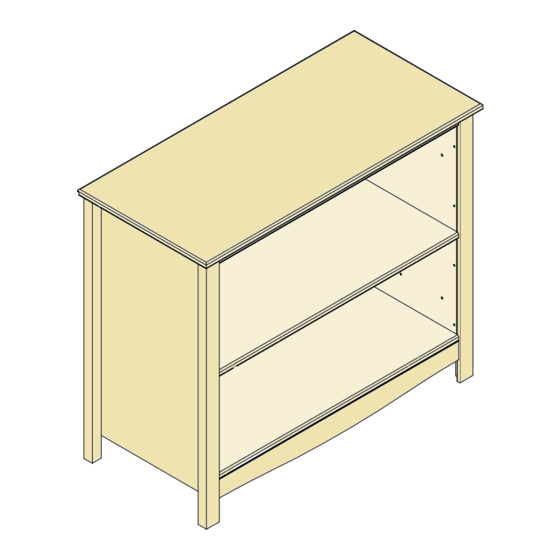
Bookcase White
Assembly Instructions
8146643
- Please keep for future reference
B
A
Dimensions
Length - 86cm
Depth - 40cm
Height - 73cm
Weight - 20,3kg
Important
– Please read these instructions fully before starting assembly
If you need help or have damaged or missing parts, call the Customer Helpline:
0045 7668 8055 or e-mail: order@fl exa.dk
Issue 2 - 21/12/17
Advertisement

Related Manuals for Argos 8146643


Summary of Contents for Argos 8146643
- Page 1 Bookcase White Assembly Instructions 8146643 - Please keep for future reference Dimensions Length - 86cm Depth - 40cm Height - 73cm Weight - 20,3kg Important – Please read these instructions fully before starting assembly If you need help or have damaged or missing parts, call the Customer Helpline: 0045 7668 8055 or e-mail: order@fl...
- Page 2 Safety and Care Advice Important – Please read these instructions fully before starting assembly • We do not • Check you have all the • Do not stand or put weight on recommend the components and tools listed on the product, this could cause use of power pages 2 and 3.
-
Page 3: Components - Parts
If you have damaged or missing components, Components - Parts call the Customer Helpline: 0045 7668 8055 Please check you have all the parts listed below Top x1 Side panel Right x1 Side panel Left x1 (86.0x40.0x1.6cm) (65.4x36.1x1.2cm) (65.4x36.1x1.2cm) No. 4301-1608603-40 No. - Page 4 Components - Fittings Please check you have all the fi ttings listed below Note: The quantities below are the correct amount to complete the assembly. In some cases more fi ttings may be supplied than are required. No. 4020-007 No. 3933-15010 No.
- Page 5 Assembly Instructions Step 1 Insert the dowels into the holes in cross rail It may be necessary to tap the dowels in very gently with a small hammer. Attach minifi x bolts top panel Step 2 Attach the side panels to the legs using screws Make sure the top of...
- Page 6 Assembly Instructions Step 3 Insert the dowels the holes in the side panels Attach minifi x bolts the side panels Left side Right side Attach rafi x bolts the side panels Forward Forward Step 4 Attach the cross rail to the side panels with the minifi...
- Page 7 Assembly Instructions Step 5 Attach angles to the plinth using screws Attach plinth side panels using screws Step 6 Attach the top to the side panels with the minifi x cams...
- Page 8 Assembly Instructions Step 7 Fasten the list to the top panel using screws , placing the screws into the marking holes in Don’t overtighten. Step 8 Attach the back panel with nails to the back side of the chest. Nail the back panel to the carcass, ensuring that there are NO GAPS between the...
- Page 9 Assembly Instructions Step 9 Place the shelf between the sides so that the back of the shelf is against the back panel . Make sure the base is resting on the cross rail and plinth . Attach the base to the plinth using the angle and screws Step 10...
- Page 10 Assembly Instructions Step 12 Measure out the positions for the wall attachment straps. Drill two holes spaced as illustrated with the appropriate size for the wall attachment fi tting (see next step). Pull the two straps through the gaps in top plate .Push the furniture against the wall...
Need help?
Do you have a question about the 8146643 and is the answer not in the manual?
Questions and answers