
Subscribe to Our Youtube Channel
Related Manuals for Genie WAHD324H


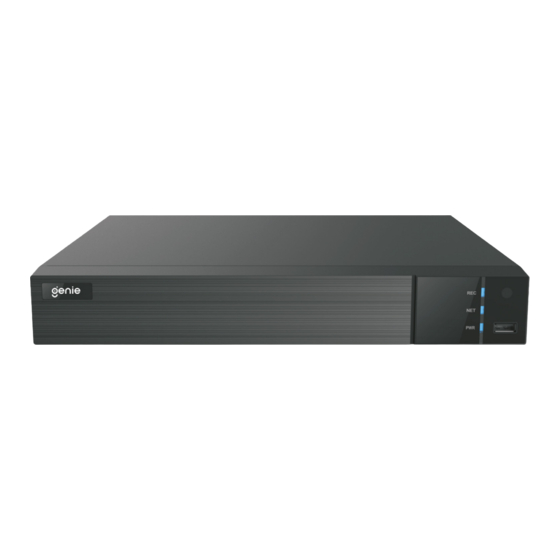
Summary of Contents for Genie WAHD324H
- Page 1 32 Channel 4-in-1 High Definition DVR with 4HDD Bays WAHD324H Quick Start Guide Please read these instructions carefully before operating the unit and keep for further reference.
- Page 2 Intro Section Please read this instruction carefully before operating the product and keep it for further reference. All examples and pictures used here are for reference only. The contents of this manual are subject to change without notice. CAUTION: • Please check the device and the accessories after getting the device.
-
Page 3: Table Of Contents
Contents 1.0 Introduction ......................4 1.1 Product Features ...................4 1.2 Product Dimensions ..................4 1.3 Specification....................5 2.0 HDD Installation ....................6 3.0 Rear Panel Instruction ..................7 4.0 Start Up and Shut Down ..................8 5.0 Login ........................9 6.0 Configurations and Connections ................10 6.1 Ananlogue Camera Connection ..............10 6.2 Network Configuration &... -
Page 4: Introduction
1.0 Introduction The Genie WAHD324H is a 32 channel 1080p H.264 high definition DVR. The DVR supports 32 channel video input, 4 channel audio input and 16 channel simultaneous playback. It is iPhone and Android compatible with an app (Super Live Plus) available with free Windows / MAC CMS software supplied. -
Page 5: Specification
Quick Start Guide 32 Channel 4-in-1 High Definition DVR with 4HDD Bays 1.3 Specification Model WAHD324H Embedded Linux System Cortex A9 Input BNC x32 HDMI x 1 : 1920x1080, Output VGA x 1 : 1920x1080, Video BNC x 1 : CVBS (Used as the main or spot output) -
Page 6: Hdd Installation
2.0 HDD Installation This series of the product supports 4 SATA hard drives. Please make sure that the device is powered off before the installation. The pictures of the installation are only for reference. Loosen the screws to open the cover. 2. -
Page 7: Rear Panel Instruction
3.0 Rear Panel Instruction The interfaces of the rear panel are for reference only. Name Description Connect to monitor HDMI Connect to high definition display device Network port Connect to USB storage device or USB mouse ALARM IN Alarm input for connecting sensor ALARM OUT Relay output, connect to external alarm Ground... -
Page 8: Start Up And Shut Down
4.0 Start Up and Shut Down Startup Connect the monitor and the power. 2. The device will boot and the power indicator will display blue. 3. A wizard window will pop up. Shutdown Go to “Main Menu” and then select “Shutdown” icon. This will bring up a shutdown window. -
Page 9: Login
5.0 Login The default username is admin and the default password is 123456. You must configure the wizard if you start the DVR for the first time and you may change the password when you configure the wizard for the first time. You can skip the settings wizard next time. Click “Start”... -
Page 10: Configurations And Connections
6.0 Configurations and Connections 6.1 Ananlogue Camera Connection First connect the camera to the DVR. Then go to Start → Settings → Camera→ Manage Camera → Camera Signal to checkmark the video mode. Theactual signals input shall correspond to the video mode. Please refer to the User Manual for details. - Page 11 Quick Start Guide 32 Channel 4-in-1 High Definition DVR with 4HDD Bays 5. Checkmark the device you want to add and then click “Add” button.The DVR will automatically refresh the cameras and return to “Edit Camera” interface. “Online” status means connecting the device successfully and you will see the live image. You may select the added device and click button to modify channel, IP address, etc.
-
Page 12: Upnp
7.0 UPnP You can use the UPnP function to enable the fast connection of the device to WAN via a router without port mapping. Go to Start → Settings → Network → UPnP, and enable UPnP and then click “Apply” button to save. -
Page 13: Nat
8.0 NAT NAT Settings The DVR shall be powered on and connected to the network. 2. Go to Start → Settings → Network → TCP/IP. You can obtain the IP address, subnet mask and gateway automatically. You can also manually enter them according to the actual network situation. -
Page 14: Manual Recording And Playback
9.0 Manual Recording and Playback 9.1 Manual Recording Before recording, please install and format a HDD. In the live interface you can see the menu toolbar. Click button to start recording. Click it again to stop recording. You can also click to check the status of the recording. - Page 15 Sales +44(0)1707 330541 Enquiries sales@genieproducts.co.uk Website www.genieproducts.co.uk...
Need help?
Do you have a question about the WAHD324H and is the answer not in the manual?
Questions and answers