Advertisement
Quick Links
ASSEMBLY INSTRUCTION
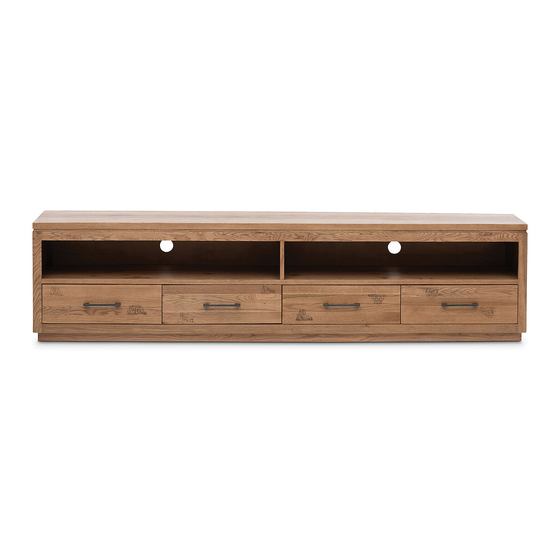
ARGENTO 4 DRAWERS ENTERTAINMENT UNIT
ITEM CODE 63846
Imported by Amart Furniture Pty Ltd, Qld, Brisbane Australia.
For any assistance with assembly or for missing parts please phone
Amart Furniture, Customer Service Free call 1800 351 084
1
63846
Advertisement

Subscribe to Our Youtube Channel
Related Manuals for Amart Furniture SIGNATURE ARGENTO 63846


Summary of Contents for Amart Furniture SIGNATURE ARGENTO 63846
- Page 1 ASSEMBLY INSTRUCTION ARGENTO 4 DRAWERS ENTERTAINMENT UNIT ITEM CODE 63846 Imported by Amart Furniture Pty Ltd, Qld, Brisbane Australia. For any assistance with assembly or for missing parts please phone Amart Furniture, Customer Service Free call 1800 351 084 63846...
- Page 2 suitable and sudden 63846...
-
Page 3: Pre-Assembly Preparation
PRE-ASSEMBLY PREPARATION Before you start: Choose a clean, level, spacious assembly area. Avoid hard surfaces that may damage the product Take care when lifting. Product should be assembled as near as possible to the point of use Ensure that you have all required contents for complete assembly Always read the assembly instructions carefully before beginning assembly. - Page 4 HARDWARE LIST QT'Y Adhesive felt pad 8 pcs 20x20x5 STEP 1: With two people carefully lay the Entertainment Unit on to a sheet or piece of cardboard. Attach adhesive felt pad (A) onto the legs. With two people carefully stand the Entertainment Unit upright. (X8) 63846...
- Page 5 STEP 2 : Attach the handle Attach handle in front of drawers, Take out handle from drawer, use on the drilling hole position by using screwdriver removing the bolts. screwdriver to tighten bolts up. Fixing the strap to the wall As the wall materials vary, screws for fixing to the wall are not included.
- Page 6 ASSEMBLY IS COMPLETE 63846...
Need help?
Do you have a question about the SIGNATURE ARGENTO 63846 and is the answer not in the manual?
Questions and answers