Table of Contents
Advertisement
Quick Links
Advertisement
Table of Contents

Related Manuals for Excelsior Excelair EPA101A


Summary of Contents for Excelsior Excelair EPA101A
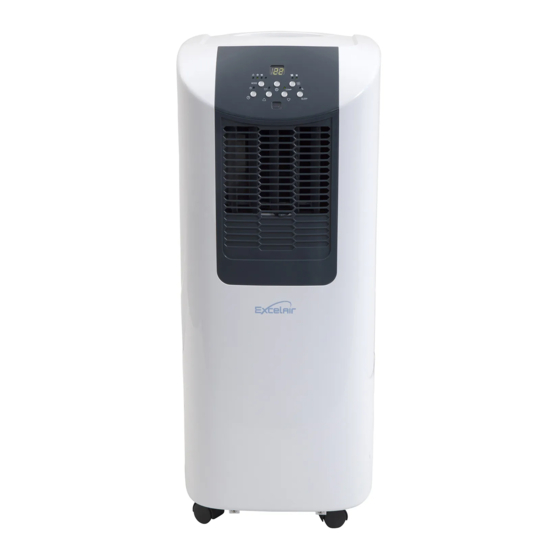
- Page 1 PORTABLE AIR CONDITIONER Instruction Manual for EPA101A ...
-
Page 2: Specification
SPECIFICATION Model no. EPA101A Cooling capacity 2.6kW Power/Ampere 900W consumption Air volume (max. speed) 330m Humidity removal capacity 0.8 L/hr Power supply 220~240V/50Hz Compressor rotary Refrigerant R-410A Fan speed Timer 1~12 hours Working Cooling 18 ~ 32 temperature Heating 7 ~ 25 Exhaust pipe Ø... -
Page 3: Before Use
BEFORE USE • FOR INDOOR USE ONLY. • DO NOT USE IN CABINET, CLOSET, BOATS, CARAVANS OR SIMILAR LOCATIONS. • LEAVE THE UNIT TO STAND FOR 12 HOURS BEFORE CONNECTING TO THE MAINS SUPPLY AFTER TRANSPORT OR WHEN IT HAS BEEN TILTED (E.G. DURING CLEANING). •... - Page 4 • NEVER REACH TO RETRIEVE THE UNIT IF IT HAS FALLEN IN WATER. IN SUCH CASE, IMMEDIATELY PULL THE PLUG. HAVE THE UNIT CHECKED BEFORE USING IT AGAIN. • DO NOT USE EXTENSION CORDS. • IF THE SUPPLY CORD IS DAMAGED, IT MUST BE REPLACED BY AN ELECTRICIAN OR SIMILARLY QUALIFIED PERSON, TO AVOID HAZARD.
- Page 5 PARTS Front Back FIG.1 FIG.2 Carrying handle Air inlet Control panel Exhaust air outlet Air outlet Cord hanger Caster Water stopper/drainage point Air filter 10. Air inlet Accessories 11. Outward adapter - for insertion over hose and into the window slide.
-
Page 6: Installation
INSTALLATION Installation of the window slide The unit is a portable air conditioner that may be moved from room to room. Window slides FIG. 4 1. Open the window and insert the window slides into the open gap. 2. Close the window until the window kit is held securely. You may need to adjust the size of the window kit and secure it with screws. - Page 7 Mounting of the exhaust pipe • Use only the hose provided and clip exhaust hose to the back of the air FIG.5 conditioner • Avoid kinks and bends in the exhaust hose as this will cause expelled moist air to build up causing the unit to overheat and shut down.
- Page 8 Installation of the carbon filter This machine is equipped with the active carbon filter. The activated carbon is charcoal that has been treated with oxygen to open up millions of tiny pores between the carbon atoms. It is used to get rid of unwanted odors (smoke, fumes, and animal odor). Please note, the carbon filter is not washable, its life span is variable and depends on the ambient conditions where the unit is used.
-
Page 9: Operation
OPERATION Control panel FIG.15 Mode (function) option button 10. Speed (ventilation)button Automatic mode indicator 11. Timer operation indicator Cooling mode indicator 12. Timer button Fan (ventilation) mode indicator 13. “Temperature up' button “Full Water” indicator 14. Remote control receiver Display window 15. - Page 10 Setting mode/function Press MODE button to select required working mode: automatic, cooling, fan (ventilation) or heating . The indicator of your selected mode comes on. Setting temperature Press 'Temperature up' or 'Temperature down' button to regulate the temperature you desired (range:18-32°C). The display window will show the temperature you set as you press 'Temperature up' or 'Temperature down' button.
- Page 11 All the above functions can also be performed with the supplied remote control. This remote control requires 2 pcs AAA batteries to operate FIG. 16 Regulating air flow direction Turn the vertical louvers left & right by moving the roller on the air vent. For horizontal louvers, adjust them up &...
- Page 12 DRAINAGE During the process of cooling, some water will be extracted from the air into the unit. If the reservoir is full, both of the compressor and motor will stop and the units would buzz (you can press any button to stop the buzz). The Full Water indicator will flash to show you.
- Page 13 • The drain tube may be extended by adding an extension tube and using a suitable connector. Drain tube FIG.20 Please note Originally The drain must be at or below the supplied tube outlet level. 2. Flashing ‘full water’ indicator will not Extension tube function in this mode of drainage.
-
Page 14: Maintenance
MAINTENANCE Always unplug the air conditioner from the mains before cleaning. To maximize the efficiency of the air conditioner cleans regularly. Cleaning the housing Use a soft, damp cloth to wipe the body clean. Never use aggressive chemicals, gasoline, detergents, chemically treated cloths, or other cleansing solutions. -
Page 15: Fault Check List
FAULT CHECK LIST Ÿ The air conditioner does not Is the air conditioner plugged in? Ÿ Is there a power failure? Ÿ Is the comp / ‘full water’ indicator flashing? Ÿ Is the room temperature below the set temperature? Ÿ The machine seems to do little Is there direct sunshine? (Please put down the curtain.) - Page 16 For any queries or assistance call Customer Service (Australia Only) 1300 174 876 Hours of operation: Monday to Friday 8am - 5pm EST IMPORTANT: RETAIN THESE INSTRUCTIONS FOR FUTURE USE. Excel is a trademark of Sitro Group Australia www.excelsiorproducts.com.au...
Need help?
Do you have a question about the Excelair EPA101A and is the answer not in the manual?
Questions and answers