
Related Manuals for Hoover smart R1


Summary of Contents for Hoover smart R1
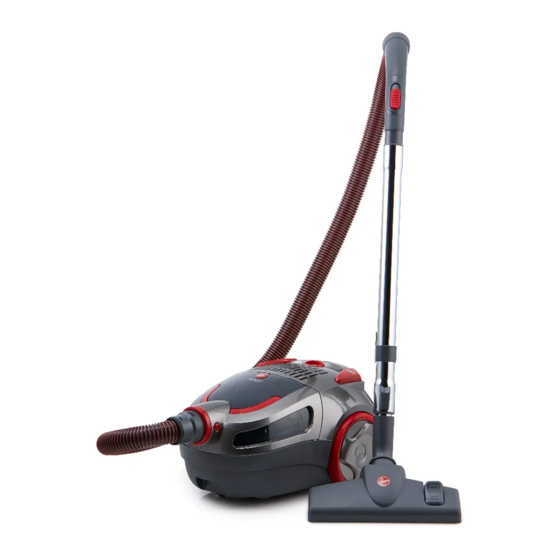
- Page 1 Bagged Vacuum Cleaner with HEPA Filtration Variable Speed Telescopic Tube Compact & Lightweight smart R1...
-
Page 3: Specifications
Smart R1 Bagged Congratulations on the purchase of your new HOOVER vacuum cleaner. There are many useful features built into your cleaner and we recommend that you carefully read this instruction manual so that you may take best advantage of them. -
Page 4: Before You Begin
Before You Begin This cleaner must be operated in accordance with these instructions and used only for domestic household cleaning to remove DRY dirt and dust from household carpets, flooring, walls and fabrics. This cleaner is not fit to be used as an industrial cleaner hence will void the manufacturer’s warranty if used inappropriately. -
Page 5: Safety Precautions And Warnings
Safety Precautions & Warnings IMPORTANT! Always switch off the cleaner and remove the plug from the electricity power supply before cleaning your appliance, when not in use or attempting any maintenance task. The cleaner must only be connected to an AC power supply at the voltage shown on the rating label. - Page 6 Safety Precautions & Warnings (continued) 13. Do not use the appliance to pick up 22. Before carrying out any maintenance service flammable items or combustible liquids or cleaning the filters, always switch off the (i.e. petrol, hot ashes, cigarettes, matches, vacuum cleaner and disconnect the plug from explosive materials or anything burning) or use power supply.
-
Page 7: Assembling The Vacuum Cleaner
Instructions for Use WARNING! Always remove the plug from the power socket before fitting or removing accessories. Assembling the vacuum cleaner Insert the hose end into the hose inlet until it clicks into position. Insert the telescopic tube into the combination floor tool. Fit the other end of the telescopic tube to the handle. -
Page 8: Maintenance
Maintenance WARNING! Ensure the cleaner is not connected to the mains powers supply when performing any maintenance duties. Always operate the cleaner with dust bag installed. The cleaner should be switched off and disconnected from the mains supply. Never operate without filters as damage to cleaner could occur. - Page 9 Maintenance (continued) Cleaning and changing the filters • Filters should be cleaned at least twice a year or when it becomes visibly solid. • Always operate the cleaner with a filter installed. Reduced suction or motor damage may be a result of incorrect procedures.
-
Page 10: Replacing The Exhaust Air Filter
Maintenance (continued) Replacing the exhaust air filter Open the front cover and remove the dust bag. Firmly grip the HEPA filter tab and pull out. Replace with a new filter, re-insert dust bag and close front cover. -
Page 11: Troubleshooting
Troubleshooting Problems and Solutions Please contact Godfreys customer support and service hotline Australia on 1800 815 270 or New Zealand on 0800 282 288 to find your local spare parts provider. Fault Cause Solution Motor does not start No power supply. Check cable, plug and socket. - Page 12 Your Hoover Smart is not fit to be used as an industrial cleaner, and is not The repair of the Hoover Smart under this warranty does not extend designed for the collection of vitreous building material including particle the original period of warranty.
Need help?
Do you have a question about the smart R1 and is the answer not in the manual?
Questions and answers