Advertisement
Quick Links
Advertisement

Subscribe to Our Youtube Channel
Related Manuals for JWA 70823


Summary of Contents for JWA 70823
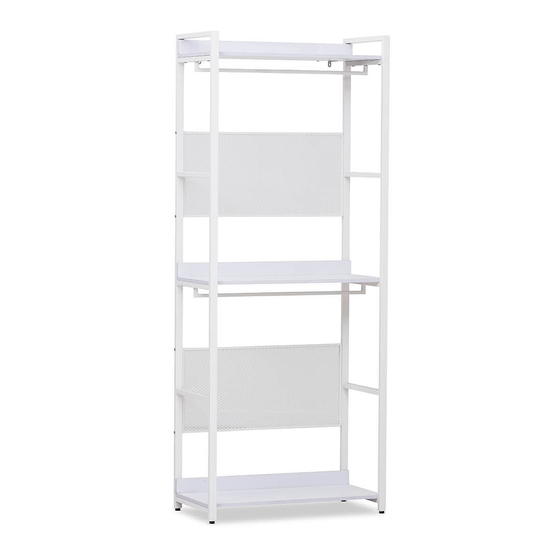
- Page 1 ASSEMBLY INSTRUCTION Advance 2drw Clothes Rack ITEM CODE 70823...
-
Page 2: Before You Start
PRE-ASSEMBLY PREPARATION Before you start: 1.Choose a clean, level, spacious assembly area. Avoid hard surfaces that may damage the product 2.Take care when lifting. Product should be assembled as near as possible to the point of use 3.Ensure that you have all required contents for complete assembly 4.Always read the assembly instructions carefully before beginning assembly. -
Page 3: Parts List
PARTS LIST M6X30 mm M4X18mm M6X40 mm 4pcs 4pcs 24pcs 16pcs 8pcs ST3.5X14mm ST3.5X18mm ST5X50mm 8pcs 6pcs 20pcs 6pcs 12pcs ST4X25mm 2pcs 2pcs 2pcs 2pcs 4pcs t o p p a n e l middle layer back panel drawer top panel dr aw er b ot tom p an el Left side panel r i g h t s i d e p a n e l... - Page 4 STEP 1: S crew t he fitti n g O i nto the P1 . STEP 2: Attach the P3 to th e P 1 w i t h f i t t i n g C .
- Page 5 STEP 3: A t tac h P 2 t o t he P 1 w ith fitting B. STEP 4: A tt a c h t h e p anel 3 t o Panel 1 w i t h f i t t i ng H . T h e s ame process for the Pa n e l...
- Page 6 STEP 5: At tac h t he compon ent s of ste p 4 to P1 w i th fi tting C. STEP 6: Raise the plastic tab on t h e r u n n e r s a n d s eparate E1 from E2.
- Page 7 STEP 7: Use fitting F t o fi x E 1 a t t h e c orresponding positions holes of Panel 6 and Panel 7. STEP 8: Attach th e Pane l 6 a n d 7 t o the Panel 5 w i th f i tt in g A a n d I .
- Page 8 STEP 9: Insert the Panel 8 t o p a n e l 6 , 7 a nd 5 a lign the groove. STEP 10: Attach Pa n e l 4 to p a n e l 6 a nd 7 w ith fitting A a nd I .
- Page 9 STEP 11: Insert the fitting J t o t h e c o r r e s p o n d i ng h o le s o f Panel 8 a nd fasten wi t h fitting G. STEP 12: As t he d i r e ction of arrow, insert the c om po ne nt of Pa ne l 5 i n to t he b ot t o m o f m e tal frame, and fasten with fi tt in g C.
- Page 10 STEP 13: Attach the Panel 10 an d 1 1 t o P a n e l 1 2 with fitting H, then att ac h P an e l 1 3 t o Panel 12 with fitting A. STEP 14: At ta c h t h e h a ndle K t o the Panel 9 w i t h f it ti ng D .
- Page 11 STEP 15: Attach the E2 to t h e o u t s i d e o f t h e P anel 10 and 11 with fit ti ng F . STEP 16: P u l l t h e s l id er o n E 1 forward to a f u ll y Ÿ...
- Page 12 STEP 17: STEP 18: ssembly complete!
- Page 13 To protect your furniture, we suggest the following: • Avoid placing your furniture in direct sunlight. • Do not place furniture directly under windows. • Do not place sharp materials (knife, fork, etc.) directly onto your furniture as sharp material may scrape and damage the finish.
Need help?
Do you have a question about the 70823 and is the answer not in the manual?
Questions and answers