Table of Contents
Advertisement
Quick Links
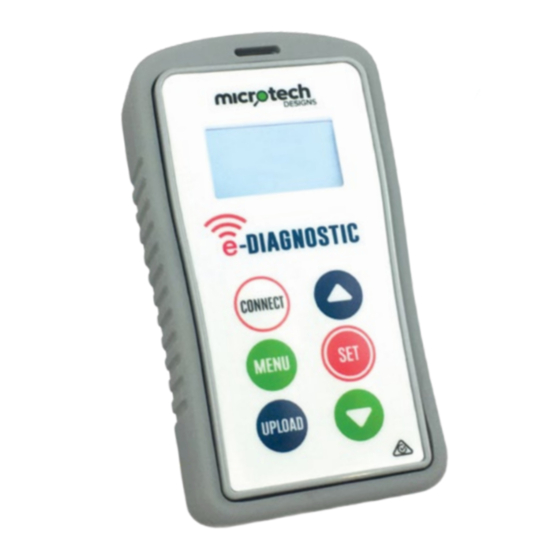
Specifications
High impact PC casing
Silicone rubber cover
IP 65 rated
LCD backlight graphic display
433.39 MHz bidirectional Transceiver
Operates from 2 x 1.5V AAA batteries
Activation and signal strength
1.
Press the
MENU
button and you will see two selections,
Open RX will be highlighted, press
now monitor the e-Loop activation.
2.
When the trip level is exceeded, the screen will display the
activation and the level that it tripped at for 2 seconds, to
exit this mode just press the
3.
To test for background interference, press the
now scroll using the down arrow until Signal Strength is
displayed. Press
SET
to select or
4.
Low background noise is indicated as 1 to 2 bars, if you see
more than 2 bars displayed constantly, you may have an
interference problem.
This Signal Strength bar graph will also display the signal
strength from our transmissions of remotes or e-Loops.
Although this will only be a short burst, it can be quite useful
in determining signal strength at the receiver end.
Microtech Designs
enquiries@microtechdesigns.com.au
microtechdesigns.com.au
SET
to select. You can
MENU
button again.
MENU
button,
MENU
to exit.
1
2
4
1
3
Advertisement
Table of Contents

Subscribe to Our Youtube Channel
Summary of Contents for Microtech e-DIAGNOSTIC
- Page 1 This Signal Strength bar graph will also display the signal strength from our transmissions of remotes or e-Loops. Although this will only be a short burst, it can be quite useful in determining signal strength at the receiver end. Microtech Designs enquiries@microtechdesigns.com.au microtechdesigns.com.au...
- Page 2 After the value has been altered press the button again. If no further changes need to be made, press the UPLOAD button to upload the new settings. Once upload is complete, the screen will display Settings Applied. CONNECT To disconnect press the button. Microtech Designs enquiries@microtechdesigns.com.au microtechdesigns.com.au...
- Page 3 Radar Read Press to read the radar sensor state. If False is shown it means no object is detected. If True is displayed this means an object has been detected. Microtech Designs enquiries@microtechdesigns.com.au microtechdesigns.com.au...
- Page 4 Use Up or Down buttons to change and to confirm. If no further changes need to be made, press the UPLOAD button to upload the new settings. Once upload is complete, the screen will display Settings Applied. Microtech Designs enquiries@microtechdesigns.com.au microtechdesigns.com.au...
- Page 5 Settings Applied. Batteries In order to replace the two AAA batteries, rst remove the three screws on the back of the device. Then remove the plate, and replace the two batteries. Then reinstall the plate and screws. Microtech Designs enquiries@microtechdesigns.com.au microtechdesigns.com.au...


Need help?
Do you have a question about the e-DIAGNOSTIC and is the answer not in the manual?
Questions and answers