Advertisement
Quick Links
NOTE:
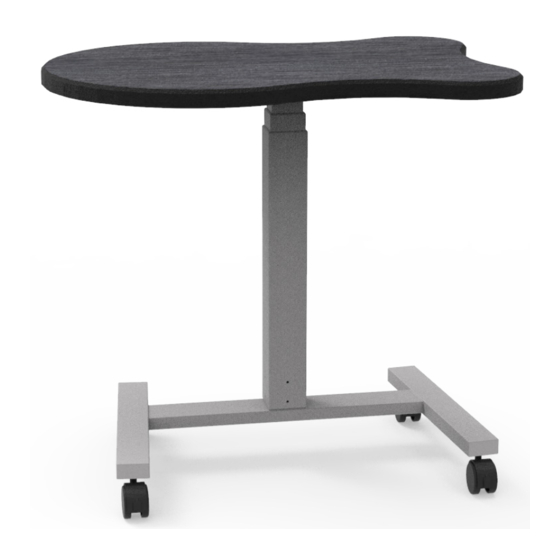
These Assembly Instructions are based on the
assembly of the Elevate Adapt XL (U.S. Patent D780487)
Student Desk with an adjustable height base. Type and
quantity of parts may vary depending on which desk or table
is ordered. These instructions comply with all
Elevate Student Desks.
Step 1:
• Take base out of box and place on a protected flat surface.
• Insert center post into the base.
wibenchmfg.com
Specifications are subject to change. Product
images are for illustrative purposes only and may
differ from the actual product.
Assembly Instructions
Elevate Student Desk
Before you begin, please make sure all parts and proper
quantities are included. (See Part Identifier Key) Any parts
damaged during shipment must be reported within 24 hours of
receipt. To report information regarding damages or if you have
any questions, please call 800.242.2303.
Center Post
Base
507 E. Grant St. Thorp, WI 54771 • P - 800.242.2303
04068471: -EJA
04068604: -ADJ
To o l s R e q u i r e d
• Screw gun
• 4mm hex bit
• Phillips head
screwdriver
• Drill bit extension
V021022 Version subject to change
1
Advertisement

Related Manuals for WB Mfg EJA


Summary of Contents for WB Mfg EJA
- Page 1 Assembly Instructions Elevate Student Desk 04068471: -EJA 04068604: -ADJ Before you begin, please make sure all parts and proper quantities are included. (See Part Identifier Key) Any parts damaged during shipment must be reported within 24 hours of receipt. To report information regarding damages or if you have any questions, please call 800.242.2303.
- Page 2 Assembly Instructions Elevate Student Desk 04068471: -EJA 04068604: -ADJ Step 2: Qty 6 • Place and center attachment plate with countersinks facing up on the top of the center post. • Place (6) hex head machine screws through the innermost holes in the attachment plate.
- Page 3 Assembly Instructions Elevate Student Desk 04068471: -EJA 04068604: -ADJ Step 3: Qty 6 • Place top on a protected flat furface so that threaded inserts are facing up. • Remove center post from the base and set the base to the side.
- Page 4 1/4" x 110mm flat head bolt w/loctite (-ADJ) 1/4" x 82mm flat head bolt w/loctite (-EJA) • Secure base to the center tube by tightening the flat head bolts w/ loctite using a 4mm Allen wrench or 4mm hex bit and screw gun.
- Page 5 Elevate Student Desk 04068471: -EJA 04068604: -ADJ Step 5: Qty 4 (-EJA) • Place (2) joint connector bolts through the front side of the center Qty 8 (-ADJ) post, tighten bolts using a 4mm Allen wrench or 4mm hex bit and screw gun.
- Page 6 Assembly Instructions Elevate Student Desk 04068471: -EJA 04068604: -ADJ Step 6: Qty 4 • Place stem of optional footing into the hole on the leg. Rotate clockwise until fully inserted into leg. • Casters are NOT to be used as a leveling device.
- Page 7 Assembly Instructions Elevate Student Desk 04068471: -EJA 04068604: -ADJ Step 7: Qty 4 • Place the plastic handle on the bottom of the top and align the pre-drilled holes in the handle with the pre-drilled pilot holes in the top.
- Page 8 Assembly Instructions Elevate Student Desk 04068471: -EJA 04068604: -ADJ Step 8: Qty 2 • Slide the cord through the (2) plastic wire holders. • NOTE: There will not be any pre-drilled pilot holes for the plastic wire holders. Place the wire holders near the locations shown in the images on this page.
- Page 9 Outer pedestal (-ADJ) 4mm Allen wrench (Used to tighten joint connector bolts thoughout assembly.) 04068471-05 Attachment plate 10.630” x 5.906” x 7Ga. (-EJA) OR Step 2 04068604-05 Attachment plate 10.630” x 5.906” x 7Ga. (-ADJ) Step 2 Hex head machine screw 5/16"x12mm...