Advertisement
Quick Links
Advertisement

Subscribe to Our Youtube Channel
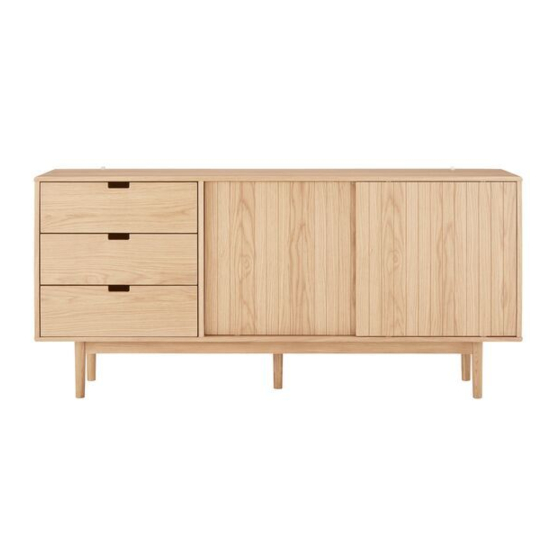
Summary of Contents for Matt Blatt AMAGER SIDEBOARD (OAK)
- Page 1 AMAGER SIDEBOARD (OAK) MBAMAGERSOA...
- Page 3 COMPONENTS No. Dimensions (mm) Qty No. Dimensions (mm) Qty 1600 x 400 x 16 200 x 40 x 30 10 198 x 40 x 30 519 x 399 x 16 519 x 399 x 16 11 515 x 169 x 16 519 x 384 x 16 12 350 x 125 x 14 13 350 x 125 x 14...
- Page 4 Hardware A ∅6 x 44mm B ∅15 x 12mm C ∅12 x ∅10mm D ∅8 x 30mm (x30) (x18) (x12) (x20) E M8 65mm G M8 F ∅8/∅19mm H ∅3.5 x 16mm (x4) (x4) (x4) (x32) J ∅4 x 30mm (x12) K ∅4 x 40mm (x5) L 350mm (x3) M 350mm (x3)
- Page 5 ASSEMBLY Step 1: Insert D dowels into parts 2, 3 and 4. Align M onto part 2 and L onto part 3. Using a Phillips screwdriver (not supplied), secure M and L with P screws. D (x12) L (x2) M (x2) P (x12)
- Page 6 Step 2: E (x4) F (x4) G (x4) N (x1) Step 3: A (x9)
- Page 7 Step 4: Place parts 2, 3 and 4 onto part 5. Ensuring the arrows on each B piece are pointing to the corresponding A piece, insert B pieces into parts 2, 3 and 4 then secure B to A with a Phillips screwdriver (not supplied). B (x9) Step 5:...
- Page 8 Step 6: A (x9) R (x2) S (x4) W (x4) Step 7: B (x9)
- Page 9 Step 8: H (x20) T (x20) Step 9: L (x1) M (x1) P (x6) U (x6)
- Page 10 Step 10: Q (x4) Step 11: D (x2)
- Page 11 Step 12: K (x5) Step 13:...
- Page 12 Step 14: Ⅱ Ⅰ Ⅰ Ⅱ Step 15: Insert A into one part labelled 11. Insert D into part 12 and 13. Align parts 12 and 13 and connect with part 11. Repeat the whole process two more times to create three drawer assemblies. A (x12) D (x6)
- Page 13 Step 16: Insert part 15 onto one drawer assembly. Ensuring the arrows on each C piece are pointing to the corresponding A piece, insert C pieces into parts 12 and 13 then secure C to A with a Phillips screwdriver (not supplied).
- Page 14 Step 17: Ⅰ Ⅱ Ⅲ Ⅳ Step 18: Using a spirit level (not supplied), check the unit is level. Adjust the height of the legs using a flathead screwdriver (not supplied) if necessary.
- Page 15 Step 19: Place the unit against the wall where you would like the unit to be located. Using a pencil, mark the location of the holes on the R brackets. Remove the unit and use a drill (not supplied) to create holes at the marked locations. Align the holes with the unit and R brackets, then use appropriate wall anchor plugs and screws (not supplied) to secure the unit to the wall.
-
Page 16: Need More Information
NEED MORE INFORMATION? We hope that this user guide has given you the assistance needed for a simple set-up. For the most up-to-date guide for your product, as well as any additional assistance you may require, head online to help.mattblatt.com.au...


Need help?
Do you have a question about the AMAGER SIDEBOARD (OAK) and is the answer not in the manual?
Questions and answers