Sign In
Upload
Download
Add to my manuals
Delete from my manuals
Share
URL of this page:
HTML Link:
Bookmark this page
Add
Manual will be automatically added to "My Manuals"
Print this page
×
Bookmark added
×
Added to my manuals
Manuals
Brands
Smeg Manuals
Ventilation Hood
PUM610X
Instruction manual
Smeg PUM610X Instruction Manual
Hide thumbs
1
Table Of Contents
2
3
4
5
6
7
8
9
10
11
12
page
of
12
Go
/
12
Contents
Table of Contents
Troubleshooting
Bookmarks
Advertisement
Quick Links
1
Table of Contents
2
Installation
Download this manual
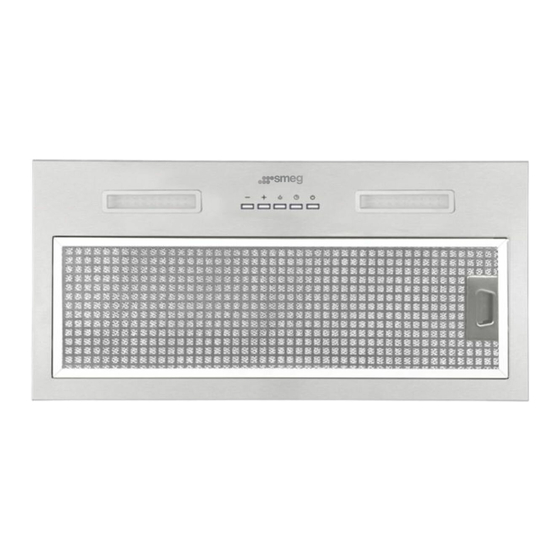
PUM610X PUM910X
Cooker Hood
Instruction Manual
V20210225
Table of
Contents
Previous
Page
Next
Page
1
2
3
4
5
Advertisement
Need help?
Do you have a question about the PUM610X and is the answer not in the manual?
Ask a question
Questions and answers
Subscribe to Our Youtube Channel
Related Manuals for Smeg PUM610X
Ventilation Hood Smeg PUM60X Instruction Manual
Range hood (8 pages)
Ventilation Hood Smeg PUM60X Instruction Manual
(7 pages)
Ventilation Hood Smeg PUM60X Instruction Manual
(8 pages)
Ventilation Hood Smeg PUM601X User Instruction Manual
(10 pages)
Ventilation Hood Smeg PUM901X User Instruction Manual
(10 pages)
Ventilation Hood Smeg PUM910X Instruction Manual
(12 pages)
Ventilation Hood smeg PASC7801FPX Installation And Operating Instructions Manual
Rangehood (7 pages)
Ventilation Hood Smeg POLARB90 User Manual
(13 pages)
Ventilation Hood Smeg P791 User Manual
(31 pages)
Ventilation Hood Smeg PASC650 Operating And Installation Instructions
(8 pages)
Ventilation Hood SMEG KSEG52 Instruction On Mounting And Use Manual
(8 pages)
Ventilation Hood SMEG KSEG90X2 User Manual
Cooking hood smeg (26 pages)
Ventilation Hood Smeg KI52E User Manual
(12 pages)
Ventilation Hood Smeg SAH461SS User Manual
(9 pages)
Ventilation Hood Smeg SA950CXA Instruction Manual
(6 pages)
Ventilation Hood Smeg SAH490SS Instruction Manual
(11 pages)
This manual is also suitable for:
Pum910x
Save PDF
Print
Rename the bookmark
Delete bookmark?
Delete from my manuals?
Login
Sign In
OR
Sign in with Facebook
Sign in with Google
Upload manual
Upload from disk
Upload from URL


Need help?
Do you have a question about the PUM610X and is the answer not in the manual?
Questions and answers