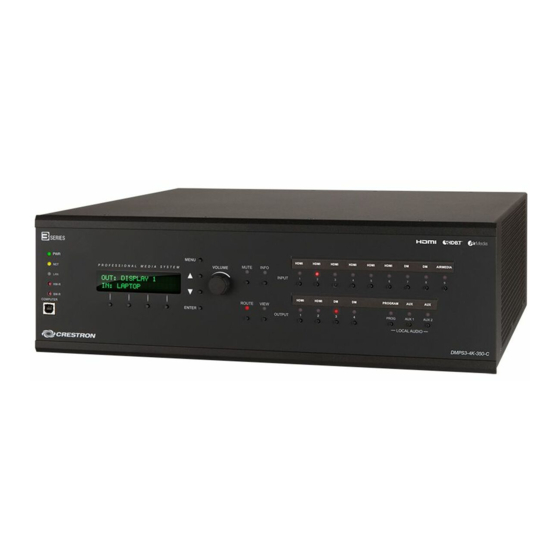
Crestron DigitalMedia 3 Series Supplemental Manual
Hide thumbs
Also See for DigitalMedia 3 Series:
- User manual (2 pages) ,
- Do manual (2 pages) ,
- Quick start manual (7 pages)
Summary of Contents for Crestron DigitalMedia 3 Series
- Page 1 DMPS3-300-C-AEC/DMPS3-300-C/ DMPS3-200-C 3-Series DigitalMedia Presentation System 300 ® ™ Supplemental Guide Crestron Electronics, Inc.
- Page 2 Crestron Electronics, Inc. in the United States and/or other countries. Other trademarks, registered trademarks, and trade names may be used in this document to refer to either the entities claiming the marks and names or their products. Crestron disclaims any proprietary interest in the marks and names of others.
-
Page 3: Table Of Contents
Contents DMPS3-300-C-AEC/DMPS3-300-C/DMPS3-200-C 3-Series DigitalMedia Presentation System 300: DMPS3-300-C-AEC/DMPS3-300-C/ DMPS3-200-C Introduction Configuration Configuring the System ID ..................1 Configuring EDID or HDCP ..................1 Configuring the DMPS3-300/200-C ................ 2 Network Setup ................... 3 Control Setup ..................... 8 Default System Operation Contents • i Supplemental Guide –... -
Page 5: Dmps3-300-C-Aec/Dmps3-300-C/Dmps3-200-C
System Info tool in Crestron Toolbox ® Configuring EDID or HDCP In the Crestron Toolbox Address Book, select the DMPS3-300/200-C. Then use the DMPS Tool to configure EDID, or HDCP, or to troubleshoot AV on the DMPS3-300/200-C. Refer to the help file for additional information. -
Page 6: Configuring The Dmps3-300/200-C
Configuring the DMPS3-300/200-C The DMPS3-300/200-C can be used for audio and video switching without any programming required. This is ideal for those who need a basic audio-video switching system. Prior to operation, the DMPS3-300/200-C must be configured for use. The DMPS3-300/200-C is configured using the built-in Setup Menu. NOTE: When the system is being configured, system operation is suspended. -
Page 7: Network Setup
Setup Menu Structure The following diagram shows the Setup Menu structure of the DMPS3-300/200-C. DMPS3-300/200-C Setup Menu Structure The Setup Menu is composed of two sections: 1. Network Setup contains controls for setting the IP address of the DMPS3-300/200-C, the IP address of the subnet mask used by the DMPS3-300/200-C, the IP address of the default router used by the DMPS3-300-C, and the DHCP mode. - Page 8 Access the Network Setup Menu: 1. Access the Setup Menu as described on page 2. Press the buttons until Network Setup is displayed on the LCD. 2. Press ENTER to display the Network Setup menu. 3. To exit the Network Setup menu, press MENU. Set the IP Address The DMPS3-300/200-C uses TCP/IP for communications between network devices, a PC, and ®...
- Page 9 pressing the buttons. 4. Press ENTER to move the cursor to the next section of the address. To change a different section, press the button under the section to be changed. 5. Repeat the previous two steps until the entire subnet mask IP address is set. 6.
- Page 10 To save the setting and return to the Network Setup menu, press ENTER. To cancel the operation and return to the Network Setup menu, press MENU. View and Set the Hostname The DMPS3-300/200-C can be recognized by its hostname in a networked environment. Set the hostname: 1.
- Page 11 Domain Name Change Screen 4. Turn the VOLUME control clockwise or counterclockwise (or press the buttons) to select a new letter (uppercase or lowercase) or number. Move the cursor by pressing the buttons under the < or > symbols. The domain name can be up to 64 characters in length.
-
Page 12: Control Setup
Set System ID Menu Set System ID ▲ 6. Press the buttons to select the desired System ID address number between 1 and 64. 7. Press MENU to return to the Network Setup menu. Control Setup Basic control system operations can be performed from the DMPS3-300/200-C front panel using the Control Setup menu. - Page 13 NOTE: This information can also be viewed using Crestron Toolbox. For more information, refer to the Crestron Toolbox help file. 1. Access the Control Setup menu as described on page 8.
- Page 14 7. To erase the contents of the log, press the button under Clear. 8. Press MENU to return to the Control Setup menu. NOTE: The contents of the message log can also be read and saved using Crestron Toolbox. For more information, refer to the Crestron Toolbox help file 10 •...
- Page 15 MENU to return to the Time/Date controls without saving any changes. 13. To return to the Control Setup menu, press MENU. NOTE: The date and time can also be set using Crestron Toolbox. For more information, refer to the Crestron Toolbox help file. • 11 DMPS3-300-C-AEC/300-C/200-C: 3-Series DigitalMedia Presentation System 300 Supplemental Guide –...
- Page 16 Restore Default Settings The DMPS3-300/200-C can be restored to its default factory settings from the front panel. Users can restore only the audio settings or restore the audio settings, source names, output names, and function names. Restore audio settings only: 1.
-
Page 17: Default System Operation
Restore Defaults Screen Front Panel Lock Control The DMPS3-300/200-C’s front panel controls can be locked to prevent operational changes from the buttons on the front of the unit. While locked, the menu can be accessed by pressing the MENU button. Display the front panel lock controls: 1. - Page 18 Crestron Electronics, Inc. Supplemental Guide – DOC. 7591B 15 Volvo Drive Rockleigh, NJ 07647 (2038103) Tel: 888.CRESTRON 06.15 Fax: 201.767.7576 Specifications subject to www.crestron.com change without notice.


Need help?
Do you have a question about the DigitalMedia 3 Series and is the answer not in the manual?
Questions and answers