Advertisement
Table of Contents
- 1 Safety Precautions
- 2 Caution Risk of Electric Shock - Do Not Open
- 3 Before Use
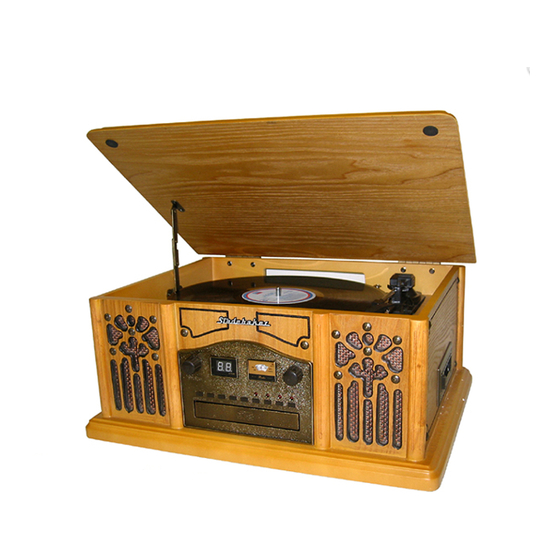
- 4 Location of Controls
- 5 How to Replace the Turntable Stylus
- 6 Basic Operation
- 7 Listening to a Record
- 8 Listening to TAPE
- 9 Listening to a CD
- 10 Listening to the Radio
- 11 Troubleshooting Guide
- 12 Compliance with Fcc Regulations
- Download this manual
Advertisement
Table of Contents

Related Manuals for Studebaker Studebaker SB6060


Summary of Contents for Studebaker Studebaker SB6060
- Page 2 IMPORTANT SAFETY INSTRUCTIONS FOR AUDIO PRODUCTS-READ CAREFULLY ALL THE FOLLOWING IMPORTANT SAFEGUARDS When using electrical products, basic precautions should always be followed including: Read Instructions - All the safety and operating instructions should be read before the product is operated. Retain Instructions - The safety and operating instructions should be retained for future reference.
- Page 3 18. Damage Requiring Service - Unplug this product from the wall outlet and refer servicing to qualified service personnel under the following conditions: If the power-supply cord or plug is damaged. If liquid has spilled, or objects have fallen into the product. If the product has been exposed to rain or water.
-
Page 4: Safety Precautions
CAUTION: In order to shut off the power to this product completely, unplug the power cord from the wall outlet. be sure to unplug the unit if you do not intend to use it for an extended period of time such as a vacation. -
Page 5: Before Use
14. TUNING BUTTON 15. FM ANTENNA 16. POWER CORD 17. CASSETTE PLAYER 18. ADAPTER FOR 45 RPM RECORDS 19. TONE ARM 20. SPEED CONTROL SWITCH 21. SECURITY HOOK 22. TONE ARM REST 23. TURNTABLE 24. LARGE CHROME SCREW 25. QUE-LEVER... - Page 6 PLUG TO WIDE SLOT, FULLY INSERT. 2. The silver screw protects the phonograph chassis during transportation. If the speed of your phonograph seems slow or you hear a rubbing sound, adjust the screw with a coin to correct the balance of the turntable.
-
Page 7: How To Replace The Turntable Stylus
How to Replace the Turntable Stylus Removing old stylus 1. Set a screwdriver at the tip of the stylus and push down to the direction "A". 2. Remove the stylus by pulling it down and forward. Installing a new stylus 1. -
Page 8: Listening To A Record
Listening to a Record 1. Press the PHONO button. 2. Select player speed. 3. Put a record onto the turntable (use the 45 rpmadaptor provided when playing a single record). 4. Remove the tone arm-rest holder. 5. Lift the Que-lever and move the tone arm gently to the desired position over the record. -
Page 9: Listening To A Cd
Listening to a CD 1. Press the CD button. "--" blinks for a few seconds, when the CD exit and enter into CD door, or the unit do not play CD. 2. Open the tray by pressing the OPEN/CLOSE button. Then put the CD on the tray. -
Page 10: Listening To The Radio
Listening to the Radio 1. Press the AM or FM button to select the desired band. 2. Tune to the desired frequency. 3. FM Reception Any strong FM station will cause the FM Stereo Indicator (FM ST ) to illuminate. Weaker stations cannot be received in stereo 4. -
Page 11: Troubleshooting Guide
Troubleshooting Guide If you experience difficulties in the use of this music system, please check the followings or call at 1-800-777-5331 for Customer Service and Support. Problem Power does not come on when the power switch is pressed. No sound comes out of the speakers. -
Page 12: Compliance With Fcc Regulations
COMPLIANCE WITH FCC REGULATIONS This equipment has been tested and found to comply with the limits for a Class B Digital Device, pursuant to Part 15 of the FCC Rules. These limits are designed to provide reasonable protection against harmful interference in a residential installation. This equipment generates, uses and can radiate radio frequency energy and, if not installed and used in accordance with the instructions, may cause harmful interference to radio communications.
Need help?
Do you have a question about the Studebaker SB6060 and is the answer not in the manual?
Questions and answers