
Related Manuals for CristalRecord 85-160-25-100


Summary of Contents for CristalRecord 85-160-25-100
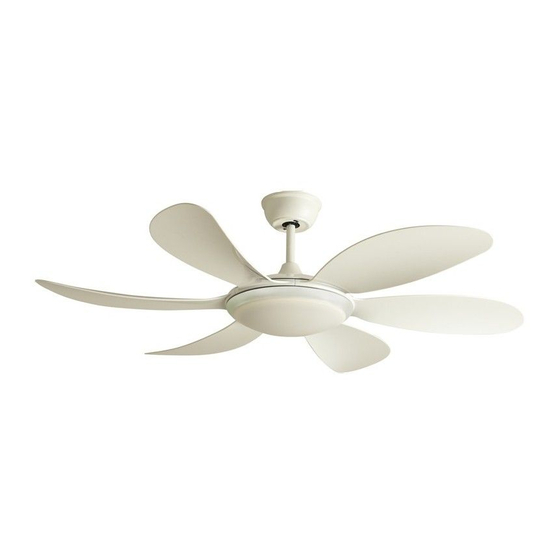
- Page 1 VENTILADOR DE TECHO LED LED CEILING FAN VENTILATEUR DE PLAFOND LED VENTILADOR DE TETO LED...
-
Page 2: Safety Precaution
Carefully read these instructions before mounting the fan. Keep original carton and Styrofoam as warran- ty repair and service will not be carried out unless the fan is returned in complete original packaging. The fan must be installed by qualified personnel. SAFETY PRECAUTION A. -
Page 3: Mesures De Sécurité
Lisez attentivement ces instructions avant de monter le ventilateur. Conservez la boîte de ventilateur d’origine car la garantie ne sera pas effective si vous ne retournez pas le ventilateur dans son emballage d’origine. L’installation du ventilateur doit être effectuée par un personnel qualifié. MESURES DE SÉCURITÉ... -
Page 5: Fan Installation
FAN INSTALLATION Mount the mounting bracket onto outlet box by the two screws, spring washers and fiat washers Hang the ball joint and the fan onto the bracket. Make sure the guide pin of bracket is fitted into slot of ball joint. Insert the remote-control receiver between the bracket and the downrod, and the sensor as shown. - Page 6 INSTALACIÓN DEL VENTILADOR Monte el soporte de montaje en la caja de salida con los dos tornillos, las arandelas elásticas y las arandelas de fijación. Cuelgue la rótula de sujeción y el ventilador en el soporte. Asegúrese de que el pasador del soporte esté encajado en la ranura de la rótula.
-
Page 7: Installation Du Ventilateur
INSTALLATION DU VENTILATEUR Montez le support de montage sur le boîtier de sortie à l’aide des deux vis, rondelles élastiques et rondelles frein. Suspendre la rotule de fixation et le ventilateur dans le support. Assurez-vous que la goupille de support est en- cliquetée dans la rainure de la rotule. - Page 8 INSTALAÇÃO DO VENTILADOR Monte o suporte de montagem na caixa de tomadas com os dois parafusos, as arruelas de pressão e as arruelas de pressão. Pendure la junta articulada e o ventilador no suporte. Cer- tifique-se de que o pino de suporte esteja encaixado na ranhura da junta esférica.
- Page 9 Wires / Cables / Cables / Cabos Canopy / Florón / Fleuron / Florão Fixing screw / Tornillo de fijación / Vis de fixation / Coupling cover / Fixing screw Cubierta del acoplamiento / Couvercle d’accouplement / Cobertura de acoplamento Coupler / Acoplamiento / Couvercle /...
- Page 10 REMOTE CONTROLLER OPERATION / FUNCIONAMIENTO DEL MANDO / FONCTIONNEMENT DE LA TÉLÉCOMMANDE / FONCTIONNEMENT DE LA TÉLÉCOMMANDE IMPORTANT: By default, the remote control inclu- IMPORTANTE: Por defecto el mando a distancia in- ded in the box is paired with the fan, if the fan does cluido en la caja está...
- Page 11 IMPORTANT: Par défaut, la télécommande incluse IMPORTANTE: Por padrão, o controle remoto incluí- dans la boîte correspond à le ventilateur, si le ven- do na caixa é emparelhado com o ventilador, se o tilateur ne répond pas à la télécommande, vous de- ventilador não responder ao controle remoto, você...
Need help?
Do you have a question about the 85-160-25-100 and is the answer not in the manual?
Questions and answers