Table of Contents
Advertisement
Quick Links
Advertisement
Table of Contents

Related Manuals for BEMIS bioBidet USPA


Summary of Contents for BEMIS bioBidet USPA
- Page 1 OWNER’S MANUAL UB-6800H, UB-6800HS...
-
Page 2: Product Information
T A B L E O F C O N T E N T S 4 - 9 PRODUCT INFORMATION Important Safeguards Safety Information Main Unit & Parts 10 - 21 INSTALLATION Installation Guide How To Use 22 - 29 SETTINGS Cleaning The Product Maintenance... -
Page 3: Before Installation
I M P O R T A N T S A F E T Y S A F E G U A R D S I N F O R M A T I O N READ & SAVE ALL OPERATING INSTRUCTIONS DANGER - FOLLOW THESE BASIC INSTRUCTIONS TO BEFORE INSTALLATION ENSURE THE SAFE USE OF YOUR APPLIANCE. - Page 4 S A F E T Y I N F O R M A T I O N WARNING - FOLLOW THESE BASIC INSTRUCTIONS TO Be aware of low-grade burns. • Sitting on the heated seat for a long time may result in a low-grade burn. ENSURE THE SAFE USE OF YOUR APPLIANCE.
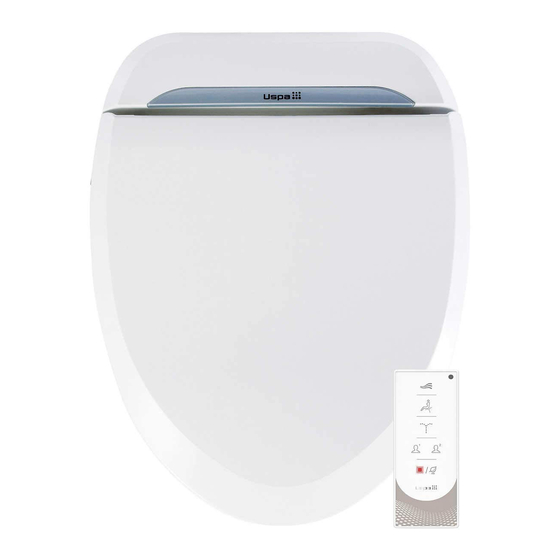
- Page 5 M A I N U N I T & P A R T S Caution Label Remote Control Remote Control Bracket 3 AAA Batteries Power Deodorizing Filter Unit Cord Nozzle For Cleansing/Posterior Nozzle For Bidet/Feminine Occupancy Sensor 2 Mounting Bolts Mounting Plate 2 Bolt Guides Splash Guard...
-
Page 6: Occupancy Sensor
I N S T A L L A T I O N G U I D E CAUTION - Do not plug in until installation is finished. Occupancy Sensor Not doing so may cause damage. • This appliance is equipped Occupancy Sensor with an occupancy sensor. -
Page 7: Connecting The Water Hose
I N S T A L L A T I O N G U I D E Attaching and Detaching Unit Connecting the Water Hose Slide the unit until it clicks into the plate. *Shutoff valve may vary. If supplied parts do not fit, please call 847.458.2334 Close the shutoff valve by turning it clockwise. -
Page 8: Trial Operation
I N S T A L L A T I O N H O W G U I D E ( C O N T I N U E D ) T O U S E Trial Operation Preparation Plug the power cord in the outlet. The water tank will be filled in 2 minutes. Checking All Functions Cover the toilet bowl using the sheet of plastic wrap on the unit to prevent the washing water from being sprayed out of the toilet. -
Page 9: User Settings
H O W T O U S E ( C O N T I N U E D ) Cleansing Stop • Press “Cleansing” to activate a posterior wash. • Press “Stop” to stop current operation The function will stop after 3 minutes. •... - Page 10 H O W T O U S E ( C O N T I N U E D ) Auto Deodorization • Press “Auto” during the “Cleansing” or “Bidet” operation to • Press the button to turn the Deodorization On/Off. activate the following sequence.
-
Page 11: Side Control Buttons
H O W T O U S E ( C O N T I N U E D ) Factory Reset Values Side Control Buttons • Water Temperature : OFF • Use the side control buttons when the remote control is broken or the batteries are dead. -
Page 12: Nozzle Cleaning
C L E A N I N G T H E P R O D U C T CAUTION: Do not forcefully push, pull, or bend the nozzles. It may result Strainer Maintenance in damage. Make sure to use the “Stop” button on the remote control. •... - Page 13 M A I N T E N A N C E Drain water from the unit when not using it for an extended period of time. 4. Detaching Unit • After the draining is complete, press and hold 1. Unplug the Power the drain/remove button Supply Cord.
-
Page 14: Troubleshooting
T R O U B L E S H O O T I N G G U I D E POSSIBLE POSSIBLE POSSIBLE POSSIBLE PROBLEM PROBLEM CAUSE SOLUTION CAUSE SOLUTION Stops in Washing or Press the wash or Unit Power outage Reset the GFI outlet. - Page 15 S P E C I F I C A T I O N S • Recommended water supply pressure is 0.1 ~ 0.69 MPa. ITEM UB-6800H, 8B-6800HS • The minimum available water supply pressure is 0.07 MPa, Standard power supply AC 120V, 60Hz 1248W however 0.1 MPa pressure, water spray pressure might not be adequate.
- Page 16 W A R R A N T Y USPA PRO Personal Hygiene Appliance Limited Warranty This limited warranty is our only warranty covering your product. Repair or replacement as provided under this warranty shall be the exclusive remedy available We warrant our products to be free from manufacturing defects under normal to you.
- Page 17 T H A N K Y O U Technical Support/Customer Service 7900 S Route 31 Crystal Lake, IL 60014 T: 847.458.2334 U.S. TOLL FREE: 877.339.5214 support@biobidet.com www.biobidet.com...
Need help?
Do you have a question about the bioBidet USPA and is the answer not in the manual?
Questions and answers