D-Link DAP-3220 Quick Installation Manual
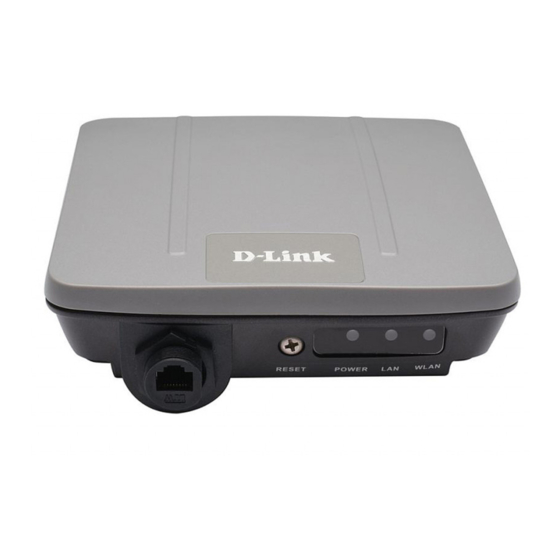
Wireless 108g exterior access point
Hide thumbs
Also See for DAP-3220:
- Quick installation manual (76 pages) ,
- User manual (69 pages) ,
- Reference manual (35 pages)
Table of Contents
Advertisement
Available languages
Available languages
Quick Links
Advertisement
Table of Contents

Subscribe to Our Youtube Channel
Related Manuals for D-Link DAP-3220


Summary of Contents for D-Link DAP-3220
- Page 1 Quick Installation Guide DAP-3220 Wireless 108G Exterior Access Point...
-
Page 2: System Requirements
• Installed Ethernet Adapter, Internet Explorer version 6.0 or Netscape Navigator version 7.0 and above ™ Package Contents Power over Ethernet DAP-3220 Wireless 108 G Mounting Plate base unit Exterior Access Point Power cord 4m Ethernet Cable CD-ROM with Manual... - Page 3 Before You Begin It’s best to use a computer (with an Ethernet adapter) connected to a switch to configure the DAP-3220. The default IP address for the DAP-3220 is 192.168.0.50 with a subnet mask of 255.255.255.0 on the wired Ethernet side.
-
Page 4: Physical Installation
Physical Installation C o n n e c t t h e s u p p l i e d Ethernet cable with the waterproof enclosure to the Ethernet port on the DAP-3220 and attach the grounding wire. - Page 5 Mounting Plate Assembly Step 1: Insert provided wall anchors in the wall where the mounting plate will be attached. Step 2: Use the provided screws to secure the mounting plate on the wall.
- Page 6 Step 3: Attach the remaining screws securely to the back of the DAP-3220. Step 4: Attach the DAP-3220 to the mounting plate.
- Page 7 Step 5: Slide the DAP-3220 down into the grooves on the mounting plate to secure it to the plate.
-
Page 8: Installing The Hardware
Step 1 Connect one end of an Ethernet cable (included with your package) to the LAN port on the DAP-3220 and the other end of the Ethernet cable to the port labeled P+DATA OUT on the PoE base unit. Step 2 Connect another Ethernet cable from the DATA IN port on the PoE base unit to your router/switch or to a PC. - Page 9 Your Setup is Complete When you have completed the steps in this Installation Guide and configured your DAP-3220 for your network, your network should look similar to this:...
- Page 10 AP Mode: Bridging Mode:...
-
Page 11: Technical Support
Technical Support You can find software updates and user documentation on the D-Link website. Tech Support for customers in Australia: Tel: 1300-766-868 24/7(24Hrs, 7days a week) technical support http://www.dlink.com.au e-mail: support@dlink.com.au India: Tel: 1800-222-002 9.00 AM to 9.00 PM. All days http://www.dlink.co.in/support/productsupport.aspx... - Page 12 Technical Support You can find software updates and user documentation on the D-Link website. Tech Support for customers in Egypt: Tel: +202-2919035 or +202-2919047 Sunday to Thursday 9:00am to 5:00pm http://support.dlink-me.com Email: support.eg@dlink-me.com Iran: Te: +98-21-88880918,19 Saturday to Thursday 9:00am to 5:00pm http://support.dlink-me.com...
- Page 13 Руководство по быстрой установке DAP-3220 Внешняя беспроводная точка доступа 108G...
-
Page 14: Системные Требования
Установленный адаптер Ethernet и Internet Explorer версии 6.0 или Netscape Navigator версии 7.0 или выше. Комплект поставки Базовое устройство PoE Внешняя беспроводная Настенное точка доступа 108G крепление DAP-3220 Шнур питания Кабель Ethernet CD-диск с руководством длиной 4 м пользователя Набор болтов Провод... -
Page 15: Важная Информация
адаптером Ethernet), подключенный к коммутатору. По умолчанию IP-адрес интерфейса Ethernet DAP-3220 равен 192.168.0.50, а маска подсети 255.255.255.0. Необходимо присвоить компьютеру статический IP-адрес из той же подсети, что и IP-адрес DAP-3220. Подробные инструкции по настройке статического IP-адреса сетевого адаптера смотрите в Руководстве пользователя на компакт-диске. - Page 16 к а б е л ь E t h e r n e t с в о д о н е п р о н и ц а е м о й оболочкой к порту Ethernet DAP-3220 и подсоедините заземляющий провод.
- Page 17 Монтаж крепежной пластины Шаг 1: Забейте дюбели в стену, где будет установлена крепежная пластина. Шаг 2: С помощью болтов, входящих в поставку, прикрепите крепежную пластину к стене.
- Page 18 Шаг 3: Оставшиеся болты надежно закрепите на задней панели DAP-3220. Шаг 4: Прикрепите DAP-3220 к крепежной плате.
- Page 19 Шаг 5: Плавно опустите DAP-3220 в пазы крепежной пластины, чтобы надежно ее закрепить.
-
Page 20: Установка Оборудования
Установка оборудования Шаг 1 Подсоедините один конец кабеля Ethernet (входит в комплект поставки) к Порту LAN на DAP-3220, а другой к порту обозначенному как P+DATA OUT на базовом устройстве PoE. Шаг 2 Подсоедините другой кабель Ethernet к порту обозначенному как DATA IN на базовом устройстве PoE и к маршрутизатору/ коммутатору...
Need help?
Do you have a question about the DAP-3220 and is the answer not in the manual?
Questions and answers