Advertisement
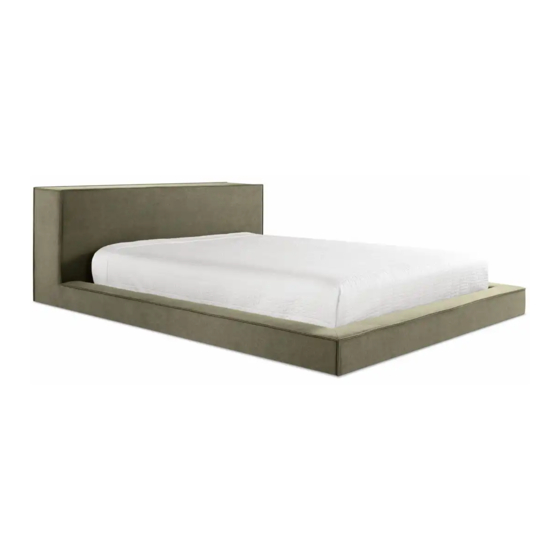
Dodu Bed Collection
D E S I G N E D I N 2 0 0 6
A S S E M B LY N O T E S | R E V 0 0
N E E D A H A N D ?
Contact us at service@bludot.com or
844.425.8368 for assistance.
@ B L U D O T
We design all our pieces in our Minneapolis studio. Follow
along on Instagram for some sneak peeks into the process.
Advertisement
Table of Contents

Related Manuals for BluDot Dodu Bed


Summary of Contents for BluDot Dodu Bed
- Page 1 A S S E M B LY N O T E S | R E V 0 0 N E E D A H A N D ? @ B L U D O T Contact us at service@bludot.com or We design all our pieces in our Minneapolis studio. Follow 844.425.8368 for assistance.
- Page 2 Parts & Hardware Pt. 3001 Pt. 3002 Pt. 1604 Pt. 9016 Front Corner Bracket Rear Corner Bracket Slip Cover Center Leg Center Rail Side Rail Slats Footboard Headboard 1 | 8 4 4 . 4 2 5 . 8 3 6 8 D O D U B E D C O L L E C T I O N...
- Page 3 Step 01 I N S TA L L C E N T E R L E G . Assemble the bed on a soft, clean surface with the assistance of another individual. Attach leg to center rail by threading it into place as shown.
- Page 4 Step 03 S E C U R E H E A D B O A R D. Secure headboard and center rail in place using provided hardware as shown. Do not fully tighten the hardware until all of the bolt locations are aligned. Rear C or ner PT.
- Page 5 Step 04 S E C U R E F O O T B O A R D. Secure footboard and center rail in place using provided hardware as shown. Do not fully tighten the hardware until all of the bolt locations are aligned. Front C or ner PT.
- Page 6 Step 05 AT TA C H S L I P C O V E R . Starting at headboard, secure hook and loop fasteners onto frame. Continue toward footboard keeping edges smooth and in line with frame edges. Turn adjustable glide on center leg clockwise or counterclockwise as needed to level bed.
- Page 7 Step 06 I N S TA L L S L AT S . Starting at the headboard, unroll slats along frame. Ensure first and last slat are secured by metal blocking. A S S E M B LY N O T E S S E R V I C E @ B L U D O T.
- Page 8 Additional Information CL E A N Vacuum your upholstery regularly. SP I LLS Act quickly with spills. Absorb the spill with a clean white cloth or paper towel. Never rub the surface. Do not use water or other liquids to clean, as they may stain the fabric. Consult a commercial cleaning specialist for removal of stubborn stains.
Need help?
Do you have a question about the Dodu Bed and is the answer not in the manual?
Questions and answers