Table of Contents
Advertisement
Quick Links
Advertisement
Table of Contents

Subscribe to Our Youtube Channel
Related Manuals for Episode ES-PWR-SNDBR-180-BLK


Summary of Contents for Episode ES-PWR-SNDBR-180-BLK
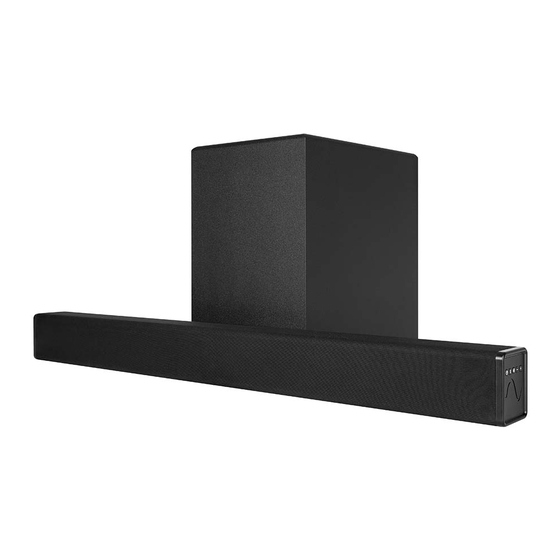
- Page 1 ES-PWR-SNDBR-180-BLK Episode Powered Soundbar Installation Guide...
- Page 2 Introduction Thank you for purchasing an Episode® soundbar. To complete installation, follow these instructions. Visit our website for design recommendations and speaker calculators. Contents 1x Soundbar 1x Remote 2x Wall bracket screws 1x Subwoofer 2x Wall brackets 2x Strong mount screws...
- Page 3 IR INPUT HDMI / ARC E. AUX Line Level Input Left and Right RCA Stereo input System Model : ES-PWR-SNDBR-180-BLK Model : ES-PWR-SNDBR-180-BLK Soundbar F. AC Power In CAN ICES-003(B)/NMB-003(B) FCC ID: 2ATKO-180BLK IC: 25133-180BLK IR INPUT HDMI / ARC Note: Connections are inside the soundbar compartment.
-
Page 4: Installation
Installation Soundbar Placement Placement should be below a flat screen TV on a cabinet top or shelf for most applications. Other options for placement include on-wall using the included bracket, or attached to a flat panel mount using the optional Strong mount bracket. Installing On or In a Cabinet On Cabinet In Cabinet... - Page 5 6. Hook soundbar onto the wall brackets slots, ensuring that the soundbar is secured to the wall. Installing on a Flat Panel Mount The Episode 2.1 Soundbar can be mounted directly to a Flat Panel Mount with the Strong™ SM-SBAR-BKT (available separately). Using the Flat Panel mount bracket allows the Soundbar to move with the TV when mounted to articulating arm mounts.
-
Page 6: Bluetooth Pairing
1. Long press the BT Pairing button on the included remote until the soundbar LED flashes rapidly. 2. Access the Bluetooth pairing menu on the device to be paired to the soundbar, then select the Episode 2.1 Soundbar. 3. Wait until the soundbar LED turns blue, and the Bluetooth device display reads Connected. - Page 7 IR Control The soundbar is equipped with a front-mounted IR sensor, as well as a dedicated 3.5mm IR input on the back. Refer to the IR Control Protocol document, on the product page, for more details. To control the soundbar with an in-room IR remote (commands transmit directly from the remote): 1.
-
Page 8: Fine Tuning
Fine Tuning Subwoofer Level After making all connections, set up the subwoofer using the following steps: 1. Connect power to the subwoofer. The status LED illuminates solid red when power is present and the subwoofer is on. The LED illuminates solid blue when soundbar is on. 2. -
Page 9: Specifications
Specifications Tweeter Two - .75" soft dome Woofer Four - 3" coated paper cone Subwoofer 8" coated paper cone Color Black Power handling (Peak) 320W Frequency response 35 Hz - 20 KHz Auto on (Audio Sense) sensitivity Input power (Soundbar) 100-240 VAC, 50/60 Hz, 100W Input power (Subwoofer) 100-240 VAC, 50/60 Hz, 90W... - Page 10 Snap One, LLC (formerly known as Wirepath Home Systems, LLC), in the United States and/or other countries. 4Store, 4Sight, Control4, Control4 My Home, SnapAV, Araknis Networks, BakPak, Binary, Dragonfly, Episode, Luma, Mockupancy, Nearus, NEEO, Optiview, OvrC, Pakedge, Sense, Strong, Strong Evolve, Strong VersaBox, SunBriteDS, SunBriteTV, Triad, Truvision, Visualint, WattBox, Wirepath, and Wirepath ONE are also registered trademarks or trademarks of Snap One, LLC.
Need help?
Do you have a question about the ES-PWR-SNDBR-180-BLK and is the answer not in the manual?
Questions and answers