
Related Manuals for Migomag 260PS


Summary of Contents for Migomag 260PS
-
Page 1: Index
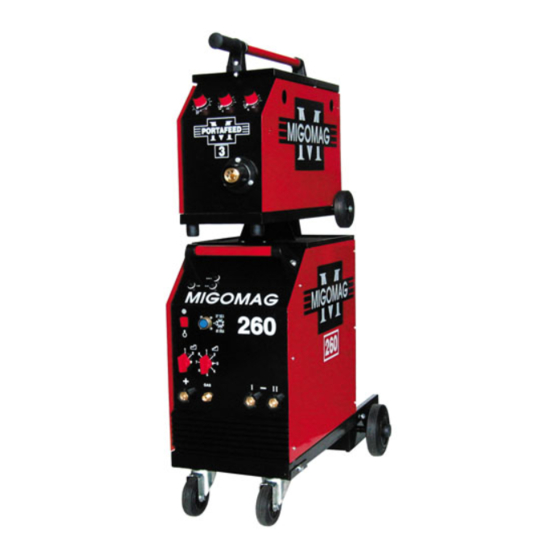
OPERATING INSTRUCTIONS FOR MIGOMAG SEPARATE WIRE FEEDER WELDING MACHINES 260PS (ITEM # AAM260PS) 350PS (ITEM # AAM350PS) 400PS (ITEM # AAM400PS) -
Page 2: Table Of Contents
INDEX FRONT COVER ................1 INDEX ....................2 INTRODUCTION ................3 ASSEMBLY INSTRUCTIONS ............3 SETTING UP FOR OPERATION ............ 3 MACHINE CONTROLS CONNECTIONS ......... 4 SHIELDING GAS ................4 WORK ENVIRONMENT ............. 4 OPERATION ..................5 SETTING UP GUN FOR WELDING ALUMINIUM ......5 WELDING HINTS ............... -
Page 3: Introduction
Fit The Reel Of Welding Wire Connect the earth cable the earth connection socket (5). The MIGOMAG 260, 350 & 400 have two connection Remove the red hand nut from hub. Place the reel sockets;(5.i) is for very... -
Page 4: Machine Controls/ Connections
(welding current). For welding in the low current range, voltage switch to position number (1) (number 1 on both voltage switches for MIGOMAG 260+300+350+400). These MIGOMAG machines have voltage selection switches, a coarse control (8) fine voltage selection (6). -
Page 5: Setting Up Gun For Welding Aluminium
Progressively select higher voltage positions with increases Carefully push the Teflon liner with brass neck liner attached, in wire speed. through the gun cable until the end of the liner protrudes from the swan neck. wire feed speed settings for a given voltage will cause a large ball to form on the end of the welding... -
Page 6: Welding Hints
Remove oxide coating from weldments with stainless- WELDING HINTS steel wire brush. Initiate arc and lift the torch nozzle away Welding with Solid Wires (Steel, Aluminium & from the weld pool until the nozzle/weld distance 12-15 Stainless Steel) times diameter of the wire (e.g. -
Page 7: Welding Faults
WELDING FAULTS FAULT POSSIBLE CAUSE & REMEDY Weld deposit 'stringy' and incomplete 1. Torch moved over work piece too quickly 2. Gas mixture incorrect Weld deposit too thick 1. Torch moved over work piece too slowly 2. Welding voltage too low unstable, excessive spatter and weld porosity... -
Page 10: Shielding Gas Table
Argon + Oxygen Suitable for light gauges Copper, Nickel & Alloys Argon Higher heat input Argon Helium Suitable for heavy sections STANDARD WELDING GUN LIST MIG WELDER MODEL STANDARD GUN WITH 3M CABLE MIGOMAG 260 MB24KD MIGOMAG 350 MB36KD MIGOMAG 400 MB36KD... -
Page 11: Machine Breakdown & Parts Description
MIGOMAG 260 MACHINE BREAKDOWN AND PARTS DESCRIPTION PART NO. DESCRIPTION PART NO. DESCRIPTION 86001017 Left Hand Side Panel 86003011 Hub Complete 86001070 Opening Side Panel 86003012 Hub Only 86001069 Right Hand Side Panel Lower 86003010 Hub Nut 86001041 Rear Wheel Assy... - Page 12 MIGOMAG 350 MACHINE BREAKDOWN AND PARTS DESCRIPTION PART NO. DESCRIPTION PART NO. DESCRIPTION 86001059A Left Side Panel 86002007 PCB Holder 86001060A Right Side Panel 86001027 86001042 Rear Castor Assy 86001029 Fan Guard 86001038 Rubber Wheel Dia. 160mm 86002056P Fuse 3.15AMP 30 x 6 (10pkt)
- Page 13 MIGOMAG 400 MACHINE BREAKDOWN AND PARTS DESCRIPTION PART NO. DESCRIPTION PART NO. DESCRIPTION 86001076 Left Hand Side Panel 86003012 Hub Only 86001075 Opening Side Panel 86003010 Hub Nut 86001074 Right Hand Side Panel Lower 86006050 Friction Brake Washer 86001042 Rear Wheel Assy...
-
Page 14: Warranty
The warranty does not compensate for damage due to improper use, neglect or normal wear. Travelling costs, freight or postage charges are not covered by the warranty. Warranty repairs must be carried out at the premises of Migomag Welding Supplies or its authorised Service Repatr Agent. Repairs by unauthorised persons will void this warranty. -
Page 15: Contact Details
IGOM Lawvale Pty Ltd trading MIGOMAG WELDING SUPPLIES A.B.N. 007 120 THE LARGEST INDEPENDENT WELDING EQUIPMENT SUPPLIER IN AUSTRALIA 668 Somerville Road, Sunshine VIC 3020 Phone (03) 9313 3100 Fax (03) 9312 4499 63 Douro Street, North Geelong VIC 3215...
Need help?
Do you have a question about the 260PS and is the answer not in the manual?
Questions and answers