Advertisement
Quick Links
All manuals and user guides at all-guides.com
DC1 Anamorphic Lens with
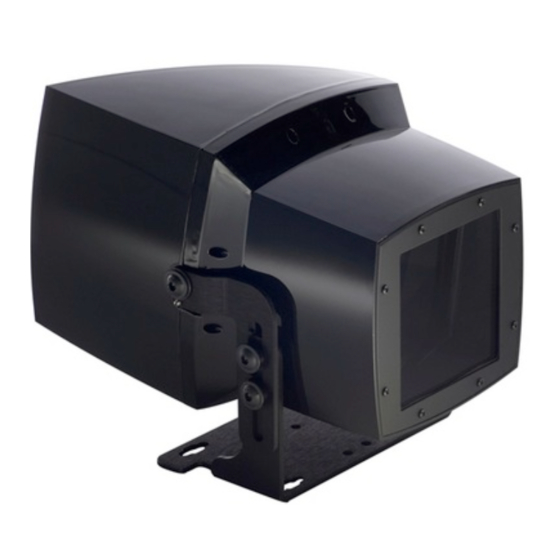
ATH Transport shown
Panamorph Model DC1
Professional Grade
Home Cinema Lens System
USER MANUAL AND INSTALLATION GUIDE
Including MTH and ATH Transports
and AK8Pro-S and AK8Pro-L Projector Attachment Kits
AK8ProS and AK8ProL Projector Compatibility Chart
Panamorph DC1 User Manual and Installation Guide, Version 1.1, copyright February, 2011. All rights reserved.
As of February 1, 2011
Basic projection parameters
A note on your screen format
Using AK8Pro Attachment Kit
Important ceiling mount location considerations
AK8Pro-S Attachment Plate Diagram
AK8Pro-L Attachment Plate Diagram
Connecting the AK8Pro Attachment Plate
Alternate AK8Pro Attachment Plate Method
Mounting the MTH transport
Mounting the ATH transport
Page 1
Introduction
Final adjustments
Cleaning
Limited warranty
Contact information
2
2
2
3
3
4
5
6
6
7
8
9
9
10
10
10
Advertisement

Related Manuals for Panamorph DC1


Summary of Contents for Panamorph DC1
- Page 1 Connecting the AK8Pro Attachment Plate Alternate AK8Pro Attachment Plate Method Mounting the MTH transport Mounting the ATH transport Final adjustments Cleaning Limited warranty Contact information Panamorph DC1 User Manual and Installation Guide, Version 1.1, copyright February, 2011. All rights reserved. Page 1...
- Page 2 Horizontal lens/image shift other than fine adjustment is not recommended due to key-stone distortion that can be introduced by the DC1. Vertical lens shift does not impact the use of the DC1. However, note that with vertical lens shift the DC1 should be tilted to face the approximate center of the screen to make any residual pincushion distortion symmetric at the top and bottom of the image.
- Page 3 Periodically check all fasteners and connection hardware to be sure they are not coming loose. Improper installation may lead to an increased risk of your equipment becoming unstable and possibly injuring someone. Panamorph DC1 User Manual and Installation Guide, Version 1.1, copyright February, 2011. All rights reserved. Page 3...
- Page 4 Please see attachment list on page 6 for details. Ceiling side of Attachment Plate Copyright. June, 2008 2 10 AK8PRO-S ATTACHMENT PLATE DIAGRAM Panamorph DC1 User Manual and Installation Guide, Version 1.1, copyright February, 2011. All rights reserved. Page 4...
- Page 5 Attachment Plate Please see attachment list on page 6 for details. Top View of Plate Copyright. June, 2008 14 8 AK8PRO-L ATTACHMENT PLATE DIAGRAM Panamorph DC1 User Manual and Installation Guide, Version 1.1, copyright February, 2011. All rights reserved. Page 5...
- Page 6 Attachment Plate, then through any required spacers and finally into the projector ceiling mount holes. Panamorph DC1 User Manual and Installation Guide, Version 1.1, copyright February, 2011. All rights reserved. Page 6...
- Page 7 Attachment Plate, and then through any required spacers and finally into the projector ceiling mount holes. If the screws in the kit are not long enough, procure the longest metric screws you can for the safest installation. Panamorph DC1 User Manual and Installation Guide, Version 1.1, copyright February, 2011. All rights reserved. Page 7...
- Page 8 MTH body. These centers should correspond to two mounting points in a secure platform in front of your projector so that the DC1 can be properly positioned in front of and as close to the projector lens as possible without mechanically interfering with the projector or its ventilation in either “lens in”...
- Page 9 Lens and so any residual pincushion distortion is about the same at the top and bottom of the image. This will typically result in the DC1 Lens being below the center of the projector lens and tilted slightly downward. Tighten the screws then lock the lens in place by tightening the small silver set screw with the provided hex wrench.
- Page 10 During this period, a defective unit may be repaired or replaced, at the discretion of Panamorph, Inc., by returning it in its original packaging with a copy of your receipt.
Need help?
Do you have a question about the DC1 and is the answer not in the manual?
Questions and answers