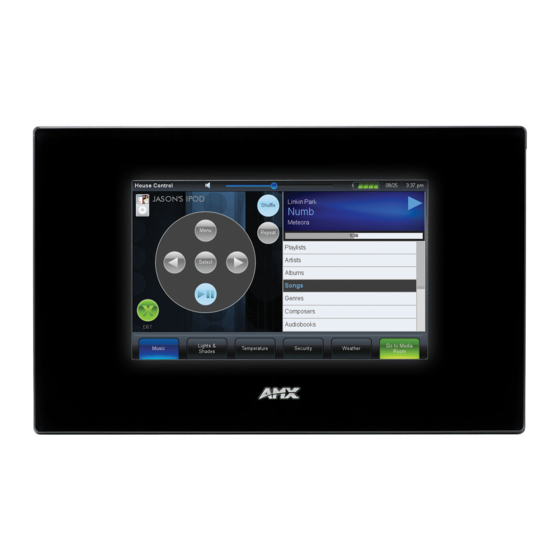
AMX MVP-5200i Installation Manual
Hide thumbs
Also See for MVP-5200i:
- Operation/reference manual (202 pages) ,
- Installation manual (36 pages) ,
- Datasheet (2 pages)
Advertisement
ATTENTION - READ THIS FIRST!
Lithium-Polymer batteries are small, compact, and ideal for providing long
lasting power. However, they must be used and charged properly. Improper use
can result in serious injury, fire, or explosion.
Please read and understand the following warnings. If you have any questions or
concerns with this product, please contact AMX.
WARNING: This installation requires opening the case of the MVP-5200i
and working within its internal components. If you are unwilling or unable
to replace the battery, please return the device to AMX for battery
replacement.
WARNING: Misuse of a Lithium-Polymer battery may result in overheating,
fire, or explosion!
To Avoid Injury, Never:
•
Use near open flame or other heat source
•
Puncture or disassemble battery
•
Damage external contacts
•
Dispose of battery in fire, water, or container with temperature above
100ºC (212ºF).
Always:
•
Use only with AMX approved battery charger
•
Store in dry place with temperature between 0° C (32° F) and 40° C
(104° F)
WARNING: Care must be taken to install the battery without damaging the
battery.
IMPORTANT NOTES!
NOTE: Lithium-Polymer battery technology degrades in capacity over time,
unless the battery is periodically charged and discharged. AMX recommends
installing all Lithium-Polymer batteries in functional AMX products within 6
months of receipt.
NOTE: Please dispose of all used batteries in a proper fashion as required by
municipal or federal regulations.
Overview
The MVP-5200i uses a MVP-BP-5X Lithium-Polymer microbattery (57-0016-SA)
for power away from a standard power source. The battery can be deep-charged
up to 300 times before it loses the ability to retain more than 70 percent of its
charge, at which time battery replacement should be considered.
Specifications
MVP-BP-5X Battery Pack Kit (FG5966-01BAT) Specifications
Dimensions:
4 1/8" x 2 1/2" x 3/8" (10.48 cm x 6.35 cm x 0.95 cm)
Weight:
0.35 lbs (158.76 g)
Certifications:
• CE (pending)
• IEC/EN-60950
• RoHS
• UN/IATA
• UL (pending)
Operating/Storage
• Operating Temperature: 0° C (32° F) to 45° C (113° F)
Environment
• Operating Humidity: 20% - 85% RH
• Storage Temperature: -20° C (-4° F) to 60° C (140° F) for
periods of less than one month, -20° C (-4° F) to 45° C
(113° F) for less than three months but greater than one
month, and -20° C (-4° F) to 20° C (68° F) for less than
one year but greater than three months
• Storage Humidity: 5% - 85% RH
Included Parts
• Replacement MVP-5200i battery (57-0016-SA)
• Upper rubber feet (screw covers, black, 60-5966-13BL;
and grey, 60-5966-13GR)
• Replacement label to cover lower screws:
black (91-5966-01BL) and white (91-5966-01WH)
• Bottom rubber feet (black, 60-5966-12BL;
and grey, 60-5966-12GR)
MVP-5200i Battery Replacement Guide
READ THESE INSTRUCTIONS FIRST!
To minimize the risk of damage to the battery during installation, all replacement
batteries come in a protective metal cover. This cover cannot be removed from
the battery.
Replacing the battery
IMPORTANT: Do NOT discharge the battery before installing the latest
MVP-5200i firmware (v2.66.17 or later), available at www.amx.com. Prior to
battery removal, run the device until the battery is completely discharged.
To remove an old battery and replace it:
1.
Remove the battery from its packaging, remove the protective film from the
battery, and inspect it for any damage or distortion. If the battery shows
evidence of damage, contact AMX for replacement and proper disposal
information.
2.
Place the device face-down on a surface that will not scratch the unit and
remove the five screws from the back of the device (FIG. 1).
Screw placement at the back of the MVP-5200i-GW
FIG. 1
•
Two of the screws are at the upper corners of the device, underneath
rubber feet that also act as screw covers. Remove the rubber feet to
access the screws.
•
Lift up the kickstand and remove the label to reach the remaining three
screws.
NOTE: The three bottom screws are shorter than the top two screws. The
screws must be re-assembled in their original location or the device can be
damaged during reassembly.
3.
Discharge all static electricity that may have built up on your body, either by
using a static discharge strap or by touching a nearby piece of metal.
4.
Carefully remove the back of the device and detach the battery lead at the
battery connector (FIG. 2). This will allow the back cover to be detached
from the device.
FIG. 2
Interior of MVP-5200i, including female battery connector
Installation Guide
IR emitter panel
Upper screws (underneath
rubber feet)
Lower screws (underneath
label)
Kickstand
Battery Connector
Advertisement
Table of Contents

Subscribe to Our Youtube Channel
Summary of Contents for AMX MVP-5200i
- Page 1 If you are unwilling or unable To remove an old battery and replace it: to replace the battery, please return the device to AMX for battery replacement. Remove the battery from its packaging, remove the protective film from the battery, and inspect it for any damage or distortion.
- Page 2 ©2012 AMX. All rights reserved. AMX and the AMX logo are registered trademarks of AMX. AMX reserves the right to alter specifications without notice at any time. 3000 RESEARCH DRIVE, RICHARDSON, TX 75082 • 800.222.0193 • fax 469.624.7153 • technical support 800.932.6993 • www.amx.com...


Need help?
Do you have a question about the MVP-5200i and is the answer not in the manual?
Questions and answers