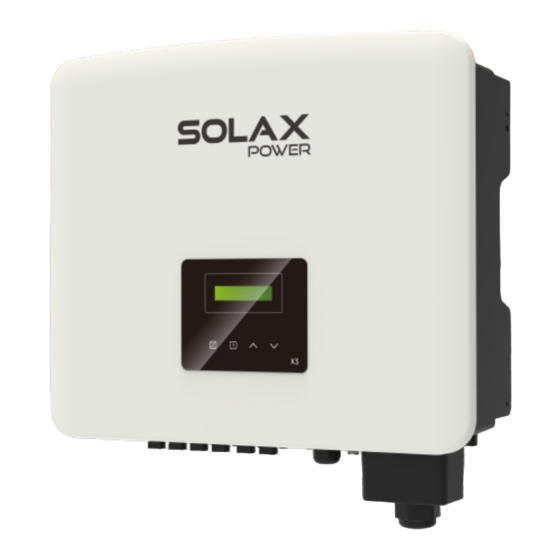
SolaX Power X3-PRO G2 Series Quick Installation Manual
Hide thumbs
Also See for X3-PRO G2 Series:
- User manual (33 pages) ,
- Installation manual (80 pages) ,
- User manual (116 pages)
Advertisement
Quick Links
X3-PRO G2 Series 8 kW-30 kW
Packing List
X3-PRO G2
series inverter 1
*
Bracket 1
*
OT terminal *5
M5 inner hexagonal screw *1
Terminal cover *5
Pocket WiFi/
LAN (Optional) /4G (Optional)
Meter (Optional)
Terminal block *1, RJ45 connector *1
PV terminal *8/12
(Expansion bolt, Gasket,
PV pin contact *8/12
Terminal sleeve *1, R-type terminal *1
Self-tapping screw) *3
X3-PRO G2 Series
User Manual
8 kW - 30 kW
Copyright Declaration
corporation or individual should not plagiarize, partially or fully copy (including software, etc.),
The copyright of this manual belongs to SolaX Power Network Technology (Zhejiang) Co., Ltd. Any
and no reproduction or distribution of it in any form or by any means shall be allowed. All rights
reser ved. SolaX Power Network Technology (Zhejiang) Co., Ltd. reser ves the right of final
interpretation.
AC waterproof cover *1
Product manual *1
Quick installation guide *1
For inverters with two strings of MPPT, there are 4 positive and 4
negative PV terminals and PV pin contacts respectively. For inverters
with three strings of MPPT, there are 6 positive and 6 negative PV
terminals and PV pin contacts respectively.
Note: Please refer to the appropriate instruction manual for the usage
of Pocket WiFi and optional products.
- Mark the position of three holes.
- Screw the expansion screws.
Outer hexagonal wrench
cable size: 2.5-4 mm
7.0 mm
strip length
positive PV
pin contact
cable
X3-PRO G2 Series 8 kW-30 kW
negative PV
cable
pin contact
Inverter Installation
- Drill holes with φ10 drill.
- Tighten the expansion tubes.
- Depth: at least 60 mm.
Expansion bolts
Φ10 Drill
(Depth: 60 mm)
-
Use the inner hexagonal wrench to
- Match the inverter with the bracket.
tighten the inner hexagonal screw on
the right side of the inverter.
6
- Align the PV connectors.
Tools:
Stripping pliers
Wire crimper
Wire crimper recommended model:
H4TC0001
manufacturer: Amphenol
nut
clamp contact
nut
Torque 1.2 0.1 N·m
:
±
clamp contact
Rubber hammer
f )
Inner hexagonal wrench
(Torque:1.2±0.1 N·m)
male plug
tighten nut
female plug
tighten nut
Advertisement

Subscribe to Our Youtube Channel
Summary of Contents for SolaX Power X3-PRO G2 Series
- Page 1 X3-PRO G2 Series 8 kW-30 kW Copyright Declaration The copyright of this manual belongs to SolaX Power Network Technology (Zhejiang) Co., Ltd. Any corporation or individual should not plagiarize, partially or fully copy (including software, etc.), and no reproduction or distribution of it in any form or by any means shall be allowed. All rights reser ved.
- Page 2 AC Connection WiFi Connection Ⅵ Select appropriate cable according to the power range as recommended on page 28 of the manual and prepare to - This inverter provides a WiFi/LAN connecting port which can collect information from inverter including the status, strip the wires as below.


Need help?
Do you have a question about the X3-PRO G2 Series and is the answer not in the manual?
Questions and answers