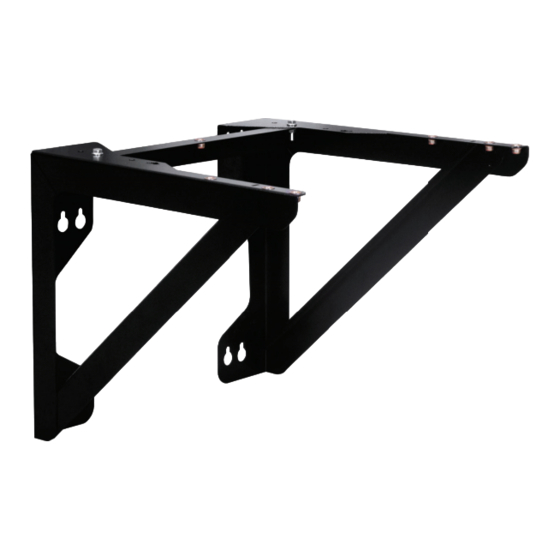
Summary of Contents for Oneida Air Systems SMS300021A
- Page 1 Rev: 08/30/2019 Doc. #ZBI300021A INSTRUCTION SHEET Wall Bracket 21” Systems #SMS300021A 1-800-732-4065 oneida-air.com...
-
Page 2: System Dimensions
Wall Bracket is universal to 18" and 21" systems. e blackened holes on the Back Support Brace and Le and Right Wall Brackets in the images above will not be utilized in the 21 inch system installation. Oneida Air Systems... -
Page 3: System Contents
System Contents Part number Part description Part number Part description RBW182103 Back Support Brace AHX182100 Wall Bracket Hardware Kit RBW182102 AFS516500 Left Wall Bracket 5/16" x 1/2" Hex Head Bolt RBW182101 AFW180000 Right Wall Bracket 5/16" Flat Washer AFT155175 5/16"-18 Whiz-Lock Nut Please unpack the parts carefully and con rm you have received each item listed. - Page 4 Drill into the wall at all 6 of the marked locations. Place washers onto each fastener and thread the fasteners into all 6 holes, leaving at least 1/2" outside of the hole. [FIG 1] Wall FIG. 1 1/2" Oneida Air Systems...
- Page 5 Assembly Instructions (Continued) Li the Right Wall Bracket (C) up and over the three fasteners on the right so that the washers are on the outside of the bracket. [FIG 2a] [FIG 2b] Wall FIG. 2a FIG. 2b Bracket Wall Slide the bracket down so that the fastener are in the smaller section of each keyhole [FIG 3].
- Page 6 Secure Back Support Brace (A) under both Side Brackets (B)(C) with two Bolts (D1), two Flat Washers (D2), and two Whiz-Lock Nuts (D3) – nger tighten only. [FIG 5] See Step 12 for alternate positions. FIG. 5 Oneida Air Systems...
- Page 7 Assembly Instructions Firmly tighten the wall fasteners and the Back Support Brace bolts. Lower the System’s 21" cone onto the Le and Right Wall Bracket of the Wall Bracket Assembly [FIG. 6]. Refer to Step 5 of your owner’s manual to continue on. FIG.
- Page 8 Regardless of where you purchased your system, if you have any questions or issues with missing / damaged parts, please call Oneida Air Systems rst to let us help resolve your problem. We fully stand behind the quality of our product and place the utmost value on our customer’s satisfaction.


Need help?
Do you have a question about the SMS300021A and is the answer not in the manual?
Questions and answers