Advertisement
OMIKA
where inspiration flows
Installation Guide
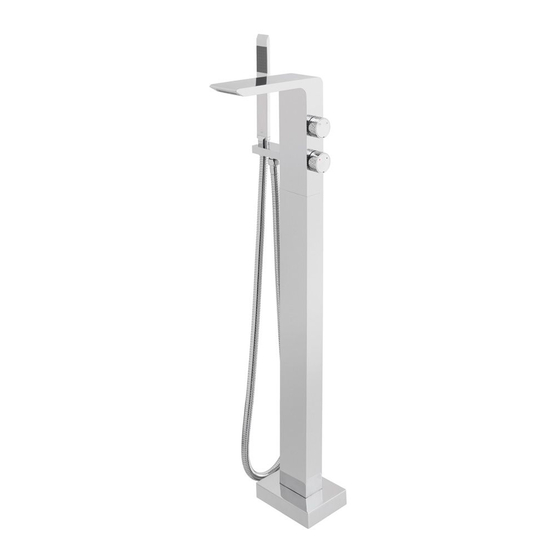
Floor Mounted Bath Shower Mixer
133
This instruction booklet covers model:
OMI-133.
Vado
Wedmore Road, Cheddar, Somerset, England BS27 3EB
tel 01934 744466.
fax 01934 744345
aftersales @ vado.com
www.vado.com
Keep for future reference
Version 1, 1-8-17
Advertisement
Table of Contents

Related Manuals for VADO OMIKA OMI-133


Summary of Contents for VADO OMIKA OMI-133
- Page 1 Installation Guide Floor Mounted Bath Shower Mixer This instruction booklet covers model: OMI-133. Vado Wedmore Road, Cheddar, Somerset, England BS27 3EB tel 01934 744466. fax 01934 744345 aftersales @ vado.com www.vado.com Keep for future reference Version 1, 1-8-17...
-
Page 2: Table Of Contents
Contents Important - please read Please read these instructions carefully before starting installation and keep for future reference. Important information ..........3 Remove all packaging and check the product for missing parts or damage before General installation ...........3 starting installation. Operating Specifications ...........3 Any alterations made to this product and fittings may infringe water regulations and Contents of packaging ..........4... -
Page 3: Contents Of Packaging
Contents of Packaging Valve dimensions 75mm 215mm Installation guide & User manual Base connection Base Handset Shower hose 110mm Tap/upstand Hex keys x 3 Cap screws & washers x 8 Shroud Accessory box... -
Page 4: Installation - Quick Guide
Installation - Quick guide Installation - Quick guide 90mm 90mm... -
Page 5: Installation
Installation Installation Turn on the water and check for any leaks in Warning! Please check for any hidden the pipe work. cables and pipes before drilling holes. Drain valve Turn off the water supply. The base must be recessed below the final Remove the grub screw and pull the drain floor level by at least 105mm. -
Page 6: Installation - Shower
Installation Installation - shower Place the base connection onto the base. Handset Rotate the tap/upstand until the outlet is in Place one of the rubber the desired position. washer into the cone end of When satisfied, secure using the x 4 the hose and screw to the supplied cap screws and washers. - Page 7 (2 years parts and labour plus 10 years parts only). User Guide VADO digital and i-tech products have a 6 year guarantee (2 year parts and labour plus 4 years parts only). All other VADO products have a 3 year guarantee (2 years parts and labour plus 1 year parts only) [SEE NOTE 2].
- Page 8 12 year guarantee. We work to ensure our product designs are harmonious with all sanitaryware, so when you choose VADO, your choice of Turning the temperature control handle in the direction of coordinating items is unlimited.
- Page 9 Cleaning instructions: Notes The electroplating on this product is finished to the highest standard. Due care needs to be taken to ensure the appearance is retained. We recommend cleaning all products with a soft damp cloth ONLY and advise strongly against the use of all aggressive/corrosive cleaning products i.e.
- Page 10 Parts list: Parts: Item Description Part Code Quantity Mixing Cartridge FL-601-33Q Diverter FL-803-33/2X Handle OMI-1/133-C/P Outlet Bracket OMI-133-OUTLETBRACK Handset OMI-HANDSET-C/P Shower Hose SH-012-150-CP-LB Shroud OMI-133/SHROUD-C/P Adaptor OMI-133-CONC/ADAPTOR Base CON-133-BR Installation guide & User manual...
Need help?
Do you have a question about the OMIKA OMI-133 and is the answer not in the manual?
Questions and answers