Table of Contents
Advertisement
Available languages
Available languages
Quick Links
Advertisement
Table of Contents

Related Manuals for Wellis CLEMENT WF00089


Summary of Contents for Wellis CLEMENT WF00089
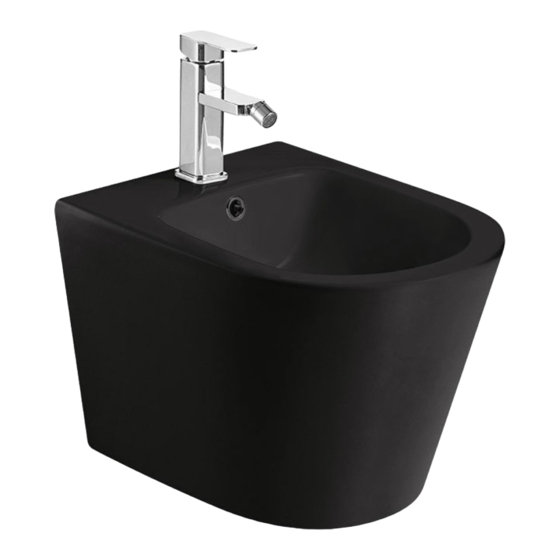
- Page 1 Clement wall-mounted bidet INSTALLATION MANUAL Clement wandmontiertes Bidet INSTALLATIONSANLEITUNG Bidet Clement suspendu INSTALLATION MANUELLE Clement falra rögzített bidé ÖSSZESZERELÉSI ÚTMUTATÓ Bideu de perete Clement INSTRUCȚIUNI DE MONTARE WF00089 + WF00092...
-
Page 2: Before Installation
Before installation 1 Make sure that the wall is straight. 2 Read the instruction to familiarise yourself with the tools, the fittings and the installation procedures to prevent any unnecessary damage. 3 Make sure that the fittings fit into each other properly, and check whether there is any damage to the product. -
Page 3: Installation Procedure
Installation Procedure 1. Drill holes for the mounting screws according 2. Add the grub screws into the square plastic to the dimensions shown in the drawing as elements and slide the sleeve connector supplied and then fix them to the wall with the onto the grub screw. - Page 4 CLEMENT WALL BIDET WF00092 5. Tighten the grub screws to secure the bidet 6. Complete the assembly for the fittings and using the supplied Allen key. After tightening, fill the space between the wall and the ce- make sure that the ceramic body is not over- ramic with sanitary silicone.
-
Page 5: Inhalt Der Verpackungseinheit
Vor der Montage 1 Stellen Sie sicher, dass die Wand gerade ist. 2 Lesen Sie diese Anleitung, um sich mit den erforderlichen Werkzeugen, Armaturen und dem Montageverfahren vertraut zu machen und unerwünschte Schäden zu vermeiden. 3 Prüfen Sie, ob die Armaturen richtig zusammenpassen und ob das Produkt nicht be- schädigt ist. - Page 6 Montageprozess 1. Bohren Sie die Montageschrauben nach den 2. Kratzen Sie die Madenschrauben in die qua- in der mitgelieferten Zeichnung angegebenen dratischen Kunststoffelemente und schieben Maßen und befestigen Sie sie mit Dübeln an Sie dann die Hülse auf Madenschraube. der Wand. Achten Sie darauf, dass die zwei Schrauben waagerecht zueinander stehen.
- Page 7 CLEMENT WALL BIDET 5. Ziehen Sie die Madenschrauben mit dem 6. Montieren Sie die Armaturen und füllen mitgelieferten Imbusschlüssel an, um das Sie den Raum zwischen der Wand und der Bidet zu sichern. Achten Sie nach dem Fest- Keramik mit Sanitärsilikon. schrauben darauf, dass der Keramikkörper WF00092 nicht zu stark gedehnt wird und nicht zu weit...
-
Page 8: Avant Installation
Avant installation 1 Assurez-vous que le mur est droit. 2 Lisez les instructions pour vous familiariser avec les outils, les raccords et les procé- dures d'installation afin d'éviter tout dégât indésirable. 3 Vérifiez que les raccords s'emboîtent correctement et assurez-vous que le produit n'est pas endommagé. -
Page 9: Procédure De Montage
Procédure de montage 1. Percez les trous pour les vis de fixation se- 2. Placez les vis sans tête dans les éléments lon les dimensions indiquées sur le schéma, carrés en plastique et faites glisser le puis fixez-les au mur à l'aide de chevilles. connecteur du manchon sur la vis sans tête. - Page 10 CLEMENT WALL BIDET WF00092 5. Serrez les vis sans tête pour fixer le bidet 6. Complétez l'assemblage des raccords et à l'aide de la clé Allen fournie. Après le garnissez l'espace entre le mur et la porce- serrage, assurez-vous que le corps en laine avec du silicone salle bain.
- Page 11 Összeszerelés előtt Győződjön meg arról, hogy a fal egyenes. Olvassa el az útmutatót, hogy megismerje a szükséges szerszámokat, szerel- vényeket és az összeszerelési folyamatot a nemkívánt káresetek megelőzése érdekében. Ellenőrizze, hogy a szerelvények megfelelően illeszkednek-e egymásba, és hogy nem sérült-e meg a termék. Mivel a kerámia nagyon sérülékeny, kérjük, bánjon vele óvatosan, és ne húzza túl szorosra az anyákat.
- Page 12 Összeszerelés menete 1. A mellékelt rajz szerinti méretre fúrja ki a 2. A hernyócsavarokat kapassa a szögletes tartócsavarok helyét, majd azokat tipli segít- műanyag elemekbe, majd a hernyócsavarra ségével rögzítse a falba. Ügyeljen arra, hogy csúsztassa rá a toldóhüvelyt. a két csavar egymáshoz képest vízszintes legyen.
- Page 13 CLEMENT WALL BIDET WF00092 5. A mellékelt imbuszkulcs segítségével húzza 6. Szerelje készre a szerelvényeket, majd a fal meg a hernyócsavarokat, ezzel rögzítve és a kerámia közötti részt töltse ki szaniter- a bidét. Meghúzás után ellenőrizze, hogy szilikonnal. a kerámiatest nem feszül és nem is áll el túlságosan a faltól.
-
Page 14: Conținutul Pachetului
Înainte de asamblare 1 Asigurați-vă că peretele este drept. 2 Citiți manualul pentru a cunoaște instrumentele, armăturile și procesul de asamblare necesare pentru a preveni deteriorarea nedorită. 3 Verificați dacă armăturile se potrivesc corect și dacă produsul nu este deteriorat. 4 Deoarece ceramica este foarte fragilă, vă... - Page 15 Procesul de asamblare 1. Forați locația șuruburilor de fixare la di- 2. Apucați șuruburile melcate în elementele mensiunea indicată în desenul anexat, apoi pătrate din plastic, apoi glisați manșonul fixați-le pe perete. Asigurați-vă că cele două prelungitor pe șurubul melcat. șuruburi sunt orizontale între ele.
- Page 16 CLEMENT WALL BIDET WF00092 5. Folosiți cheia Allen (inbus) inclusă pentru a 6. Asamblați fitingurile și apoi umpleți zona strânge șuruburile melcate pentru a fixa bi- dintre perete și ceramică cu silicon sanitar. deul. După strângere, asigurați-vă că corpul CLEMENT WALL BIDET ceramic nu este întins și nu iese prea mult din perete.
Need help?
Do you have a question about the CLEMENT WF00089 and is the answer not in the manual?
Questions and answers