Table of Contents
Advertisement
Quick Links
Advertisement
Table of Contents

Related Manuals for TTikorea TX-410

Summary of Contents for TTikorea TX-410
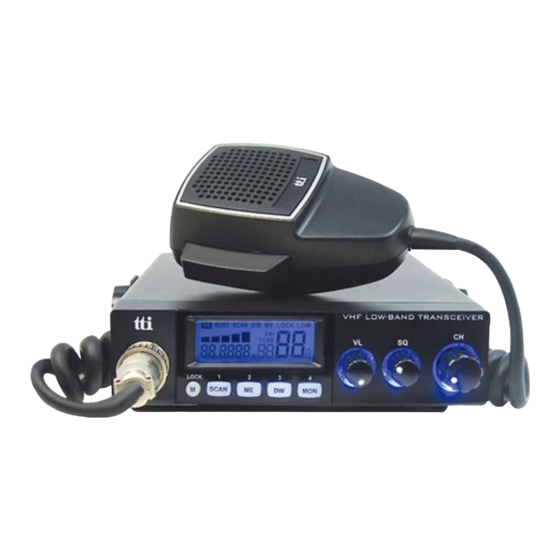
- Page 1 TX-410 20W/256 CHANNEL MOBILE TRANSCEIVER INSTRUCTION MANUAL www.ttikorea.co.kr...
-
Page 2: Table Of Contents
CONTENTS 1. Introduction 2. Supplied Accessories 3. Installation 4. Basic Information 5. Transceiver Controls and Functions 1) Microphone Jack 2) LCD Display 3) Menu/Lock Button 4) Scan/Preset Channel 1 Button 5) Scan Memory and Preset Channel 2 Button 6) Dual Watch and Preset Channel 3 Button 7) Monitor and Preset Channel 4 Button 8) Volume and Power on/off Knob... -
Page 3: Introduction
The transceiver should normally be mounted horizontally, but may be mounted vertically. The bracket supplied can be fitted above or below the case allowing the TX-410 to be cradled by the bracket or suspended from it. TX-410... - Page 4 Connect the power cable to the transceiver cable. Mount the microphone bracket on one side of the transceiver, or near it using two screws included. Connect the microphone to the transceiver’s microphone receptacle. Now you are ready operate transceiver. TX-410...
-
Page 6: Basic Information
20W output power (High power setting) and on 10W output power(Low power setting) so that you may adjust the output power depending on your circumstance. 5. Transceiver Controls and Functions Insert the microphone into this jack. Use the guide for easy connection. TX-410... -
Page 7: Lcd Display
If you press the PTT button during scanning, the radio will return to your original channel. Scanning will resume after the scan receive time and/or the scan delay time. Use the channel selector to resume scanning immediately. TX-410... -
Page 8: Scan Memory And Preset Channel 2 Button
You may hear static or hiss during checking activity on the current channel before transmitting. Then the channel is clear and you can use it. Do not transmit if you hear and conversation during monitoring. TX-410... -
Page 9: Volume And Power On/Off Knob
Insert the mail connector of the antenna cable into this female antenna connector. 12) Power 13.2V DC Connect the power supply cable to this port. 13) EXT Jack Connecting a loud speaker to this port makes the built-in speaker turned off. TX-410... -
Page 10: Lcd Display
6. LCD Display Transmit Receive Scan Dual Watch Scan Memory Keypad Lock Low Power Channel Display Tone Display Priority Channel Display Frequency Read-outs 7. Microphone Up Button : Use this button to change the channels upward. Down Button : Use this button to change the channels downward. -
Page 11: Menu Setting Mode
Note : 1. Use Channel Selector to select the main menu features such as Transmit Power, Receive Tone, Transmit Tone, Priority Channel, Beep Tone, Roger Beep, Time-out Timer, Scan Receive Timer, Scan Delay Timer, Scan Speed Timer and Backlight Dimmer TX-410... -
Page 12: How To Operate The Transceiver
Turn on the transceiver and control the volume level. Adjust the squelch control knob to the optimum level. Select your desired channel. To transmit, press the PTT button and speak to the microphone. Release the PTT button to receive. TX-410... -
Page 13: Trouble Shooting
10. Trouble Shooting If you experience problems with your TX-410 transceiver, first check the power supply source. Poor connection of the power supply source can cause problems such as no transmission, no reception or poor reception, and weak or no sound. Ensure that the microphone and antenna are also well connected. -
Page 14: Specification
60 dB Adjacent Channel Rejection 60 dB Conducted Spurious More than 60 dB Frequency Response 300 to 2500Hz Built-in Speaker 8 Ohms, round Squelch Adjustable; Threshold less than 1 microvolt * Specification is subject to change without prior notice. TX-410... - Page 16 TX-410 20W/256 CHANNEL MOBILE TRANSCEIVER INSTRUCTION MANUAL www.ttikorea.co.kr Part No.:820-C410-000...
Need help?
Do you have a question about the TX-410 and is the answer not in the manual?
Questions and answers