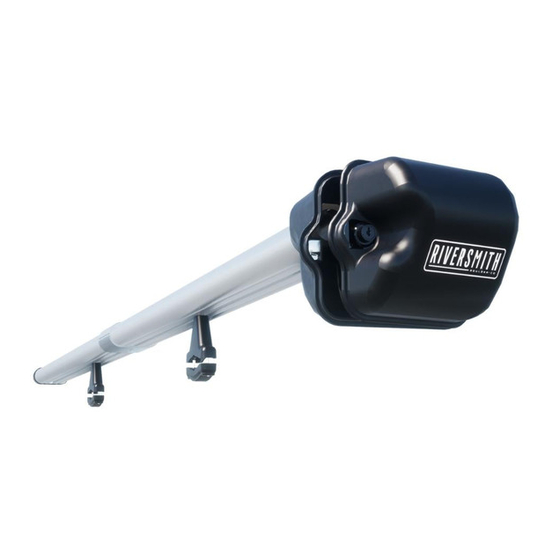
Summary of Contents for RIVERSMITH River quiver
- Page 1 ROOFTOP FLY ROD HOLDER. LOCKED. LOADED. READY TO FISH. INSTALLATION GUIDE W W W. R I V E R S M I T H . C O M @ R I V E R S M I T H U S A Patent Pending...
-
Page 2: Table Of Contents
CONTENTS INCLUDED PARTS TOOLS NEEDED STEP 1 - PREPARE VEHICLE STEP 2 - INSTALL RISERS STEP 3 - JOIN THE HALVES STEP 4 - PLACE ON YOUR VEHICLE STEP 5 - TIGHTEN RISERS STEP 6 - ATTACH MOUNTING BRACKETS SAFETY INFORMATION DRIVING MAINTENANCE... -
Page 3: Included Parts
• River Quiver Mount Lock See full lineup of Accessories at www.riversmith.com The River Quiver is built and tested to the highest possible standards to securely transport and protect your gear, however it is not meant as a long term storage solution. -
Page 4: Tools Needed
TOOLS NEEDED Marking Utensil Measuring Tape 10mm Nut Driver Slower Faster 4mm Hex Wrench or Riversmith Mini Ratchet... -
Page 5: Step 1 - Prepare Vehicle
Prepare Vehicle - DO NOT ASSEMBLE RIVER QUIVER HALVES UNTIL STEP 3 Measure from center of front crossbar to estimated location of the River Quiver reel box. Generally it is best to spread vehicle crossbars as far as possible. •... -
Page 6: Step 2 - Install Risers
STEP 2 Install Risers to River Quiver Insert Risers into appropriate side of River Quiver by placing T-Stud of Riser into T-Slot of River Quiver body. 4-BANGER 2-BANGER T-Stud T-Stud T-Slot T-Slot Risers Riser... -
Page 7: Step 3 - Join The Halves
STEP 3 Join the Halves Place River Quiver on flat surface and join halves using upper and lower coupler and coupler bolts. Tighten all bolts evenly back and forth using 4mm hex wrench to equalize tension on collar. • DO NOT OVERTIGHTEN OR DAMAGE... - Page 8 STEP 4 Placing River Quiver on Your Vehicle Place River Quiver on vehicle, optimizing side to side and front to back location. Monitor interference of rear hatches or doors. • Spacer kits are available to increase height if needed. •...
- Page 9 STEP 5 Tighten Nuts Remove from vehicle and tighten nuts on T-Studs using 10mm nut driver so risers align with marks made previously. • DO NOT OVERTIGHTEN OR DAMAGE WILL OCCUR...
-
Page 10: Step 6 - Attach Mounting Brackets
STEP 6 Attach Mounting Brackets Place River Quiver back on vehicle and attach Mounting Brackets to Risers. Tighten Mounting Bracket Bolts or Mounting Bracket Locking Hardware evenly from side to side, one riser to the next with 4mm hex wrench or locking hardware key. -
Page 11: Safety Information
Do not exceed maximum vehicle roof loads or roof rack capacities. • Do not attach unauthorized accessories to River Quiver. • Record overall vehicle height with River Quiver in place. V E H I C L E H E I G H T... -
Page 12: Driving
DRIVING • Do not exceed posted speed limits or speeds appropriate for the terrain and conditions. • Off road driving is not recommended and could result in damage to vehicles, accessories, or gear. • Closely monitor overhead clearances. • Adjust speed for curves. •... - Page 13 River Quiver should be cleaned regularly with mild soap and water for maximum longevity. • Always travel with rod fully rigged in River Quiver. • Periodically inspect River Quiver and vehicle rack for damage. Replace lost, damaged, or worn parts with original replacement parts from Riversmith.
- Page 14 • You can provide proof of purchase from the Riversmith authorized dealer; • The product was used only as intended and in accordance with the River Quiver installation guide. If a defect occurs during intended use (according to the installation guide), we will replace, at our discretion, the defective product or part.


Need help?
Do you have a question about the River quiver and is the answer not in the manual?
Questions and answers