Advertisement
Quick Links
Advertisement

Related Manuals for Aybey Elektronik AE-SMART


Summary of Contents for Aybey Elektronik AE-SMART
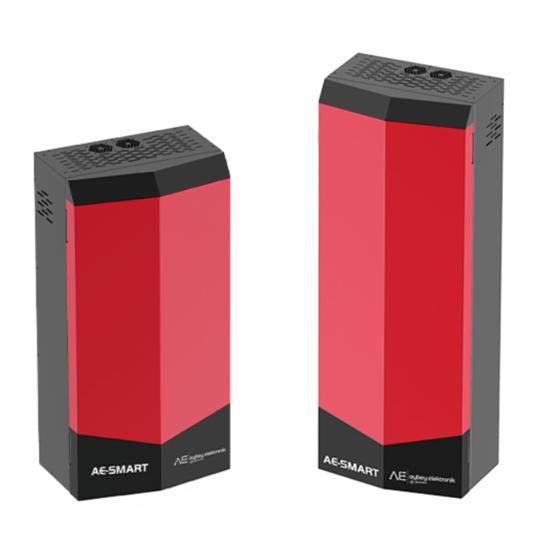
- Page 1 AE-SMART Monoblock Lift Control System INSTALLATION MANUAL for Electric Package of Gearless Lift Machines Document Name : AE-SMART Lift Controller Installation Manual for Electric Package of Gearless Lift Machines Document Code : SM-INSEN-GL Document Version : 1.0 Software Version www.aybey.com...
- Page 2 A.PREFACE This document is written to guide installation of the lift controller for pre-wired system. It guides the installation of electric system of the lift. This document should be used in together with AE-SMART Monoblock Lift Control user manuals. Pre-Wired system has been designed to make installation easier and faster. All the cables have either plug and play connectors if they are going to be connected to another socket or dummy terminals to avoid any short circuit.
- Page 3 THE ELECTRICAL COMPONENTS IN SHAFT 1. Monoblock Lift Controller 2. Braking Resistor 3. Inspection Command Box 4. Cartop Box 5. Audible and Flashing Device 6. Pit Command Box and Control Unit 7. Pit Inspection Reset Switch 8. Machine Side Stop Button 9.
- Page 4 THE COMPONENTS USED IN SHAFT AND MACHINE ROOM Prewired Inspection Box KDM Pit Control Box Pit Stop, Socket and Inspection and Recall Alarm Box Command Box In cartop and pit to move the car Controls car circuit Controls pit circuit Connected to Controller Stop Button Audible and Visual...
- Page 5 FIXING MRL CONTROLLER BOX TO THE WALL The controller box is for hanging on the wall. There must be at least 150 mm free space above and below the box. This is required for air circulation to cool the electronic parts inside.
-
Page 6: Connecting Motor Power
CONNECTING LINE SUPPLY Connect power line cables to the terminals L1/R, L2/S, L3/T and N. CONNECTING MOTOR POWER 1. Connect motor power inputs to U, V, W terminals in controller box. 2. Use the given shielded motor cable for this. 3. - Page 7 CONNECTING BRAKE, THERMISTOR AND MACHINE SIDE STOP 1. Motor brakes, thermistor and stop are connected to the device. 2. Connect motor thermistor to T1 and T2 terminals on RBM board in device. 3. If there is no thermistor in motor then bridge T1 and T2 terminals in device.
- Page 8 CONNECTING FLEX CABLE TO CONTROL PANEL The terminals for the flex cable are on RBM board. There is one 28 wires flex cable between car and device. Take 28 wires flex cable and connect its terminals labelled with… XK-FLX1 XK-FLX2 XK-FLX3 XK-FLX4 to their corresponding sockets on RBM board in...
- Page 9 CONNECTION OF CAR PANELS 1. For ALYA Series COP a) Connect cable labelled CON(A) between CON(A) socket in RBC board and CONA socket of ALYA car panel. b) If you have two COPs inside the cabin, then connect CON(B) between RBC board and CON socket of the second ALYA car panel in the cabin.
- Page 10 CONNECTING LANDING PANELS 1. Read the manual of landing panels (LOP) in Appendix-3, AP-03. 2. Landing panels are serially connected and must have a unique floor number id to communicate. 3. All LOPs are delivered as their floor numbers already saved. 4.
- Page 11 CONNECTING SHAFT PIT (Only for EN81-20 Standard) Connect XK-PIT-1 and XK-PIT-2 sockets to the device to implement pit. Connect RBPB (+CIO) board, which is in pit box KDM, to the socket of the LOP in ground floor. Connect other pit devices to the terminals of the KDM box as shown on the diagram in the project schemas.
- Page 12 ENCODER CONNECTIONS FOR GEARLESS MACHINES 1. ICA board should be placed on RBS board. 2. Check the supply voltage information of the encoder. 3. Read the product code written on the encoder and check if it matches to one of encoders given below.
-
Page 13: Initial Parameter Setup
So, you will go into parameter menu. INITIAL PARAMETER SETUP AE-SMART has an interactive installation menu which can be used to set most of the general parameters. Using this menu facilitates setting up the system. ... - Page 14 Easy Installation menu starts with A15- INSTALLATION MODE parameter. When you set A15=1, then the lift enters into installation mode. Installation mode bypasses some errors since the system has not been installed properly in the shaft yet. ...
-
Page 15: Auto Tuning
AUTOTUNING 1. In order to start with autotuning operation safety line must be closed. 2. Autotuning operation should be carried out to get encoder offset position and motor characteristics. Switch recall switch to position 1. 2 TUNING MODE (M18) 0- Stationary Tuning ... - Page 16 TUNING IN OPERATION Turn on INSPECTION switch on recall command box to INSP position from inside the device. The system must stay in inspection mode and safety line must be closed along the operation to execute tuning process. ...
- Page 17 IN OPERATION In rotating tuning… 1. If the motor rotates more than one tour, then terminate operation by releasing UP and DOWN buttons. 2. In rotating tuning the motor rotates smoothly until the nearest pole position. 3. If it is currently staying just in its pole position, then it firstly rotates for some degrees to get away from this position and rotates again to find the pole position.
- Page 18 Operation Stage 3 When the operation has been completed then you will be informed on the screen. Then stop pressing UP and DOWN buttons. Now, you can return to the main menu by pressing ESC button. Continue staying in inspection mode.
-
Page 19: Bypass Switch
CONNECTION OF DOOR OPERATOR AND SIGNALS (EN81-20) Door Operator is connected with two cable groups: 1. XL-DS, XK-OUT, XK-INP carries door control signals from RBC. The signals are: KA output is Door Open Command KK output is Door Close Command. KO is the common terminal of KA and KK. - Page 20 AUDIBLE AND FLASHING DEVICE (Only for EN81-20 Standard) When the lift is moved in the bypass mode, it gives an audible and light warning. It can be mounted anywhere under the cabin. CAR LIMIT SWITCH Mount mechanical limit switch with roller by using supplied metal bracket onto the cartop.
- Page 21 This facility can be used later for troubleshooting by enabling or disabling some peripherals. ANTI-ROLLBACK and PRE-TORQUE ADJUSTMENTS AE-SMART offers mainly two technics to prevent anti- rollback in starting phase. One is ANTI-ROLLBACK application. Second one is PRE-TORQUE with load sensor feedback.
- Page 22 Please be aware of that the configuration that gives best comfort may vary depending on the motor type and application. You may need some trials. PRE-TORQUE ADJUSTMENTS WITH LOAD SENSOR In pre-torque method a torque is applied to the motor before opening the brakes.
Need help?
Do you have a question about the AE-SMART and is the answer not in the manual?
Questions and answers