Advertisement
Quick Links
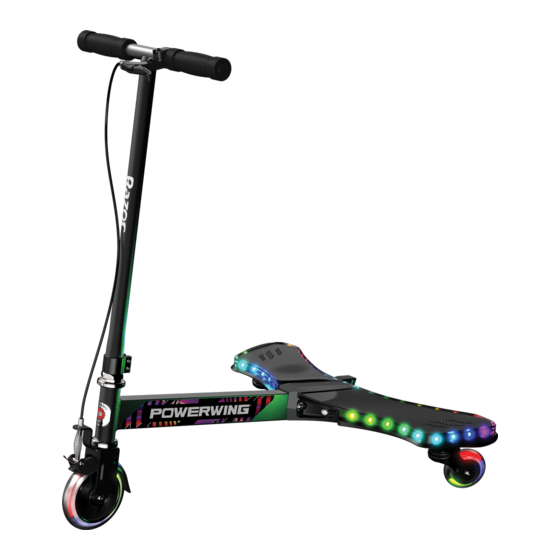
OWNER'S MANUAL
Read and understand this entire manual before allowing
child to use this product! For assistance contact Razor.
DO NOT RETURN TO STORE.
NOTE: Manual illustrations are for demonstration purposes only.
Illustrations may not reflect exact appearance of actual product.
Specifications subject to change without notice.
Please have your product along with the 22 character product I.D. code with you
before contacting Razor for warranty assistance and/or replacement parts.
Product I.D. Code: _____________ - ____________ - ____________
Advertisement

Related Manuals for Razor LIGHTSHOW POWERWING


Summary of Contents for Razor LIGHTSHOW POWERWING
- Page 1 OWNER’S MANUAL Read and understand this entire manual before allowing child to use this product! For assistance contact Razor. DO NOT RETURN TO STORE. NOTE: Manual illustrations are for demonstration purposes only. Illustrations may not reflect exact appearance of actual product.
-
Page 3: Table Of Contents
Need Help? Visit our website for replacement parts, product support, a list of authorized service centers in the US and customer service contact information at www.razor.com. Please have the product I.D. code (located on the white label of your product) available for better assistance. Additional Customer... -
Page 4: Before You Begin
Need Help? Visit our website for replacement parts, product support, a list of authorized service centers in the US and customer service contact information at www.razor.com. Please have the product I.D. code (located on the white label of your product) available for better assistance. Additional Customer... -
Page 5: Assembly And Set-Up
Razor logo facing the front, use a 5 mm Allen wrench to tighten the two (2) bolts on the collar clamp. The collar clamp is properly... - Page 6 HEADLINE ASSEMBLY AND SET-UP Adjusting the Brake Required Tools: 3 mm Allen Wrench and 8 mm Wrench (not included) To adjust the brake cable wire, Squeeze the brake lever to test If the brake is too tight or too thread the brake lever adjuster in or the brake to make sure it is working loose, use a 8 mm wrench and out 1/4 to 1/2 turn until the desired...
-
Page 7: Pre-Ride Checklist And Usage
Need Help? Visit our website for replacement parts, product support, a list of authorized service centers in the US and customer service contact information at www.razor.com. Please have the product I.D. code (located on the white label of your product) available for better assistance. Additional Customer... -
Page 8: Repair And Maintenance
Need Help? Visit our website for replacement parts, product support, a list of authorized service centers in the US and customer service contact information at www.razor.com. Please have the product I.D. code (located on the white label of your product) available for better assistance. Additional Customer... -
Page 9: Powerwing Lightshow Parts
POWERWING LIGHTSHOW PARTS Keep your PowerWing Lightshow working for years with genuine Razor parts. Visit our website www.razor.com to purchase replacement parts. (Specifications subject to change without notice.) 1. T-Bar 7. Steel Frame 12. Stability Bar (Left/Right) 2. Brake Cable 8. -
Page 12: Warranty And Contact Information
Need Help? Visit our website for product support, a list of authorized service centers in the US and customer service contact information at www.razor.com. Please have the product I.D. code (located on the white label of your product) available for better assistance. Additional Customer...
Need help?
Do you have a question about the LIGHTSHOW POWERWING and is the answer not in the manual?
Questions and answers