Table of Contents
Advertisement
Quick Links
De'Longhi Appliances via Seitz, 47 31100 Treviso Italia www.delonghi.com
Proudly distributed by
De'Longhi Australia Pty Limited
P.O. BOX 4540
CASULA MALL NSW 2170
Customer Service Ph: 1800 126 659
Fax: 1800 706932
www.delonghi.com.au
e-mail: delonghi@delonghi.com.au
De'Longhi New Zealand Limited
25 Carbine Road
Mt Wellington
Auckland, New Zealand
P.O. Box 58-056 Botany
MANUKAU 2163
Customer Service Ph: 0508 200 300
Fax: 0508 200 301
www.delonghi.co.nz
e-mail:delonghi@delonghi.co.nz
Advertisement
Table of Contents

Subscribe to Our Youtube Channel
Related Manuals for DeLonghi MULTIFRY FH1394


Summary of Contents for DeLonghi MULTIFRY FH1394
- Page 1 De’Longhi New Zealand Limited 25 Carbine Road Mt Wellington Auckland, New Zealand P.O. Box 58-056 Botany MANUKAU 2163 Customer Service Ph: 0508 200 300 Fax: 0508 200 301 www.delonghi.co.nz e-mail:delonghi@delonghi.co.nz De’Longhi Appliances via Seitz, 47 31100 Treviso Italia www.delonghi.com...
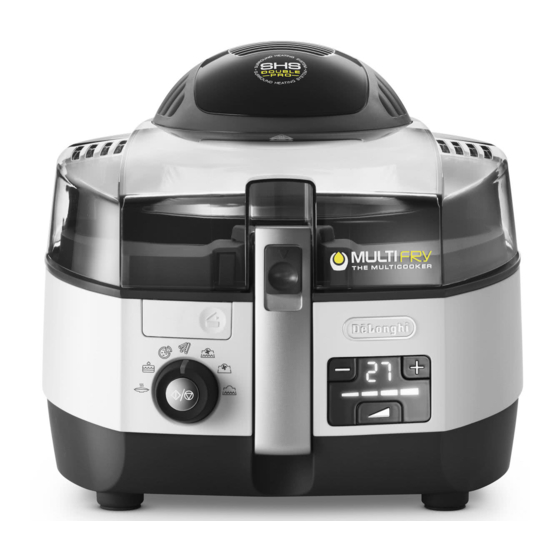
- Page 2 FH1394 MULTIFRY...
- Page 3 For more recipes: (free download) De’Longhi Recipes multifry.delonghi.com...
-
Page 4: Description Of Appliance
DESCRIPTION OF APPLIANCE... -
Page 6: Important Safeguards
IMPORTANT SAFEGUARDS environments. Read all the Instruction for Use carefully before using • This appliance must not be operated by the appliance. Keep this Instruction for Use. a timer or a separate remote control sys- • If the power cord is damaged, it must tem. -
Page 7: Technical Data
• It is normal for the appliance to give off a “new” smell Handle for lifting the appliance when used for the first time. Ventilate the room. W Lid open button • The appliance must be kept at a distance of at least 20 cm Condensate channel from the mains power socket to which it is connected. - Page 8 pressing the timer buttons + (P) and - (R) depending on pressing the timer buttons + (P) and - (R) depending on your recipe. your recipe. When the lid (A) is opened, cooking and the time set on When the lid (A) is opened, cooking and the time set on the display (Q) are interrupted and will start again auto- the display (Q) are interrupted and will start again auto- matically when the lid is closed.
-
Page 9: Cleaning And Maintenance
(H). to clean the bowl (J). Clean with a soft cloth and neutral • Turn the cooking programme selector dial (S) to the re- detergent only. quired position (fig. 8) (see cooking tables/recipes). • Adjust the required degree of cooking by pressing the pow- er level button (O) (fig. -
Page 10: Troubleshooting
The appliance does not heat up The thermal cutout may have tripped. Contact Customer Experience, see enclosed guarantee or visit the Delonghi website (the device must be replaced) The bowl is not positioned correctly and the appliance does not Position the bowl correctly... - Page 11 First courses Cooking time Cooking Recipe Type Quantity Paddle Power level (min) programmes Risotto Fresh 480 gr level 5 15-18 Meat sauce Fresh 1000 gr level 5 60-65 Paella Frozen 600 gr without 13-15 Cannelloni Fresh 1500 gr without 40-45 Meat - poultry Power Recipe...
- Page 12 Vegetables Cooking time Cooking Recipe Type Quantity Paddle Power level (min) programmes Courgettes Fresh 800 gr level 5 25-30 Aubergines Fresh 1000 gr level 3 25-30 Mushrooms Fresh 1000 gr level 5 20-25 Artichokes Frozen 800 gr level 3 35-40 Snacks Recipe Type...
Need help?
Do you have a question about the MULTIFRY FH1394 and is the answer not in the manual?
Questions and answers
Как почистить нагревательный элемент мультиварки
Как очистить нагревательный элемент мультиварки ?