Advertisement
Quick Links
Advertisement

Related Manuals for Hisense H620BS-WD


Summary of Contents for Hisense H620BS-WD
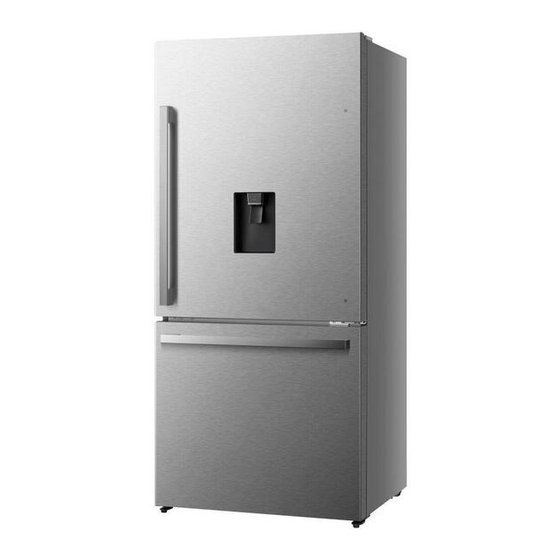
- Page 1 TYPE NUMBER: H620BS-WD...
- Page 2 Table of Contents...
- Page 4 10. Any electrical component must be DANGER replaced or repaired by a qualified electrician To avoid the 『isks that are always present when or authorized service engineer. Only genuine using an electric appliance, we recommend replacement parts should be used. that you pay attention to the inst『uctions about electricity below.
- Page 5 General safety and daily use Safety for children and infirm persons It is important to use your appliance safely. Keep all packaging away from children We recommend that you follow the guidelines to avoid risk of suffocation. below. Protect children from being scalded by We recommend that you keep this use「S touching the compressor at the rear bo廿om manual with the appliance for tutu「e...
- Page 6 13 18 Crisper Drawer Roll wheel Adjustable bottom feet Water dispenser screws Stopper block assembled missed Handle supports (x4) -Allen Wrench -Allen Wrench 5/32 -Wrench 7/ 8...
- Page 7 It is advisable for there to be at least 75mm of clearance from the back of the fridge to the wall, at least 100mm of clearance from its top, at least 100mm from its side to the wall and a clear space in front to allow the doors to open 130°.
- Page 8 Take out the screw hole covers on the doors, install the handle supports(C). Place the handle (A) on the door by fitting the handle over the handle supports (C), then fasten the screws (B) with 3mm Allen wrench (provided in plastic bag). adjusting bottom feet (5/16 , 8mm) (5/32...
- Page 9 5. Loosen the two screws(G) on the right bottom of the fridge door,then take out the right stopper block(H) and the right door stopper(I).Then install the left stopper block(K) and the left door stopper(J) (provided in the plastic bag) loosen the screw (O ) and remov e the upper hing e cov er (E ) on the top rig ht side of appliance and remov e 3 special flang e screws (F ) with socket wrench.
- Page 10 11. Put the upper hinge on the top left side refer to step 3 . 9 .. Screw out the upper hinge axis turn the upper hinge over and fix axis on it. Then place it at side for use. 10 ..
- Page 11 2. Take out the upper freezer drawer by lifting it up from the rail system,then push the rail system back. screws on the inside...
- Page 12 Controlling the temperature We recommend that when you start your refrigerator for the first time, the temperature for the refrigerator is set to 4°C and the freezer to -18°C. If you want to change the temperature, follow the instructions below. available temperature settings, from POWER 8°C to 2°C.
- Page 13 usage, large grocery loads, or in the temperature display. temporarily warm room temperatures. ② Press MODE or adjust freezer The Super Cool feature lowers the compartment temperature according temperature in the fridge compartment to the step 2 to turn off Super Freeze to 2°C to cool food faster.
- Page 15 Cleaning and Ca 『 defrosts, a layer of frost may occur on the freezer For hygienic reasons the appliance (including compartments interior walls if the freezer door is exterior and interior accessories) should be cleaned at least every two months. opened frequently or kept open too long.
- Page 16 Helpful Hints and Tips Butter and cheese: Should be wrapped in airtight foil or plastic film wrap. Energy Saving Tips Milk bottles: Should have a lid and be stored in the door We recommend that you follow the tips below racks.
-
Page 17: I Troubleshooting
Troubleshooting If you experience a problem with your appliance or are concerned that the appliance is not functioing correctly, you can carry out some easy checks before calling for service, please see below. AwARNING l. Dont try to repair the appliance yourself. If the problem persists after you have made the checks mentioned below, contact a qualified electrician, authorized service engineer or the shop where you pu『chased the product.
Need help?
Do you have a question about the H620BS-WD and is the answer not in the manual?
Questions and answers